You can stop water fast and limit damage by acting now when a basement wall crack starts to leak. Use a quick temporary seal, move valuables out of the area, and follow a clear plan to assess whether the crack needs an emergency patch or a professional structural repair.

You will learn which cracks pose immediate risk, which fixes stop water right away, and when to call a pro to prevent bigger problems. The steps are simple, practical, and aimed at keeping your home dry while you arrange a lasting repair.
Key Takeaways
- Identify urgent leaks and stop water with a short-term seal.
- Check crack type and moisture source before choosing a repair.
- Combine immediate fixes with drainage or professional work for long-term protection.
Understanding Leaky Basement Wall Cracks
You need to spot the crack type, signs of water, and likely causes so you can act fast and choose the right fix. Know whether the crack is vertical, horizontal or hairline, watch for water marks and efflorescence, and check if the issue is cosmetic or structural.
Common Types of Basement Wall Cracks
Vertical cracks run up and down and often form where concrete shrinks as it cures or along cold joints. These are usually less serious but can still let water in, especially after heavy rain or when soil freezes and thaws.
Horizontal cracks cross the wall and can indicate serious foundation pressure from soil or frost. If your basement wall bulges with a horizontal crack, the risk of structural damage rises and you should act quickly.
Hairline cracks are thin surface splits under 1/8 inch. They often cause seepage rather than streams of water. Even small hairline cracks can lead to efflorescence—white mineral deposits—on the wall surface.
Foundation cracks may combine types: a vertical crack that widens at the top or a stepped crack in block walls. Note the crack width, length, and any movement over time. Photograph and measure to track changes.
Signs and Symptoms of a Leaky Basement Wall
Look for visible water trails, wet spots, or active dripping along a crack after rain. You might find damp drywall, warped baseboards, or a musty smell in the room next to the wall.
Efflorescence appears as powdery white streaks on concrete or masonry and signals water carrying minerals through the wall. Stains or rusty marks often mark repeated water flow paths.
Check for peeling paint, bubbling plaster, or mould growth near the crack. Even when water isn’t obvious, a high humidity level and persistent dampness indicate ongoing infiltration you need to fix.
Measure crack width and note soil conditions outside. If the crack grows, or you see multiple cracks, act quickly—these signs point to a progressive problem that can worsen.
Potential Causes of Wall Cracks and Basement Leaks
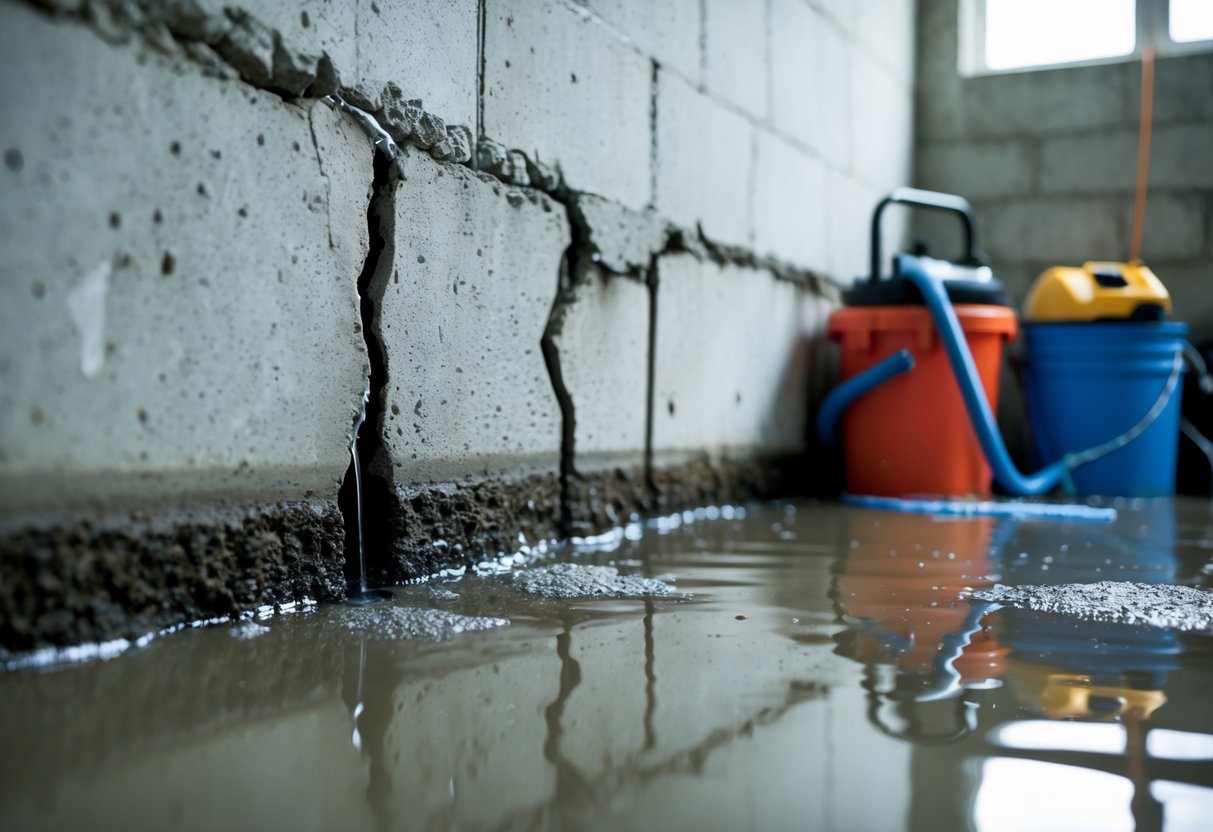
Hydrostatic pressure builds when groundwater rises and pushes against your foundation. That pressure forces water through vertical and horizontal cracks and can push block walls inward.
Poor exterior drainage lets water pool near the foundation. Downspouts that empty next to the house, clogged gutters, or low grading increase water infiltration risk and worsen existing cracks.
Freeze–thaw cycles and seasonal soil movement shift foundations. Expanding soil in spring can open cracks; contracting in dry spells can change crack patterns. This movement often creates stepped or widening foundation cracks.
Construction defects and poor concrete curing also cause vertical and hairline cracks. In older homes, deteriorated mortar joints or failed water seals around drainpipes lead to leaks. If you suspect structural damage, have an engineer inspect the horizontal cracks and any wall bowing.
How Wall Cracks Lead to Emergency Basement Leaks
Cracked foundation walls let water move from the soil into your basement, push on the walls, and cause damage if you wait to repair them. You need to know where water travels, how pressure makes leaks worse, and what happens when repair is delayed.
Water Pathways Through Foundation Cracks
Water enters through any gap that connects wet soil to your basement interior. Vertical, horizontal and hairline cracks all act as pathways. Even a thin hairline can let dampness seep in when the ground is saturated after heavy rain or melting snow.
Drainpipe penetrations, poorly sealed window wells and joints where block walls meet poured concrete are common weak spots. Once water finds a route, it follows gravity and capillary action, spreading along mortar joints or through porous concrete. You’ll often see water staining, mineral deposits or damp spots before full flow starts.
Inside repairs like surface sealants can stop minor seepage short-term. But if the soil side remains wet, water finds a new path. For an emergency, isolate the leak, divert water with a patched drain or temporary sealant, and plan for a proper injection or exterior fix.
Hydrostatic Pressure and its Effects
Hydrostatic pressure is the force of groundwater pushing against your foundation. When soil holds moisture, pressure rises and pushes water through the weakest points in the wall. That pressure can force a steady stream through a crack, not just slow seepage.
High hydrostatic pressure can widen existing cracks and open new ones, turning small damp areas into active leaks. You’ll notice water flow increases during prolonged rain, spring thaw, or if surface drainage slopes toward your house. Interior fixes that don’t relieve pressure often fail.
To manage pressure fast, reduce water buildup near your foundation. Use gutters, downspout extensions, and temporary trenching to move surface water away. Long-term solutions include exterior drainage, a sump pump, or improving soil grading to keep groundwater levels lower.
Consequences of Delayed Repair
Delaying repair lets water damage grow. A wet basement can develop mold within days and cause rot in wood framing, drywall and stored items. You’ll also risk corrosion of mechanical systems like furnaces or electrical panels near the leak.
Structural harm is a bigger risk. Continued leakage and hydrostatic pressure can widen cracks and weaken mortar or concrete bonds, raising repair costs. Horizontal cracks or bowed walls signal serious structural stress that may need wall anchors or rebuilding.
Financial and health costs rise quickly. Insurance claims may be denied if you don’t show timely maintenance. Act fast: dry the area, stop active water with temporary measures, and arrange a permanent fix to protect your home and keep your basement usable.
Assessment and Diagnosis of Leaking Basement Walls
Start by locating every crack and wet spot. Note where water appears, how often it shows up, and any nearby features like the cove joint, drainpipe, or stair-step patterns in the concrete.
Inspecting Interior and Exterior Crack Locations
Walk the perimeter of your basement and mark every crack you find. Inside, look for horizontal, vertical, and stair-step cracks and note if water beads, drips, or leaves mineral stains. Check the cove joint where the wall meets the floor—this gap often leaks under hydrostatic pressure.
Outside, inspect the foundation wall at ground level and below grade if possible. Look for displaced soil, pooling water, missing or blocked downspouts, and damaged exterior drains or French drain outlets. Take photos and measure crack lengths and widths; this helps decide whether you need simple basement wall crack repair or a more extensive foundation crack injection.
Identifying Structural vs. Non-Structural Cracks
Structural cracks change the wall alignment, widen over time, or form large stair-step patterns in block foundations. If you find wall bowing, separated mortar, or horizontal cracks wider than 6 mm (1/4 inch), treat these as structural concerns that need foundation crack repair and an engineer assessment.
Non-structural cracks are hairline or thin vertical cracks caused by shrinkage or minor settlement. These often only need crack injection or epoxy and simple basement leak repair measures. Use a crack monitor or mark edges with pencil to track any growth over weeks. If growth occurs, escalate to professional evaluation.
Determining the Source of Water Infiltration
Pinpoint whether water comes from groundwater, surface runoff, plumbing leaks, or condensation. Perform simple tests: dry the area, then run a garden hose outside near the suspected wall for 10–15 minutes to simulate heavy rain. Inside, place dry paper towels on the crack to see if moisture appears from the wall surface or from the floor joint.
Check plumbing fixtures, sump pump operation, and any nearby drainpipes. Look for white mineral deposits (efflorescence) that indicate long-term groundwater seepage. If water appears only after heavy rain, suspect surface drainage or clogged exterior drains; if it appears steadily, suspect groundwater pressure or a failed seal at the cove joint that needs targeted basement wall crack repair.
Emergency Leaky Basement Repair Solutions for Wall Cracks
You need fast, reliable fixes that stop water now and let you plan a longer-term repair. The options below explain when to use each material and method, plus the tools and limits you should expect.
Crack Injection Methods: Epoxy vs. Polyurethane
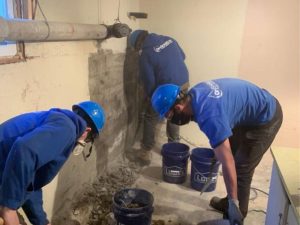
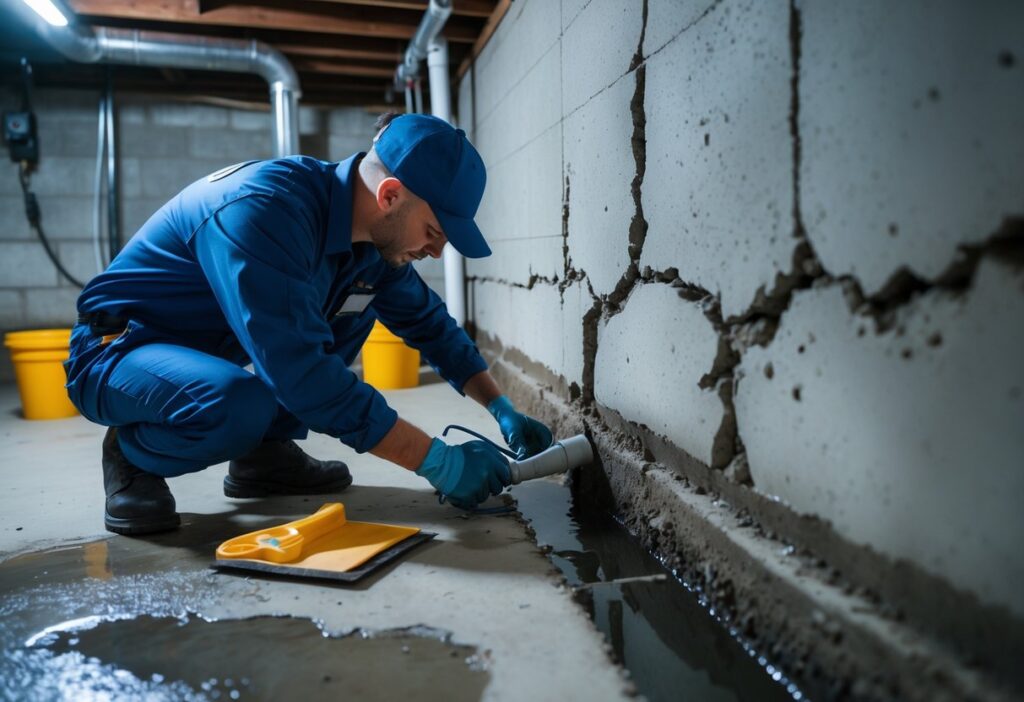
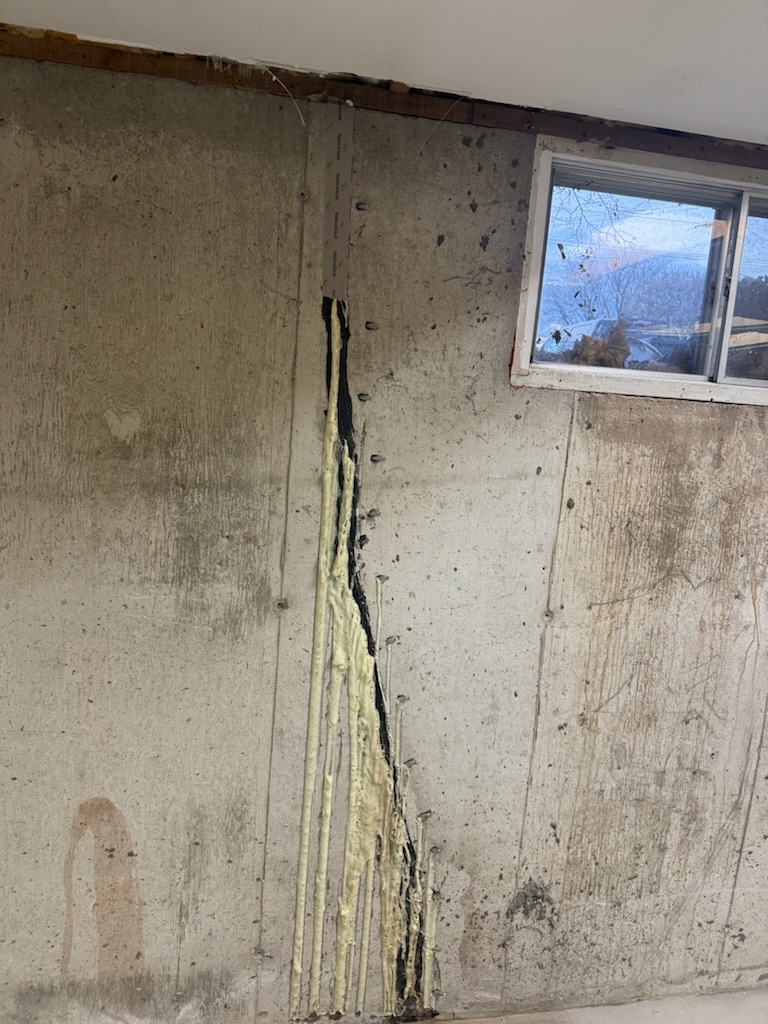
Epoxy injection fills the crack with a rigid resin that restores structural strength. Use an epoxy injection kit with injection ports and a low-pressure pump or caulking gun designed for epoxy. Clean the crack, install ports every 6–12 inches, seal the wall surface with an epoxy paste, then inject from the lowest port upward until resin flows from the next port.
Polyurethane injection forms a flexible, water-blocking foam that expands to seal active leaks. Use a polyurethane injection kit and follow the same port layout. Polyurethane reacts with water and expands, so it works well for wet, leaking cracks but does not restore strength like epoxy.
Choose epoxy when the crack affects structure and is dry or mostly dry. Choose polyurethane when water is flowing or you need a fast emergency stop. High-pressure injection suits deep, narrow cracks; low-pressure is safer for shallow or fragile concrete.
Hydraulic Cement and Concrete Sealants
Hydraulic cement sets quickly and blocks active leaks in minutes. Mix per product instructions and press it firmly into the crack or a cove joint. It expands slightly as it cures, making it useful for emergency patching around drains or floor-wall joints.
Concrete sealants and epoxies for surface repair work well for hairline cracks and non-structural seepage. Apply after chipping out loose concrete and cleaning the area. Use a concrete sealant designed for below-grade use and follow cure times before re-exposing to moisture.
Hydraulic cement is not a permanent structural fix. It is brittle and can crack again if the foundation shifts. Use it to stop water quickly, then plan for injection or professional waterproofing for a long-term solution.
Waterproof Membranes and Protective Barriers
Interior waterproof membranes create a barrier between the wall and your basement space. Peel-and-stick or liquid-applied membranes work over patched cracks and across the wall surface. Apply after crack repair and ensuring the surface is dry and clean.
Exterior membranes applied at the foundation footing block water before it reaches the wall. This requires excavation and is usually a professional job, but it stops hydrostatic pressure at its source. Professionals often combine exterior membrane work with drainage improvements like a perimeter drain.
Use a membrane when water comes through many areas or when hydrostatic pressure is present. For quick indoor fixes, a liquid membrane over repaired cracks can reduce dampness until exterior work is possible.
DIY vs. Professional Basement Crack Repair
You can perform DIY fixes like polyurethane injection kits, hydraulic cement patches, and surface sealants for small or emergency leaks. DIY tools include a caulking gun, injection ports, grinder or chisel, and protective gear. Follow kit instructions exactly and test for leaks after curing.
Hire a professional waterproofing contractor for structural cracks, large leaks, or when excavation is needed. Professionals offer high-pressure injection, structural epoxy injection, exterior membrane installation, and full perimeter drainage. They can diagnose causes like settlement, poor grading, or failed drains and recommend long-term solutions.
If you see ongoing movement, widening cracks, or basement flooding, call a professional right away. For a single, steady drip or small seepage, a DIY polyurethane injection or hydraulic cement patch can stop water now while you schedule further repairs.
Basement Waterproofing and Drainage Improvements
These steps focus on stopping water at the wall, moving it away from your foundation, and keeping soil and gutters working for you. Prioritise systems that release water to a sump pump or safe outlet and keep downspouts, grading and gutters maintained.
Interior Waterproofing Systems
Interior waterproofing usually means installing an interior drain system and a sump pump system to capture and remove water before it reaches your living space. Contractors commonly cut a channel along the footing, lay a perforated drain pipe into the trench, and cover it with clean gravel before patching the slab and finishing the floor. This directs seepage into the sump basin where a submersible sump pump discharges water outside or into your storm sewer if allowed.
You can also use crystalline sealants or hydraulic cement to seal small cracks temporarily, but these are not substitutes for a drainage system if water pressure is present. Choose a sump pump with a battery backup and alarm so your system keeps working during power failures.
Exterior Waterproofing Strategies
Exterior waterproofing addresses the source of water before it reaches the wall. Workers excavate down to the footing, clean the concrete, and apply a membrane or liquid-applied waterproofing to the foundation wall to stop water penetration. They may also install rigid insulation and a protection board over the membrane to prevent damage during backfill.
If you have active leaks from hydrostatic pressure, combine the membrane with an exterior drain tile at the footing level that ties into your sump system. Exterior work is more invasive and costly, but it often gives the most durable foundation waterproofing when soil drainage or water table is the root cause.
Drainage Solutions: French Drains and Sump Pumps
A French drain is a perforated pipe in a trench filled with gravel that collects groundwater and channels it to a safe discharge point or your sump pit. Install the pipe below the footing level where possible to capture the highest flow of water. Use geotextile fabric to keep soil from clogging the gravel.
Sump pumps remove collected water automatically. Use a float or vertical switch control and ensure a check valve prevents discharge back into the pit. For reliability, install a secondary pump or battery backup and route discharge to a downspout extension, dry well, or municipal storm drain where permitted.
Proper Grading and Maintenance Tips
Good grading sends surface water away from your foundation. Ensure soil slopes at least 50 mm (2 inches) drop over the first metre away from the wall. Use compacted fill, not loose mulch or soil that will settle and trap water.
Keep gutters and downspouts clean so water does not overflow near the foundation. Extend downspouts at least 1.5 to 2.5 metres away from the house or connect them to underground drainage that leads water away. Inspect exterior drainage, French drains and sump pumps twice a year, and after heavy storms, to catch problems early.
Preventive Measures and Long-Term Basement Health
Focus on regular checks, timely professional work, and proper materials to keep cracks from coming back and to protect your foundation long term.
Routine Inspections and Early Detection
Check your basement for new or widening cracks at least twice a year and after major storms. Look for damp spots, efflorescence (white powder), or musty odours; these are early signs of water entry that need action.
Inspect exterior grading and gutters each spring and fall. Ensure soil slopes away from the foundation by at least 5 cm over the first metre. Clean gutters and extend downspouts 1.5–2 m from the house to reduce surface water near walls.
Use simple tools: a flashlight, moisture meter, and a tape measure. Note crack length and width and take photos to compare over time. Track water stains after heavy rain to find where leaks are active.
If you spot bubbling paint, mould, or persistent dampness, act quickly. Small repairs can stop larger problems and make basement leak repair easier and cheaper.
Professional Maintenance Recommendations
Hire a basement waterproofing expert for a full assessment every 3–5 years or sooner if you find recurring wetness. Professionals can test for hydrostatic pressure, check foundation movement, and recommend targeted fixes.
Ask about interior and exterior waterproofing options. Professionals often install a waterproof membrane on exterior walls or an interior drainage system tied to a sump pump. Request written estimates that list materials, labour, and warranty terms.
Choose contractors with proof of insurance, local references, and experience with homes like yours. Get at least three quotes and compare methods, not just price. Verify any guarantee covers both leaks and workmanship for several years.
Schedule routine service for sump pumps and back-up power. Replace pump check valves and test battery backups annually. Regular professional maintenance reduces the chance of emergency basement leak repair later.
Ensuring Lasting Results After Repair
After repairs, recheck repaired cracks monthly for the first six months, then quarterly. Look for new water stains, fresh efflorescence, or separation at repair joints.
Improve exterior drainage permanently. Regrade landscaping, install or repair eavestroughs, and add gravel or swales to channel water away. These steps reduce pressure on repaired walls and help waterproofing last.
Maintain interior humidity below 60% with a dehumidifier. Use mould-resistant paint and keep vents clear. If professionals installed a waterproof membrane or interior drainage, follow their maintenance guide and keep access panels clear.
Keep records of all repairs, receipts, and warranties. This helps you manage future service and proves work history if you sell the home.
Frequently Asked Questions
These answers cover how to stop water at the source, when to call a pro, what DIY fixes can work, likely costs, warning signs, and the risks of leaving a crack unrepaired. Expect clear steps, shop-ready materials, and practical monitoring tips.