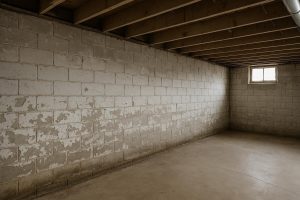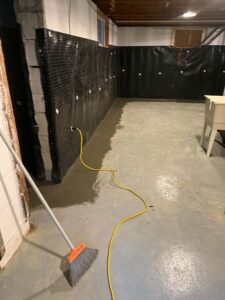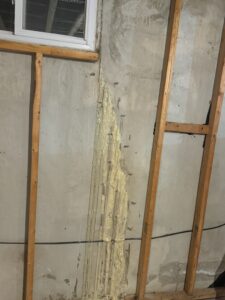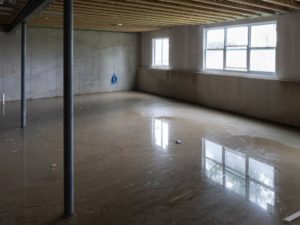
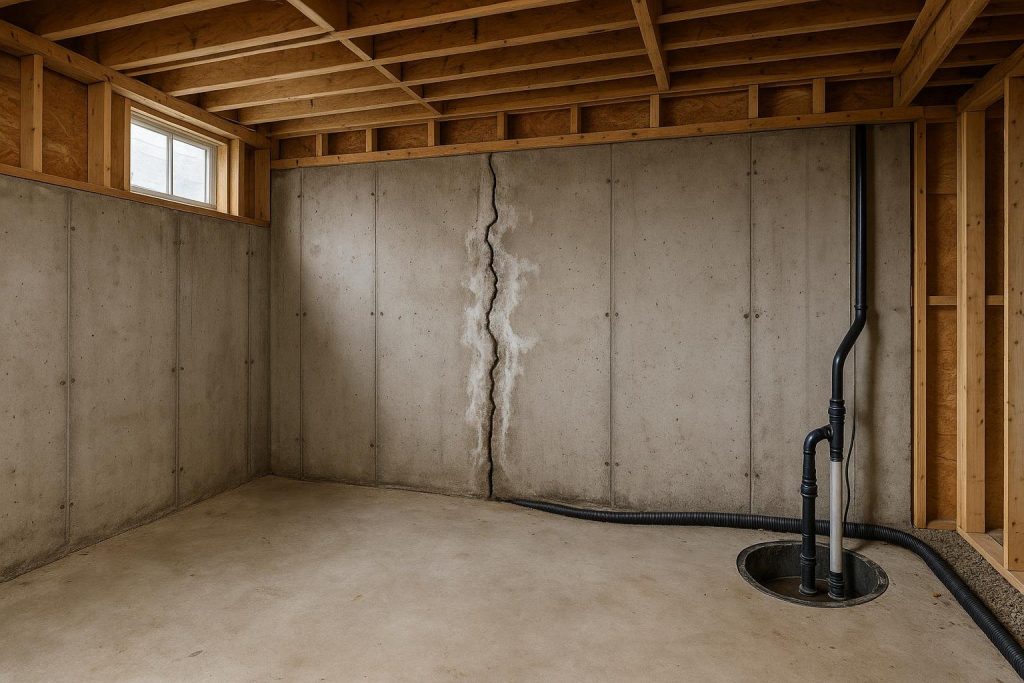
Completing basement crack repair before finishing your basement is the single most important waterproofing step you can take before framing, insulating or drywalling. Cracks in poured-concrete walls and floors are the primary entry points for water and soil gas; once they are hidden behind finished materials, repair costs rise sharply and warranty coverage becomes complicated. Inspect every wall and floor surface, test for active moisture, and seal all cracks with an appropriate method before any finishing work begins.
Key takeaways
- Inspect and test for moisture before framing; do not rely on visual dryness alone.
- Dry, stable cracks and actively leaking cracks require different repair methods.
- Polyurethane injection is the preferred method for most poured-concrete wall cracks because it remains flexible after cure.
- Floor cracks that show active seepage need injection or a drainage solution before any floor covering goes down.
- Repairing cracks after finishing typically costs significantly more due to demolition and remediation of finished materials.
Definitions & scope
A foundation crack is any separation in the concrete or masonry that makes up your basement walls or floor slab. Cracks are categorized by orientation (vertical, diagonal, horizontal, stair-step), width (hairline under 0.2 mm, narrow 0.2–1 mm, wide over 1 mm), and activity (dormant, active-wet, active-dry-cycling). This guide focuses on poured-concrete foundations, which are the most common type in Ontario homes built after the 1960s. Block and stone foundations have different repair considerations; see Foundation science: Why poured concrete cracks differently than cinder block for that comparison.
Scope of this guide: pre-finishing inspection, moisture testing, crack classification, repair method selection, cost drivers, and the risks of skipping repair. This guide does not cover structural crack assessment, underpinning, or backwater valve installation. If a crack is horizontal or shows significant displacement, consult a licensed structural engineer before proceeding.
The term finishing a basement refers to the addition of framing, insulation, vapour barrier, drywall, flooring and other interior finishes that convert an unfinished space into habitable area. Once these materials are in place, access to the foundation wall is lost without demolition.
Sealing cracks before framing and drywall go up is the core of our basement crack repair service.
Why this matters
Ontario’s climate creates persistent hydrostatic pressure on basement walls. Freeze-thaw cycling, spring snowmelt and heavy rain events drive water against foundations throughout the year. Even a crack that appears dry in summer can transmit water during a wet spring or after a heavy rainfall event. The GTA Homeowner’s Guide to Basement Cracks explains how crack type and soil conditions interact to determine leak risk.
When a crack is covered by framing and drywall, several problems compound. Water that enters through the crack is trapped between the foundation wall and the finished wall assembly. This creates conditions for mold growth on wood framing and drywall paper within days of a water event. Remediation then requires removing drywall, insulation and sometimes flooring before the crack can even be accessed. The total cost of a post-finishing repair is almost always higher than the original crack repair would have been, because it now includes demolition, mold remediation and reconstruction of finished materials.
There is also a warranty consideration. DryShield’s Lifetime Transferable Warranty on crack injection work requires that the repaired crack remain accessible for inspection. Covering a crack with finished materials before repair, or immediately after repair without allowing proper cure time, can affect warranty terms. Confirming warranty conditions with your technician before scheduling finishing work is strongly recommended.
Ontario Building Code requirements for finished basement spaces include vapour control and moisture management. Addressing cracks before finishing supports compliance with those requirements, though homeowners should confirm current permit and inspection requirements with their local municipality. The Ontario Building Code Basement Waterproofing 2026 guide provides a practical compliance overview.
Your options
Option 1: Polyurethane crack injection
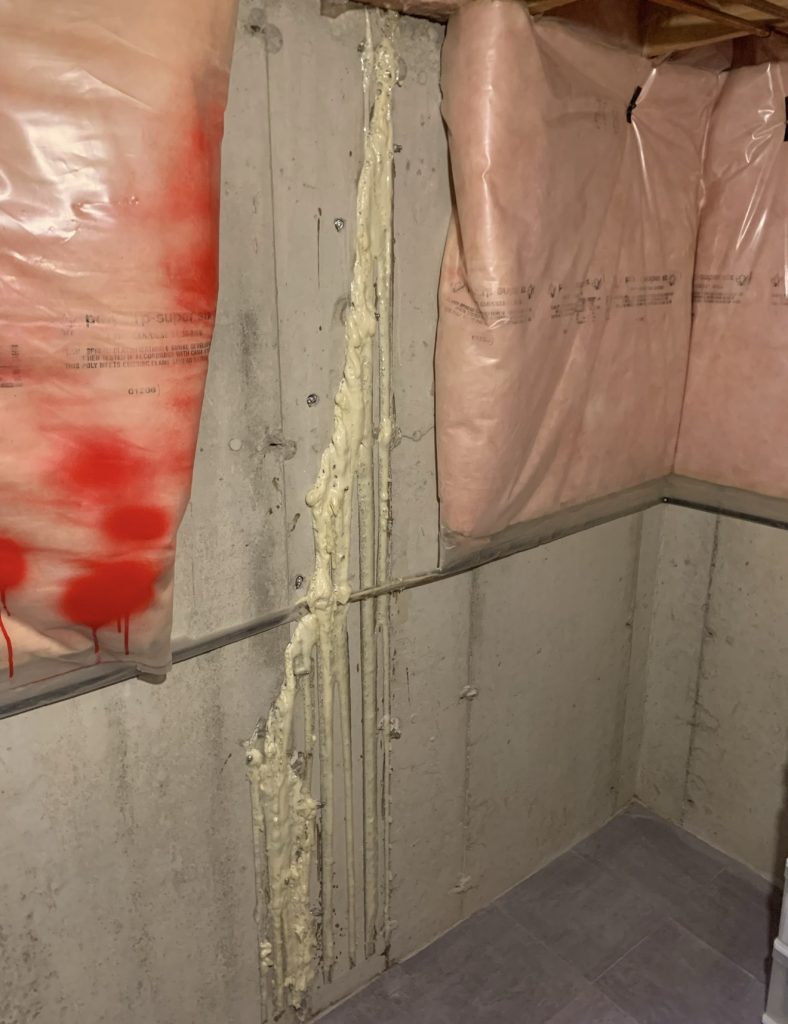
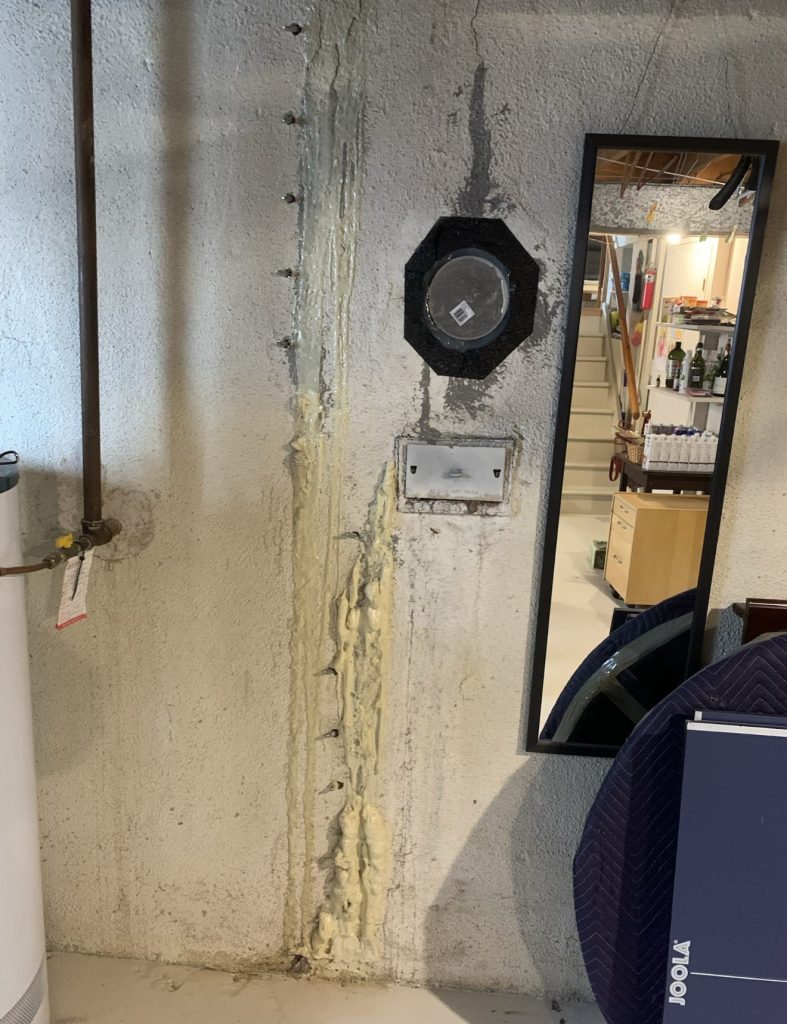
What it is: A two-component or single-component polyurethane foam or resin is injected under low pressure through ports installed along the crack. The material expands to fill the full depth of the crack and cures to a flexible, waterproof seal.
How it works: Ports are drilled or surface-mounted at intervals along the crack. Resin is injected starting at the lowest port and moving upward until material appears at the next port. The flexibility of cured polyurethane allows it to accommodate minor seasonal movement without re-cracking.
Best for: Active or previously wet vertical and diagonal cracks in poured-concrete walls; cracks up to approximately 12 mm wide. This is the most common repair method for pre-finishing crack sealing in Ontario. See the Polyurethane Injection Expert Crack Repair Guide for technical detail.
Limitations: Not suitable for horizontal cracks with displacement (structural concern), cracks in block or stone foundations, or cracks caused by ongoing soil movement that has not been stabilized.
Option 2: Epoxy crack injection
What it is: A two-part epoxy resin is injected into the crack. When cured, epoxy is rigid and bonds the two faces of the crack together, restoring structural continuity.
How it works: The process is similar to polyurethane injection but requires a dry crack and slower injection to allow the low-viscosity epoxy to penetrate hairline openings. Cure time is longer.
Best for: Dry, dormant, hairline cracks where restoring tensile strength is a priority, such as in structural members. See Epoxy vs Polyurethane Crack Injection for a direct comparison.
Limitations: Rigid after cure; if the crack is still subject to seasonal movement, epoxy can debond or cause an adjacent crack to form. Cannot be used in wet or damp cracks. Generally more expensive per linear metre than polyurethane.
Option 3: Floor crack injection
What it is: Polyurethane or epoxy resin injected into cracks in the concrete floor slab to stop seepage from below.
How it works: Ports are drilled into the slab at an angle to intercept the crack at depth. Resin is injected to fill the crack through the slab thickness. For cracks with significant active seepage, a drainage channel and sump connection may be recommended instead of or in addition to injection.
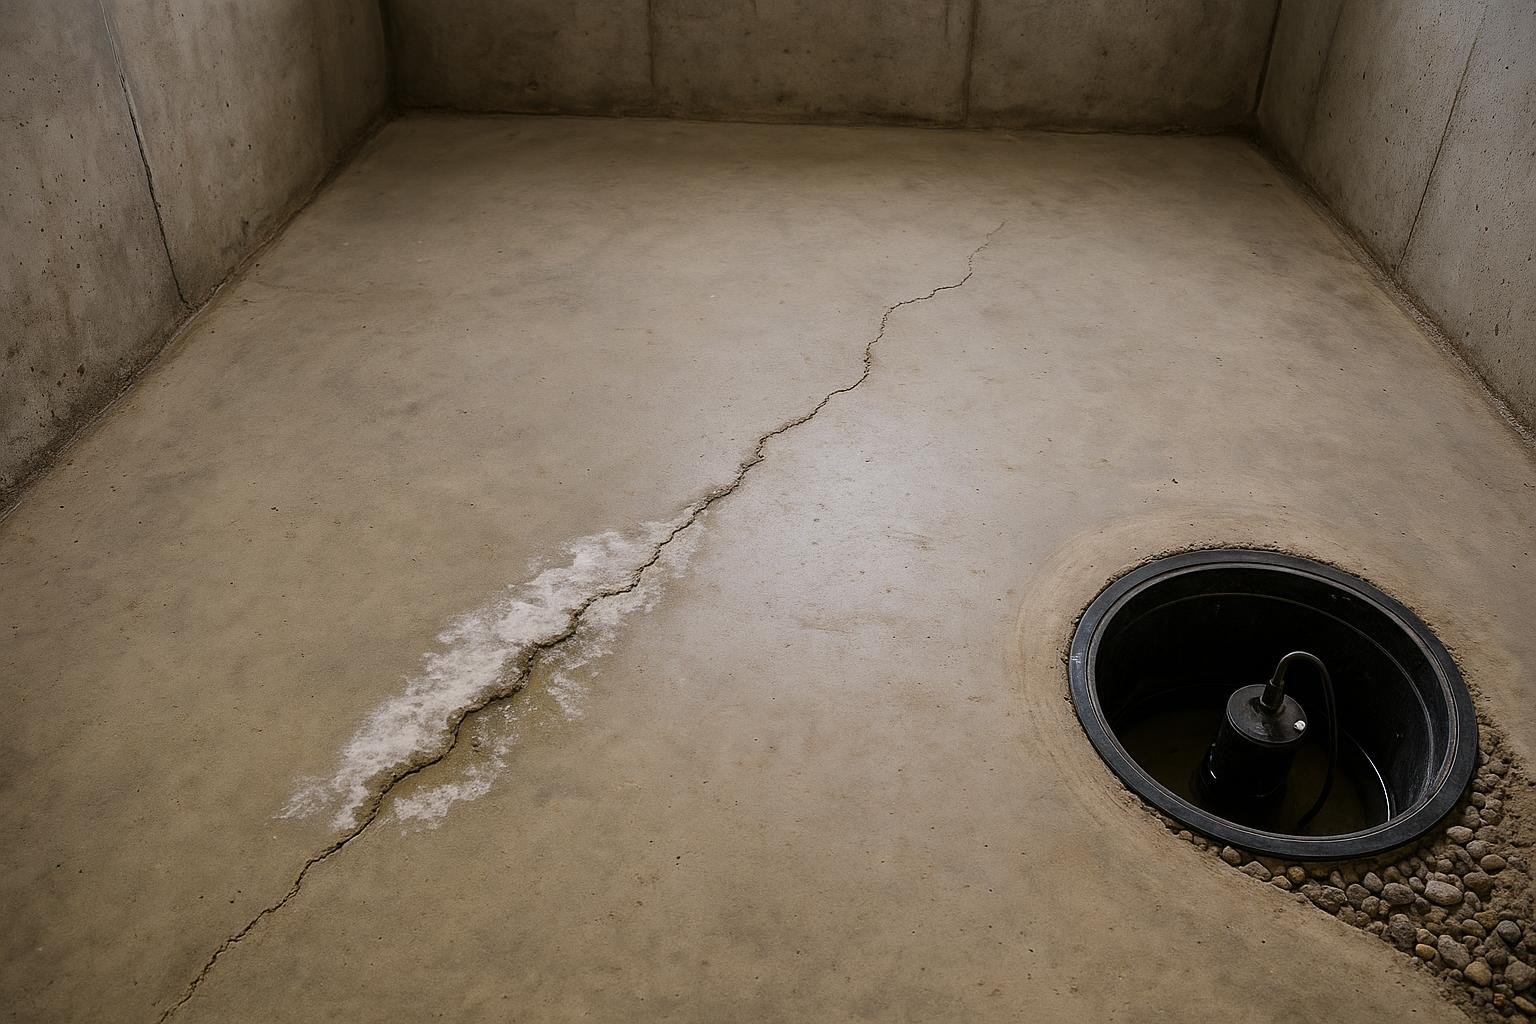
Best for: Floor cracks showing active water seepage or efflorescence before floor coverings are installed. See Floor Crack Injections for service details and How to Stop Water From Seeping Through Your Basement Floor for broader context.
Limitations: Floor cracks caused by significant slab settlement or heave may require assessment beyond injection. Wide cracks with ongoing movement may re-open.
Option 4: Interior waterproofing system
What it is: A perimeter drainage channel installed at the base of the foundation wall, connected to a sump pump, that intercepts water before it reaches the finished floor. This is a water management approach rather than a crack seal.
How it works: The floor perimeter is saw-cut, a drainage channel is installed, and a sump pit and pump are added. Water that enters through wall cracks or the wall-floor joint is captured and discharged before it floods the floor.
Best for: Basements with multiple or recurring leaks, high water table conditions, or where exterior excavation is not feasible. Often combined with crack injection for comprehensive protection. See Internal & Interior Basement Waterproofing Solutions.
Limitations: Does not seal the crack itself; water still enters the wall. Requires a functioning sump pump. Adds cost and complexity compared to injection alone. Should be installed before finishing, as it requires floor demolition.
Option 5: Exterior crack repair
What it is: The foundation wall is excavated from outside, the crack is cleaned and sealed with hydraulic cement or a membrane system, and a drainage layer is applied before backfilling.
How it works: Excavation exposes the exterior face of the wall at the crack location. The crack is routed, filled and covered with a waterproof membrane. Weeping tile and drainage stone are inspected and replaced if needed.
Best for: Cracks that have failed previous interior repairs, or where the exterior drainage system is also compromised. See Exterior Basement Waterproofing Services and Foundation crack injection vs waterproofing: When injection works.
Limitations: Significantly higher cost and disruption than interior injection. Requires access around the perimeter of the home. Landscaping, decks or driveways may need to be removed. Not practical as a pre-finishing step unless exterior drainage is already being addressed.
 Options compared
| Method | Best for | Typical considerations | Durability / limitations |
|---|---|---|---|
| Polyurethane injection (wall) | Active or previously wet vertical / diagonal wall cracks | Minimal disruption; no excavation; can treat wet cracks | Flexible seal; accommodates minor movement; preferred pre-finishing method |
| Epoxy injection (wall) | Dry, dormant hairline cracks needing structural bond | Requires dry crack; longer cure; higher material cost | Rigid; may cause adjacent cracking if movement continues |
| Floor crack injection | Slab cracks with active seepage | Angled drilling required; may need sump if seepage is severe | Effective for stable cracks; wide or moving cracks may re-open |
| Interior drainage system | Multiple leaks; high water table; recurring issues | Floor demolition required; sump pump needed; higher cost | Manages water rather than sealing source; long-term if pump maintained |
| Exterior crack repair | Failed interior repairs; compromised exterior drainage | Excavation required; highest disruption and cost | Addresses root cause at exterior; most comprehensive but most invasive |
For most Ontario homeowners preparing to finish a basement, polyurethane injection is the appropriate starting point for wall cracks, combined with floor crack injection where slab seepage is present. Interior drainage systems are worth considering when the basement has a history of flooding or multiple active leak points. Exterior repair is rarely the first choice for a pre-finishing project unless exterior drainage is already being excavated for another reason.
How to choose
Use the following decision framework to select the right approach for your basement before finishing work begins.
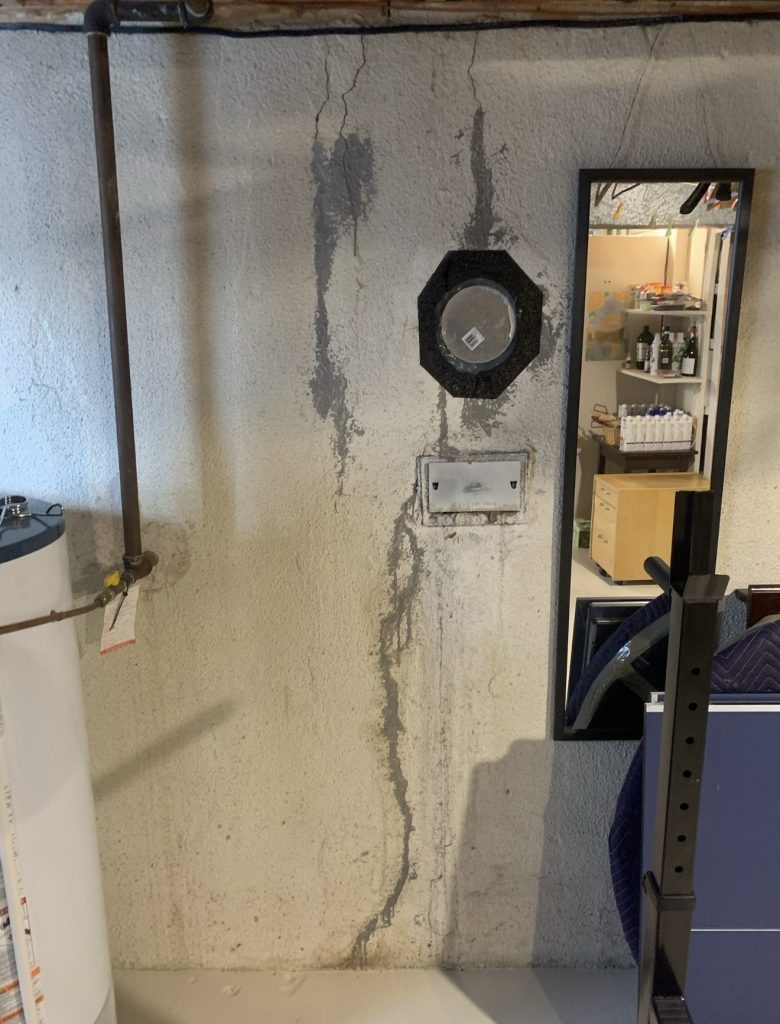
Choose polyurethane injection if you have one or more vertical or diagonal cracks in a poured-concrete wall, the cracks have leaked in the past or show efflorescence or staining, and the foundation is otherwise stable. This covers the majority of pre-finishing crack repairs in Ontario.
Choose epoxy injection if the crack is hairline, completely dry, and located in a structural element where restoring tensile strength is the primary goal. Confirm with your technician that the crack is genuinely dormant before choosing epoxy.
Choose floor crack injection if you see water seeping through the slab, staining on the concrete floor, or efflorescence along floor cracks. Do not install any floor covering over an unsealed floor crack.
Choose an interior drainage system if the basement has flooded more than once, has multiple active wall and floor leaks, or sits in an area with a persistently high water table. An interior system can be combined with crack injection for comprehensive coverage. Consult Exterior vs Interior Perimeter Waterproofing to understand the trade-offs.
Choose exterior repair if a wall crack has been injected previously and has re-opened, or if you are already excavating for weeping tile replacement. In that case, addressing the crack from the outside at the same time is efficient.
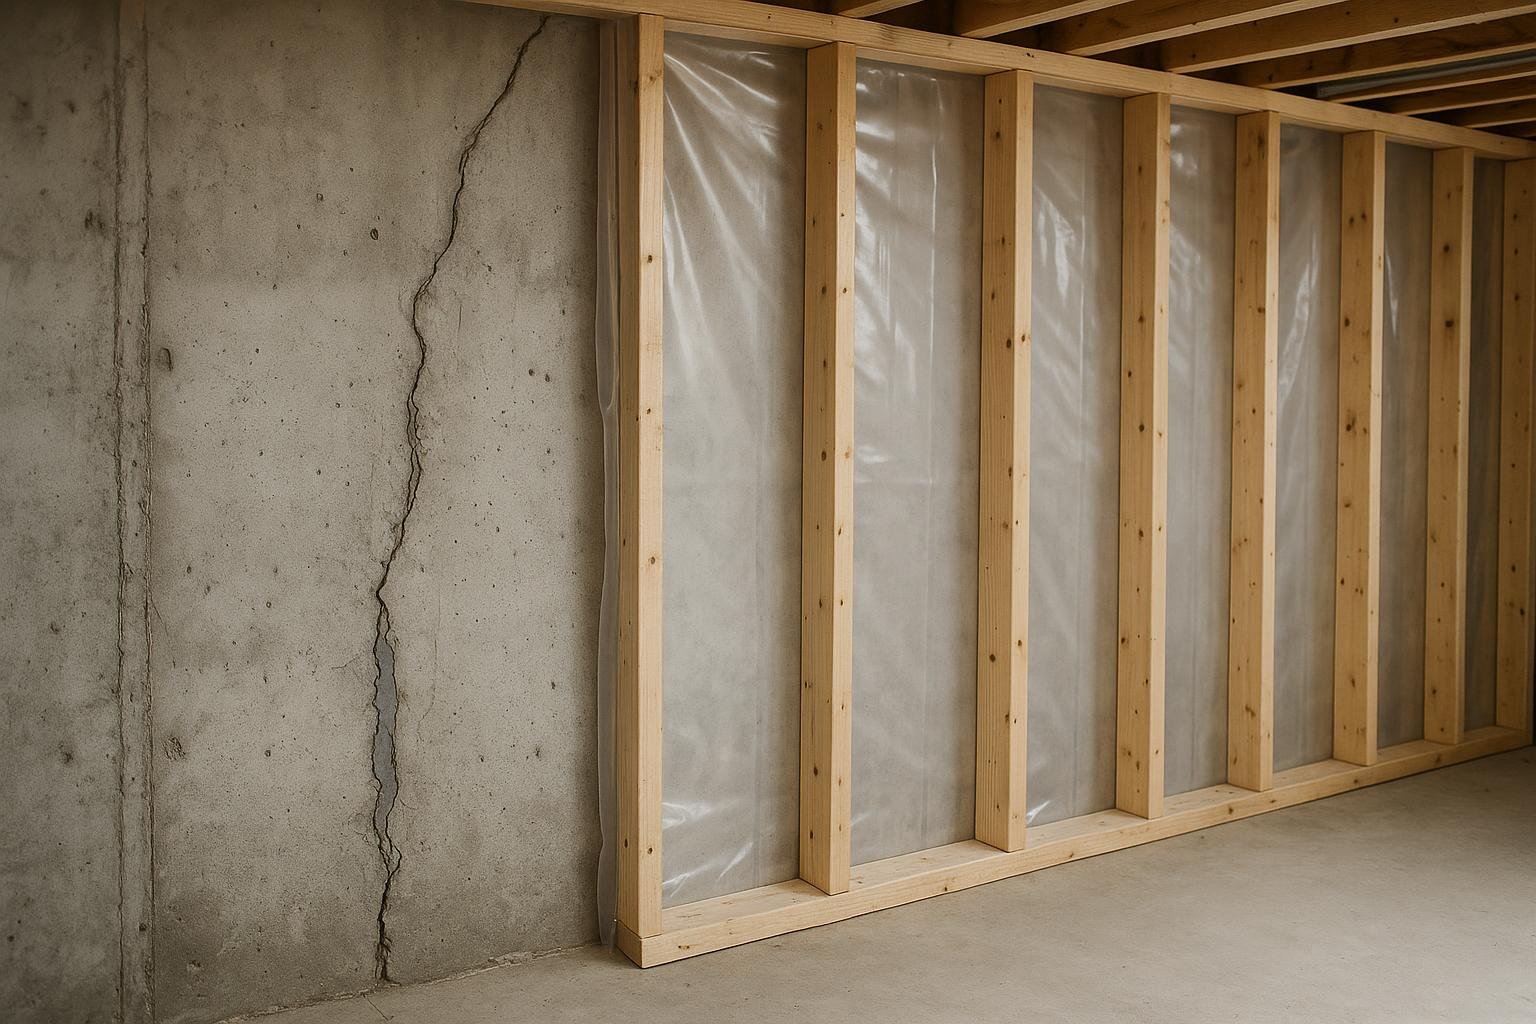
Defer finishing if moisture testing shows elevated readings and the source has not been identified. Use a plastic sheet taped to the wall for 48–72 hours; condensation on the room side indicates humidity, while moisture on the wall side indicates water infiltration through the concrete. Both conditions require resolution before framing.
For help identifying your specific problem, use the Foundation Crack Diagnosis: Vertical vs. Horizontal tool or the Basement Leak Diagnostic Tool.
Costs & timelines
The following cost drivers are listed in order of their typical impact on total repair cost. Verified approximate price ranges for crack injection in Ontario are available on the Crack Injection Cost page and the Crack Injection Cost in Southern Ontario (2026) page. No specific prices are stated here because costs vary by crack length, access, method and site conditions.
| Cost driver | Why it matters | Relative impact |
|---|---|---|
| Number and length of cracks | More ports, more material, more labour time | High |
| Crack activity (wet vs. dry) | Active wet cracks may require hydraulic setting material before injection | Medium-high |
| Method selected | Epoxy costs more per metre than polyurethane; exterior repair adds excavation cost | Medium-high |
| Access conditions | Stored items, low ceilings, or tight spaces slow technician access | Medium |
| Floor crack vs. wall crack | Floor injection requires angled drilling and different port spacing | Medium |
| Interior drainage system addition | Adds sump pit, pump, channel and concrete cutting to scope | High (if required) |
| Post-finishing access loss | Demolition of finished materials before repair begins adds significant cost | Very high (if deferred) |
Timeline: A standard polyurethane injection repair on one or two wall cracks is typically completed in a single visit of two to four hours. Cure time before the area can be painted or covered varies by product; your technician will advise. Interior drainage system installation is a larger project typically requiring one to three days depending on basement perimeter length. Exterior excavation timelines depend on depth, access and weather.
Use the 2026 Waterproofing Cost Calculator for a preliminary estimate based on your specific conditions.
Risks & common mistakes
Skipping inspection entirely. Many homeowners assume a visually dry basement is a waterproof basement. Concrete is porous; a crack that has not leaked recently can transmit water during the next heavy rain or spring thaw. A thorough inspection before finishing is not optional.
Using hydraulic cement or caulk as a permanent fix. Surface-applied products do not penetrate the full depth of the crack. Hydrostatic pressure will eventually push water past a surface patch. Injection fills the crack through its entire depth, which is why it is the industry-standard method for poured-concrete walls.
Framing directly against the foundation wall. Even after crack repair, framing should be set slightly away from the foundation wall to allow air circulation and to avoid trapping moisture between the concrete and wood. Check Ontario Building Code requirements for vapour barrier placement in finished basement assemblies with your local building department.
Ignoring floor cracks. Homeowners often focus on wall cracks and overlook the slab. Floor cracks under carpet or laminate that were not sealed before installation can allow moisture to accumulate under the flooring, causing mold and flooring failure. See How to Fix Water Leaking Through Basement Floor Cracks.
Finishing immediately after injection without confirming cure. Polyurethane and epoxy resins require time to cure fully. Applying paint, vapour barrier or framing over a freshly injected crack before the manufacturer’s recommended cure time can trap solvents and affect adhesion. Ask your technician for the specific cure window.
Not addressing the source of water, only the symptom. If grading, downspout discharge or weeping tile condition is directing water toward the foundation, crack injection alone will be under repeated stress. Improving surface drainage is a low-cost complement to crack repair. See Water Pooling Around Your Foundation for grading guidance.
Assuming a crack is structural without an engineer’s assessment. Horizontal cracks and cracks with step displacement in block foundations can indicate lateral soil pressure and require engineering review before any finishing work. See How to Tell If Foundation Crack Is Structural.
How the process works
- Inspection and documentation. A technician examines all accessible wall and floor surfaces, photographs each crack, measures width and length, and notes signs of past water activity such as staining, efflorescence or mineral deposits.
- Moisture testing. Active leaks are identified. For borderline cases, a plastic sheet test or moisture meter reading helps distinguish condensation from infiltration.
- Crack preparation. The crack surface is cleaned of loose material, efflorescence and paint. For injection, ports are installed at regular intervals along the crack length.
- Injection. Resin is injected starting at the lowest port and progressing upward. The technician monitors each port for material breakthrough to confirm full-depth penetration. For floor cracks, injection proceeds from one end of the crack to the other.
- Port removal and surface finish. After cure, injection ports are removed and the surface is patched flush. The repaired area can be painted after the technician-specified cure period.
- Documentation and warranty. The completed repair is documented. DryShield’s Lifetime Transferable Warranty is issued for qualifying injection repairs, which transfers to future owners of the home.
- Clearance for finishing. Once repairs are confirmed complete and cured, and any moisture issues are resolved, the basement is ready for framing, insulation and drywall.
Frequently asked questions
How do I know if a crack needs repair before I finish my basement?
Any crack that has shown water infiltration, staining, efflorescence or a white mineral deposit should be repaired before finishing. Dry hairline cracks with no history of leaking still warrant inspection because they can open further with seasonal movement. As a general rule, if you cannot confirm a crack has never leaked and will never leak, repair it before covering it. The cost of injection is far lower than the cost of demolishing finished materials to access a leaking crack later.
Can I inject a crack myself before finishing?
DIY polyurethane injection kits are available, but they typically use surface-mounted ports and lower injection pressures than professional equipment. Full-depth penetration through the wall thickness is harder to confirm without professional-grade equipment and experience. For a crack that will be permanently covered by finished materials, professional injection with a documented warranty is strongly recommended. A failed DIY repair hidden behind drywall is a significant risk.
How long after crack injection can I start framing?
Cure time depends on the specific product used and ambient temperature. Most polyurethane injection resins reach handling strength within 24 hours, but full cure for painting or covering can take longer. Your technician will provide the manufacturer’s recommended cure window. Do not apply vapour barrier or frame directly against the repaired crack until that window has passed.
What is the difference between a wet crack and a dry crack for repair purposes?
A wet or actively leaking crack requires a resin that can cure in the presence of water and expand to displace moisture, which is why polyurethane foam is preferred for active leaks. A dry, dormant crack can be treated with either polyurethane or epoxy depending on whether flexibility or structural bond is the priority. Mismatching the product to the crack condition is one of the most common reasons crack repairs fail.
Do floor cracks need to be repaired before I install flooring?
Yes. Any floor crack showing active seepage, staining or efflorescence must be addressed before flooring is installed. Moisture trapped under laminate, engineered hardwood or carpet creates conditions for mold growth and flooring failure. Even cracks that appear dry should be assessed; a crack that is dry in September may seep during spring snowmelt. See Floor Crack Injections for the specific process.
Will the Lifetime Transferable Warranty still apply after I finish the basement?
DryShield’s Lifetime Transferable Warranty covers qualifying crack injection repairs and transfers to future owners of the home. Covering a repaired crack with finished materials does not automatically void the warranty, but the repaired crack must have been properly injected and documented before finishing. Confirm the specific warranty conditions with your technician before scheduling finishing work, as terms may vary by repair type and site conditions.
How much does it cost to repair cracks before finishing a basement in Ontario?
Cost depends on the number of cracks, their length, the method required and site access conditions. Verified approximate ranges for crack injection in Ontario are published on the Crack Injection Cost page. As a general principle, repairing cracks before finishing is substantially less expensive than repairing them after, because post-finishing repair requires demolition of drywall, insulation and sometimes flooring before the crack can be accessed.
Is crack injection enough, or do I also need an interior drainage system?
For most basements with isolated wall or floor cracks and no history of flooding, crack injection is sufficient pre-finishing preparation. An interior drainage system is recommended when the basement has experienced repeated flooding, has multiple active leak points along the wall-floor joint, or sits in an area with a persistently high water table. A professional assessment will identify whether injection alone is adequate or whether a drainage system should be installed before finishing begins. See Internal & Interior Basement Waterproofing Solutions for details.
If you are planning to finish your basement and want to confirm that every crack has been properly assessed and sealed, DryShield’s team serves Toronto, the GTA and Ontario cottage country and can provide a thorough inspection and injection repair backed by a Lifetime Transferable Warranty. Contact DryShield to schedule an assessment before your finishing project begins.