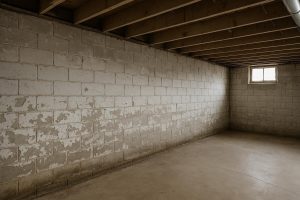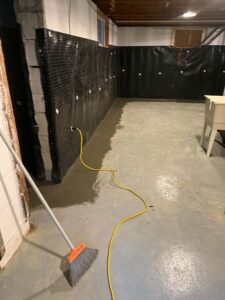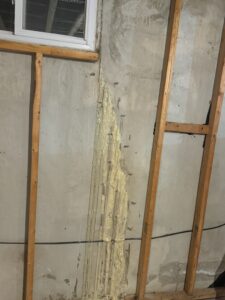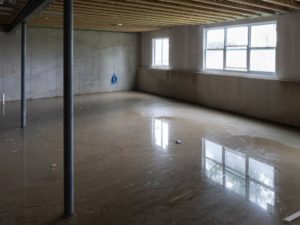
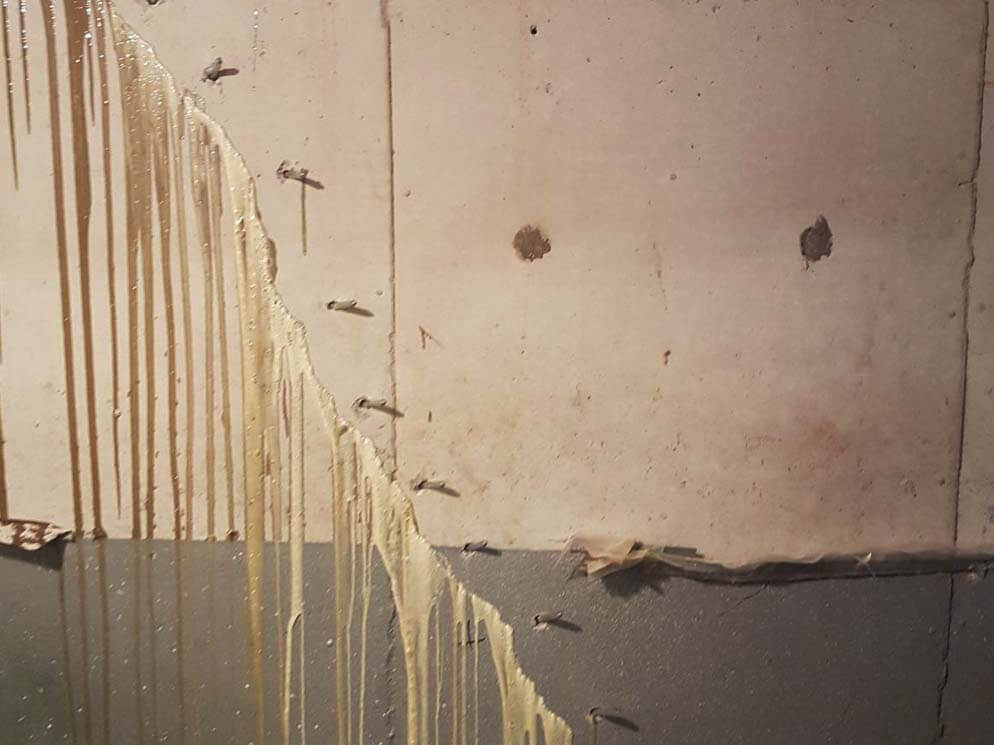
For a narrow, non-structural shrinkage crack in a dry poured-concrete wall, a quality DIY foundation crack repair kit can provide a temporary or short-term seal at low upfront cost. Professional crack injection is the better choice for active leaks, cracks wider than 0.5 mm, cracks showing signs of movement, or any situation where a lasting, warranted repair matters. If you are unsure which category your crack falls into, treat it as a professional job until a qualified technician says otherwise.
- DIY kits cost less upfront but carry real risk of incomplete fill, missed root causes and repeat failure.
- Professional polyurethane injection fills the full crack depth from the outside in, expanding to seal against active water pressure.
- Structural cracks, horizontal cracks and cracks with water actively pushing through them are outside the safe scope of any DIY kit.
- A professional repair typically includes a warranty; a DIY repair does not.
- The cost gap narrows significantly once a failed DIY attempt requires professional remediation.
How we compared
This comparison evaluates both options across seven dimensions: crack types each method can address, material and process quality, typical cost drivers, durability, warranty coverage, skill and equipment requirements, and risk of secondary damage. We drew on published technical data from polyurethane and epoxy resin manufacturers, the Ontario Building Code framework for foundation repair, and DryShield’s 25-plus years of field experience diagnosing crack failures across Toronto, the GTA and Ontario cottage country. No invented job counts, prices or customer outcomes are used. Where verified price data is unavailable, we describe cost drivers and link to our cost resources. The goal is an honest comparison, not a sales pitch: there are genuine situations where a DIY kit is a reasonable first step.
DIY foundation crack repair kits explained
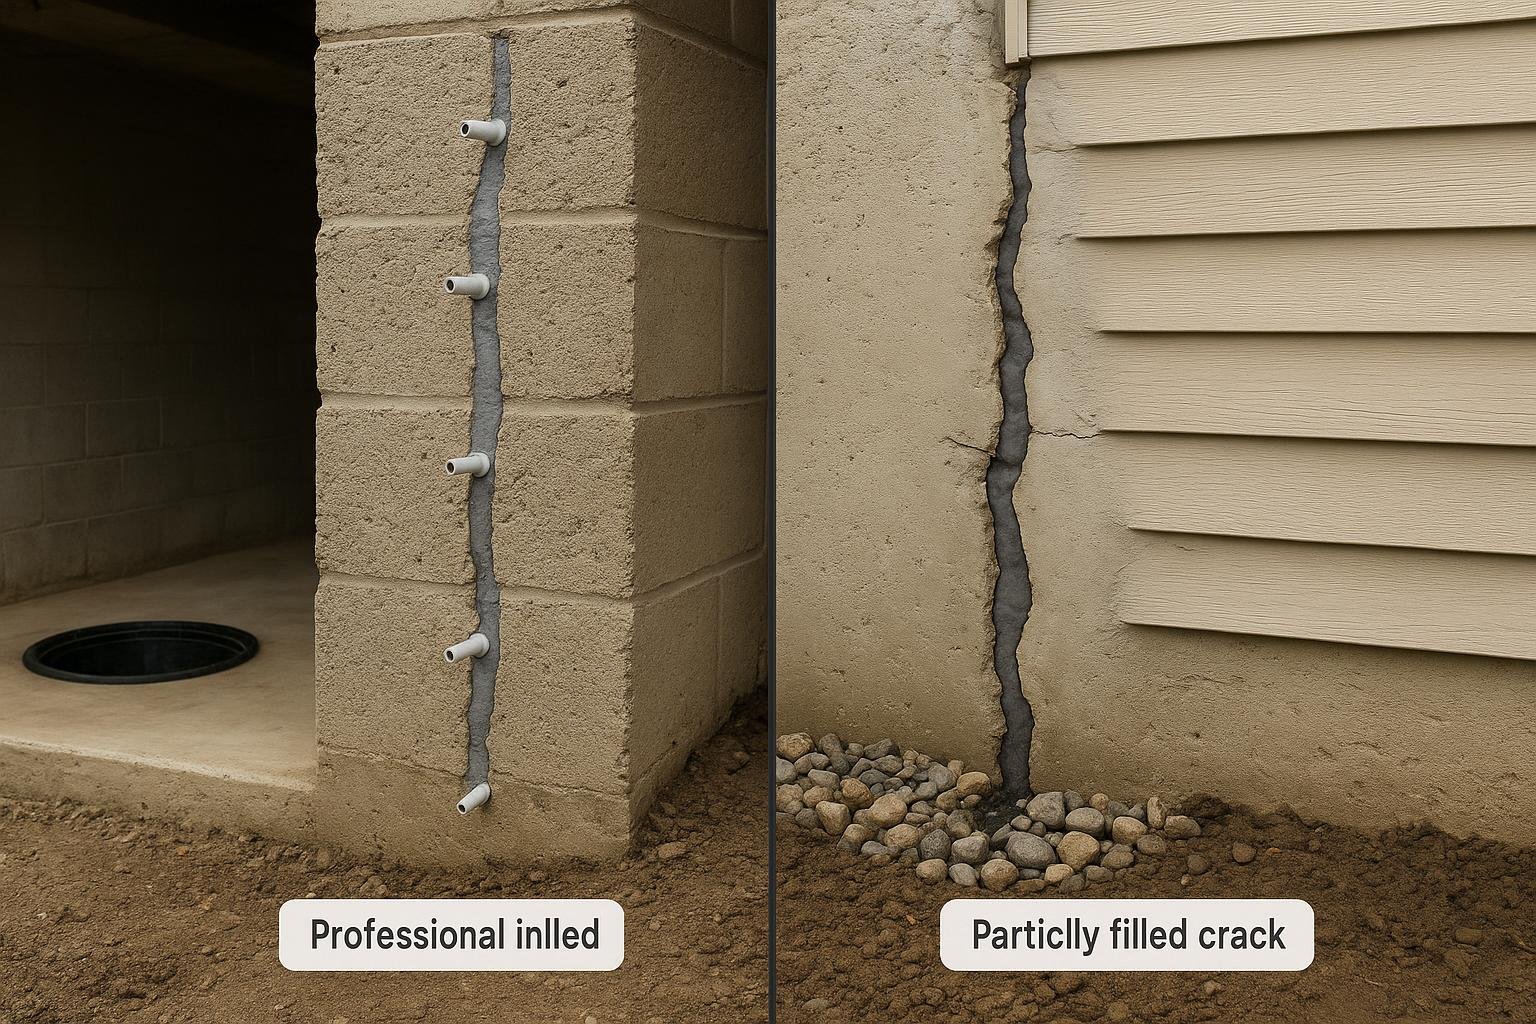
Retail and online DIY crack injection kits typically include a two-part polyurethane or epoxy cartridge, a set of surface ports, port adhesive and a basic applicator gun. The homeowner cleans the crack, bonds ports at intervals along the crack face, injects resin through each port in sequence and caps the ports once material appears at the next one. The process takes one to three hours for a typical wall crack.
The core appeal is cost and immediacy. A kit can be purchased the same day a crack is noticed, and no appointment is needed. For a hairline shrinkage crack in a dry wall that has shown no movement and no moisture, a well-executed DIY injection can provide a functional seal.
The limitations are significant. Consumer-grade applicator guns deliver resin at low, inconsistent pressure. Professional equipment operates at controlled pressures that push resin through the full thickness of a 200-to-250 mm poured-concrete wall. A DIY injection that only partially fills the crack leaves voids that become pathways for water once hydrostatic pressure builds. The homeowner also has no way to verify fill depth without destructive testing.
Kit resins vary widely in quality. Expanding polyurethane foams designed for DIY use are often lower-density than contractor-grade materials, which affects long-term flexibility and adhesion. Epoxy kits are rigid after cure and are inappropriate for cracks that experience any seasonal movement, which is common in Ontario’s freeze-thaw climate. Misidentifying the crack type before choosing a resin is a frequent source of DIY failure.
Finally, a DIY kit addresses only the visible crack face. It does not address drainage, hydrostatic pressure, deteriorating parging, or any exterior condition driving water toward the wall. If the root cause is not resolved, the crack or an adjacent area will re-wet.
Professional crack injection explained
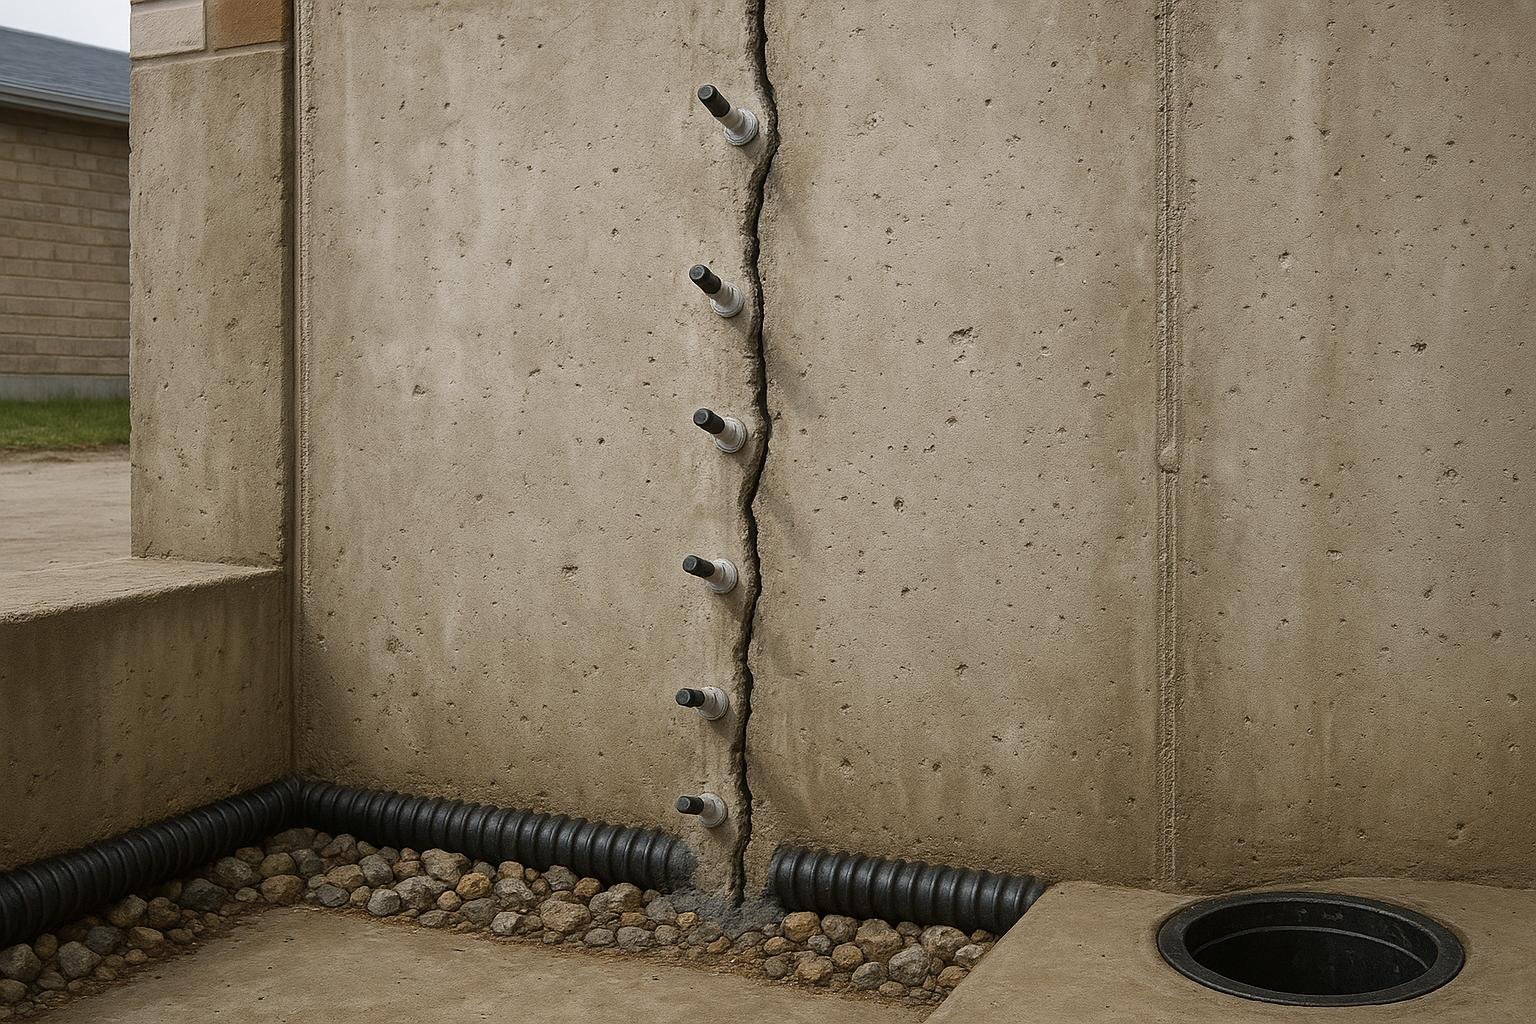
Professional polyurethane crack injection is a controlled, multi-step process. A technician first inspects the crack to classify it by type, width, activity and probable cause. Structural or horizontal cracks are referred for engineering assessment before any injection work proceeds. For suitable non-structural cracks, the technician cleans the crack face, installs ports at calculated spacing, and injects low-viscosity polyurethane resin under controlled pressure using calibrated equipment.
Contractor-grade expanding polyurethane reacts with moisture in the crack and expands to fill voids through the full wall thickness. The cured foam remains flexible, accommodating minor seasonal movement without re-cracking. This flexibility is a meaningful advantage over rigid epoxy in Ontario’s climate, where freeze-thaw cycling exerts repeated stress on foundations. You can read more about the material choice in our guide on epoxy vs polyurethane crack injection.
A professional inspection also identifies conditions a homeowner may miss: efflorescence indicating long-term water migration, horizontal cracking from lateral soil pressure, stair-step cracking in block walls, or multiple cracks suggesting a drainage problem rather than an isolated shrinkage event. Catching these distinctions early prevents a small repair from becoming a large one. See our GTA foundation crack troubleshooting guide for a detailed breakdown of crack types.
Professional repairs from DryShield come with a lifetime transferable warranty, which transfers to a new owner if the home is sold. This has direct implications for resale value and home insurance documentation. A DIY repair offers no warranty and may complicate insurance claims if the crack later causes water damage. Our guide on home insurance and foundation cracks in Ontario covers this in detail.
The primary limitation of professional injection is cost and scheduling. A professional visit requires booking, and the cost per crack is higher than a retail kit. For a homeowner with a confirmed dry, hairline, non-structural crack and the patience to follow kit instructions carefully, the professional option may feel like more than the situation requires.
Side by side
| Feature | DIY Crack Repair Kit | Professional Crack Injection |
|---|---|---|
| Crack types addressed | Dry, narrow, non-structural shrinkage cracks only | Non-structural and many active-leak cracks; structural cracks referred to engineer |
| Injection pressure | Low, inconsistent (manual gun) | Controlled, calibrated equipment |
| Fill depth verification | Not possible without destructive testing | Technician monitors resin travel between ports |
| Resin quality | Consumer-grade; variable density and flexibility | Contractor-grade; specified viscosity and expansion ratio |
| Crack diagnosis included | No; homeowner must self-diagnose | Yes; technician classifies crack before work begins |
| Warranty | None | Lifetime transferable (DryShield) |
| Suitable for active leaks | Generally no | Yes, with appropriate resin selection |
| Freeze-thaw flexibility | Limited; epoxy kits are rigid | High; polyurethane remains flexible after cure |
| Root-cause assessment | No | Yes; drainage and exterior conditions reviewed |
| Insurance documentation | None provided | Written report and warranty available |
The table shows that professional injection wins on nearly every technical dimension. The one area where a DIY kit genuinely wins is immediate availability and upfront cost. For a homeowner who has correctly identified a dry, hairline, non-structural crack and needs a same-day interim measure before a professional appointment, a kit has real practical value. For any other scenario, the technical gap is wide enough that the cost difference rarely justifies the risk.
Cost comparison
| Cost factor | DIY Crack Repair Kit | Professional Crack Injection |
|---|---|---|
| Materials | Kit price varies by retailer and resin type; consumer-grade resins are less expensive per unit volume | Contractor-grade resin, ports and equipment; higher material cost per crack |
| Labour | Homeowner’s own time (1-3 hours typical) | Technician time included in service price |
| Equipment | Basic applicator gun included in kit | Calibrated injection equipment; cost absorbed by contractor |
| Diagnosis | None; homeowner assumes crack type | Included in service visit |
| Remediation if repair fails | Full professional repair still required; prior DIY material may complicate injection | Warranty covers re-treatment if repair fails |
| Insurance and resale impact | No documentation; potential claim complications | Written warranty transferable at sale |
We do not publish specific price ranges here because crack injection costs depend on crack length, wall thickness, access conditions, number of cracks and regional factors. For current cost information, see our crack injection cost page and the crack injection cost calculator. The key cost insight is that a failed DIY repair does not eliminate the need for professional work; it adds a remediation step. Prior DIY material in a crack can partially block port adhesion or resin travel, increasing the complexity and sometimes the cost of the professional repair that follows.
Which is better for your situation
Choose a DIY kit if…
- The crack is a confirmed dry, hairline shrinkage crack with no history of moisture or staining.
- The crack is vertical and shows no signs of displacement, widening or horizontal component.
- You need an interim measure before a professional appointment can be scheduled.
- The wall is poured concrete (not block or stone), and the crack is less than approximately 0.5 mm wide.
- You are comfortable following technical instructions precisely and accept that the repair carries no warranty.
Choose professional crack injection if…
- The crack is actively leaking or shows water staining, efflorescence or mineral deposits. See our page on efflorescence on basement walls for what these signs mean.
- The crack is wider than 0.5 mm, has displaced edges, or has a horizontal or diagonal component. Use our wall crack diagnosis tool to classify your crack.
- You have more than one crack, or cracks have returned after a previous repair.
- The home is in a high-water-table area or on clay soil where hydrostatic pressure is a known factor.
- You want a warranted repair that is documented for insurance or resale purposes.
- The crack is in a block, stone or older rubble foundation, where injection technique and resin selection are more complex.
- You are unsure of the crack type. When in doubt, a professional diagnosis costs far less than a failed DIY attempt followed by remediation.
Ontario’s climate adds a specific consideration. Freeze-thaw cycling in the GTA, cottage country and communities north of the Oak Ridges Moraine means that cracks in poured-concrete walls experience repeated seasonal stress. A rigid DIY epoxy repair in this environment is likely to re-crack. Our guide on freeze-thaw foundation cracks in cottage country explains why flexible polyurethane is the appropriate material in these conditions.
The trade-offs nobody mentions
DIY kits: the hidden cost of partial fills. The most common failure mode for DIY crack injection is not a bad product; it is incomplete fill. Consumer applicator guns cannot sustain the pressure needed to push low-viscosity resin through 200 mm or more of concrete. The homeowner sees resin emerge at the next port and assumes the crack is filled, but the resin may have found a surface channel rather than travelling through the full wall thickness. The void remains, water finds it in the next heavy rain, and the homeowner is left with a stained wall and a crack that now has cured resin partially blocking the port locations a professional would use. This is not a hypothetical edge case; it is a documented failure pattern that technicians encounter when remediating prior DIY attempts.
Professional injection: scheduling and access realities. A professional repair requires booking a visit, which may not be possible during an active leak event. In an emergency, a DIY kit or hydraulic cement can serve as a temporary stop-gap while waiting for a professional appointment. See our emergency leaky basement repair guide for interim steps. Additionally, professional injection addresses the crack but does not automatically resolve exterior drainage problems. If grading, downspout discharge or a failed weeping tile system is directing water toward the foundation, injection alone may not be sufficient. A thorough professional assessment will identify these conditions, but the homeowner should understand that crack injection and full waterproofing are different scopes of work. Our guide on crack injection vs waterproofing explains when each is appropriate.
Both options: Neither a DIY kit nor professional injection is a substitute for addressing the source of water. Improving grading, extending downspouts and maintaining eavestroughs reduce the hydrostatic load on any repaired crack and improve the longevity of either repair method.
Frequently asked questions
Can a DIY crack injection kit stop an active leak?
Most consumer-grade DIY kits are not designed for active leaks. Expanding polyurethane reacts with moisture, which can be useful, but consumer-grade formulations and low-pressure applicators often cannot overcome the water pressure pushing through an active crack. Hydraulic cement can temporarily reduce flow while you wait for a professional appointment, but it is not a permanent fix. A professional using contractor-grade hydrophilic polyurethane under controlled pressure is the appropriate solution for an actively leaking crack.
How do I know if my foundation crack is structural?
Horizontal cracks, cracks with displaced edges (one side higher than the other), cracks wider than 6 mm, and cracks accompanied by bowing or bulging walls are all potential indicators of structural movement. Stair-step cracks in block foundations can also indicate structural settlement. Any crack with these characteristics should be assessed by a qualified professional before any repair is attempted. Our guide on how to tell if a foundation crack is structural provides a detailed checklist.
Will a previous DIY repair prevent a professional from injecting the crack?
Not always, but it can complicate the repair. Cured resin in the crack may partially block port adhesion or resin travel. A technician will assess the crack and may need to remove surface material or adjust port placement. In some cases, prior DIY material increases the complexity and cost of the professional repair. Disclosing any prior DIY attempts to the technician before work begins is important.
Does professional crack injection come with a warranty?
DryShield’s crack injection repairs include a lifetime transferable warranty. This means the warranty transfers to a new owner if the home is sold, which can be a meaningful factor in a real estate transaction. DIY kits carry no warranty on the repair outcome, only a product warranty from the manufacturer on the materials themselves.
Is professional crack injection worth the cost for a small crack?
The answer depends on what “small” means. A hairline crack with no moisture history in a dry wall may be a reasonable candidate for a careful DIY repair as an interim measure. However, even small cracks can have significant voids through the wall thickness that are invisible from the surface. The cost of a professional repair for a single crack is modest relative to the cost of water damage, mold remediation or the complications of a failed DIY attempt. See our crack injection cost page for current pricing context.
Can I use a DIY kit on a block or stone foundation?
Block and stone foundations present more complex repair challenges than poured concrete. Mortar joints, hollow cores in block walls, and irregular void patterns in rubble foundations make DIY injection unreliable. Professional assessment is strongly recommended for any crack in a non-poured-concrete foundation. Our guide on poured vs block foundation cracks explains the differences in detail.
What happens if I ignore a foundation crack entirely?
An untreated crack is a pathway for water, and water infiltration causes progressive damage: efflorescence, spalling concrete, mold growth, deterioration of interior finishes and, over time, potential structural compromise if water erodes the surrounding soil or freeze-thaw cycling widens the crack. Early repair, whether DIY or professional, is almost always less costly than delayed repair. Use our basement leak diagnostic tool to assess your situation if you are unsure of the urgency.
If you are weighing your options or are unsure which category your crack falls into, DryShield offers professional assessments across Toronto, the GTA and Ontario cottage country. A diagnosis costs far less than a remediation. Contact the DryShield team to arrange an inspection, or visit the basement crack repair service page to learn more about the full range of repair options available.