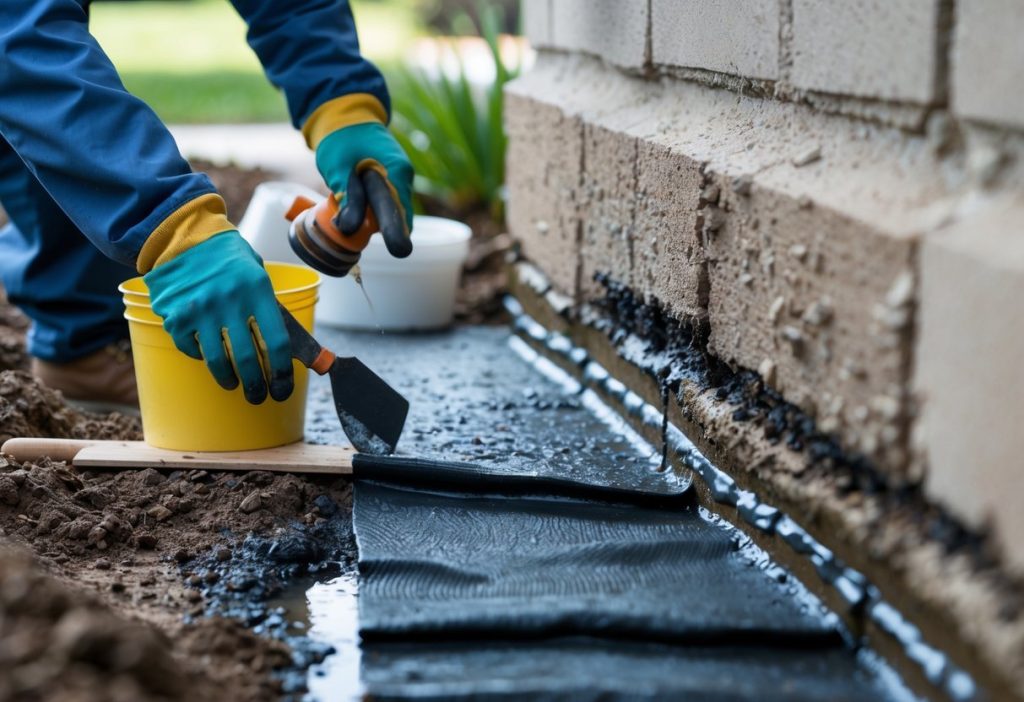
Water leaking through foundation walls can feel urgent, but you can stop it with the right steps. Start by spotting where water enters, then use targeted fixes like exterior drainage, interior waterproofing, or sealing cracks to protect your home.
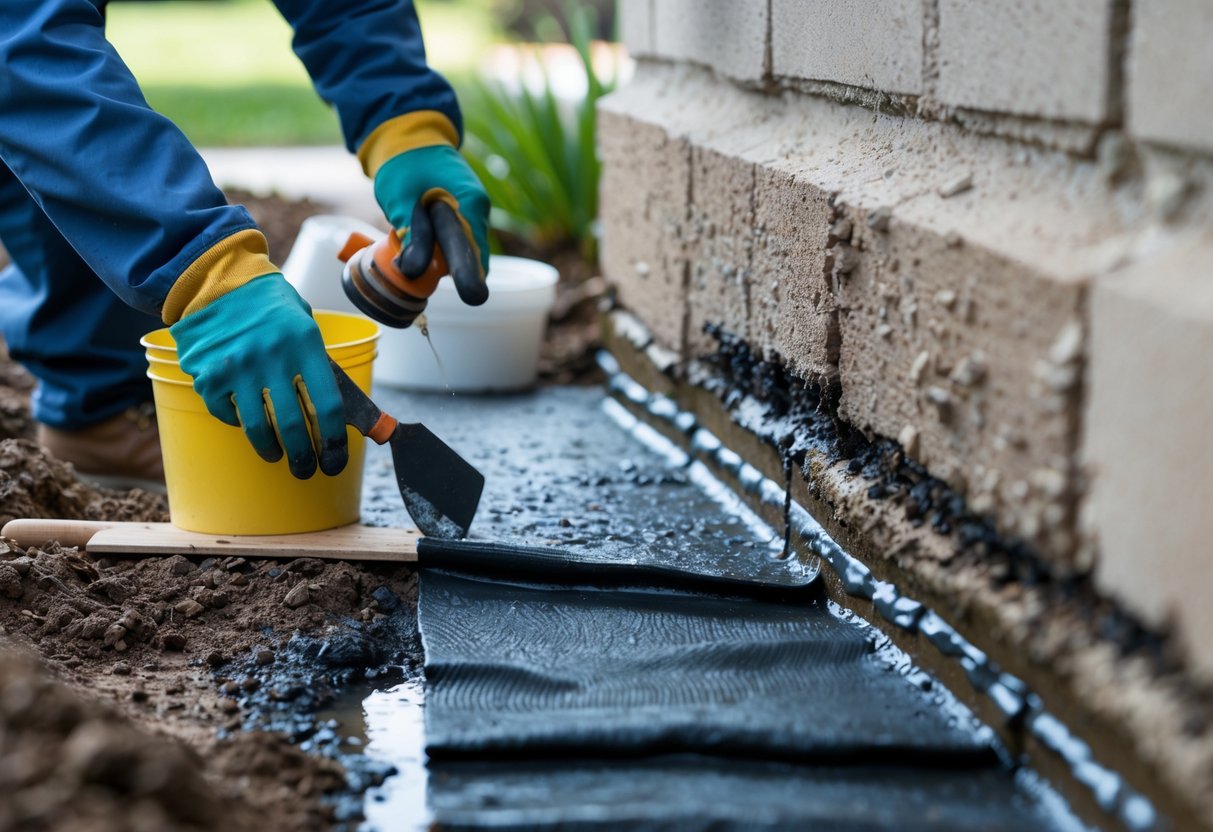
You can stop most foundation water problems by improving drainage, sealing entry points, and installing interior or exterior waterproofing as needed. Follow practical checks and fixes to keep water out and prevent mould, structural damage, and costly repairs.
Key Takeaways
- Inspect for damp spots, cracks, and pooled water to find the source.
- Use drainage improvements and targeted waterproofing to block water entry.
- Maintain gutters, grading, and seals to prevent future seepage.
Understanding Why Water Seeps Through Foundation Walls
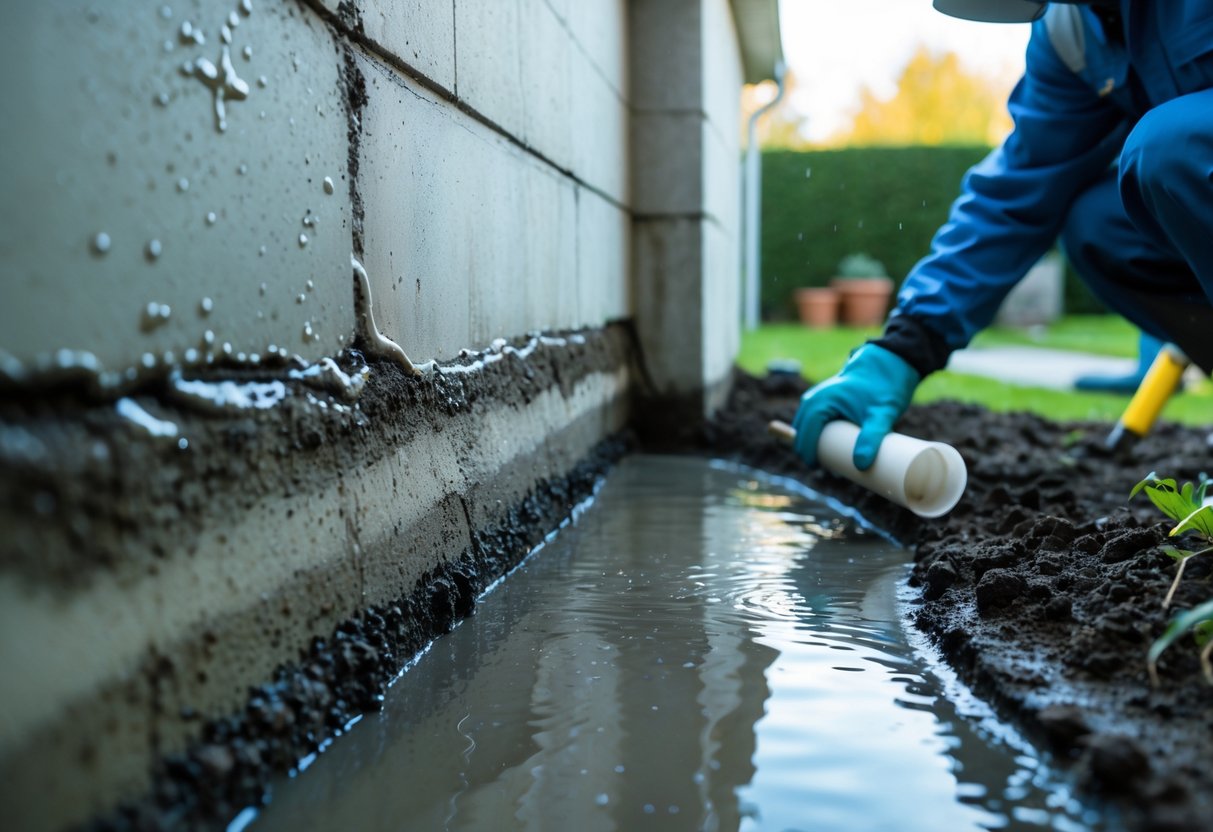
You will learn the main reasons water gets into your foundation and what forces push it through concrete or masonry. Knowing these causes helps you pick the right fixes for water seepage, damp basements, and musty smells.
Common Causes of Water Seepage
Water seepage usually starts outside your foundation. Poor drainage, like clogged gutters or soil sloping toward the house, sends rainwater to the foundation walls. Downspouts that dump near the foundation and compacted soil that won’t absorb water also make the problem worse.
Inside the wall, mortar joints and small hairline cracks let moisture enter. Finished basements hide the signs until you see damp spots, peeling paint, or a musty odour. Fixing surface drainage and sealing visible cracks are the first steps you can take.
Impact of Hydrostatic Pressure
Hydrostatic pressure is the force of water in the soil pushing against your foundation. After heavy rain or rapid snowmelt, saturated soil presses on the wall or slab. That pressure finds weak points—cracks, joints, or pores in concrete—forcing water through.
Hydrostatic pressure can lift floor slabs or push water through the cove joint where wall meets floor. You might see lines of seepage, bulging drywall, or puddles in the same areas after storms. Interior fixes alone often fail if you don’t reduce external water build-up.
Foundation Cracks and Cove Joints
Cracks in foundation walls form from settlement, freeze–thaw cycles, or poor concrete mix. Even narrow cracks let enough water in to cause damp patches and mould. You can often spot horizontal cracks, vertical hairline cracks, or spiderweb cracking near weak points.
The cove joint—where wall meets slab—acts like a seam. It commonly allows water to track in because it’s a thin gap with minimal sealant. You should inspect both cracks and the cove joint and mark recurring leak points before choosing repairs like hydraulic cement, epoxy injections, or interior drainage and sump pumps.
High Water Table and Soil Saturation
A high water table means groundwater sits close to your foundation level. In wet seasons or after heavy rain, the soil becomes saturated and cannot hold more water. That saturated soil increases hydrostatic pressure and keeps water against your foundation continuously.
Homes on clay soils or low-lying lots face this risk more. You might notice seepage that lasts days after rain, not just during storms. Addressing a high water table can require exterior waterproofing, improved site grading, or installing a perimeter drain and sump system to move water away from your foundation.
Identifying Signs of Foundation Water Problems
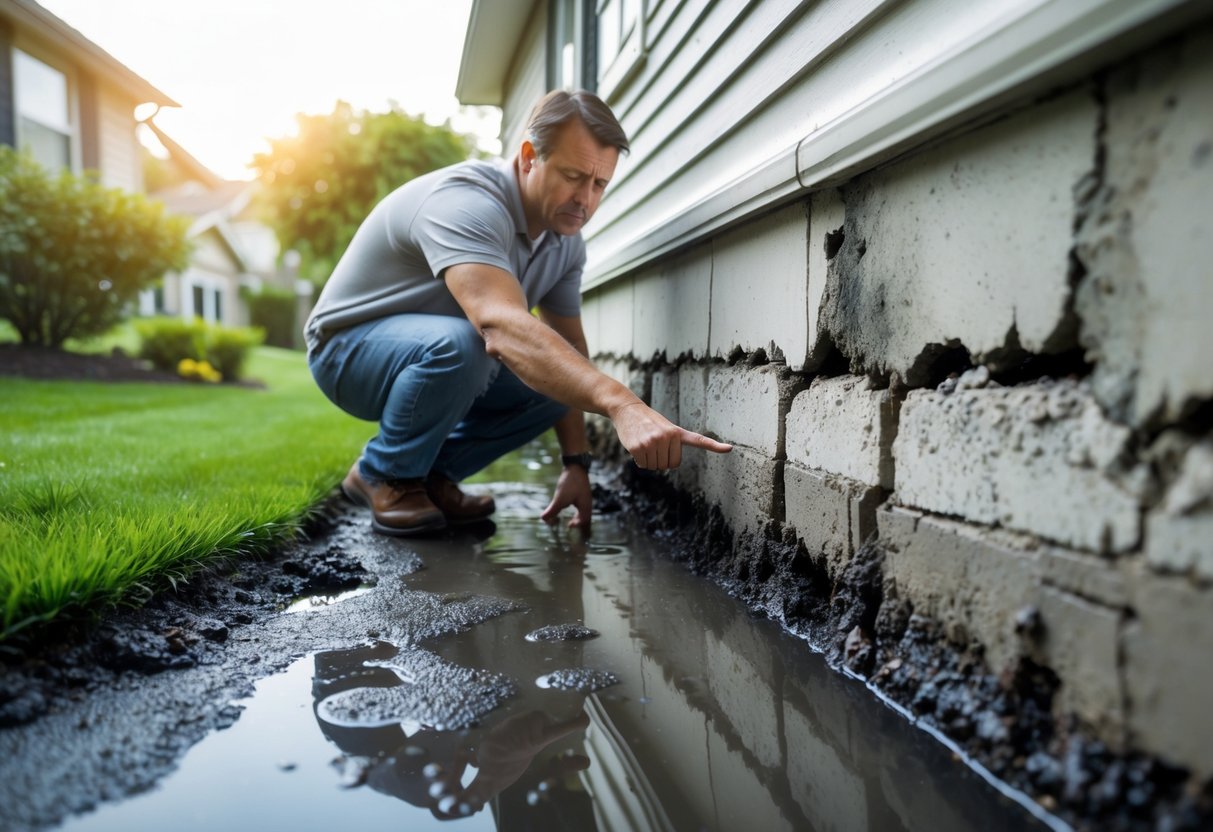
You can spot foundation water problems by watching for wet patches, musty odours, white mineral deposits, or paint that flakes away. These clues tell you where water travels and how long it has been present.
Visible Water Damage and Damp Walls
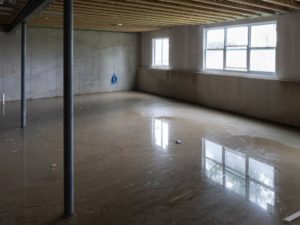
Look for dark stains, wet spots, or puddles on basement floors and along foundation walls. Water tends to collect at wall-floor joints, in corners, and near cracks. Check after heavy rain and during spring thaw when hydrostatic pressure and surface runoff are highest.
Measure how often damp returns. If walls dry quickly after cleaning, the issue may be surface seepage. If dampness is constant or spreads, water is moving through the wall or under the slab. Note hairline cracks, bulging, or mortar loss; these point to structural moisture entry that needs repair.
Document locations and timing of water. Take photos and mark spots on a plan of your basement. This helps a contractor pinpoint sources like poor exterior drainage, blocked gutters, or saturated soil against the foundation.
Musty Odours and Mould
A persistent musty smell usually means ongoing moisture in your basement or crawlspace. Mould growth appears as dark spots, fuzzy patches, or discolouration on walls, wood, insulation, or stored items. Mould often forms where air is stagnant and humidity stays high.
Test areas by tapping a taped swab to see if spores smudge. If you see mould, treat the immediate area with appropriate cleaners and remove porous items that are mould-damaged. More importantly, find where moisture is entering; mould returns if the water source stays.
Pay attention to health signs in your household like allergy flare-ups or respiratory irritation that occur indoors but not elsewhere. These can be clues that damp walls and mould are affecting air quality in your home.
Efflorescence and Peeling Paint
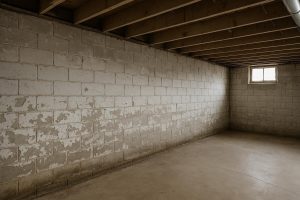
White, powdery deposits on masonry or concrete are efflorescence — salts left behind when water evaporates. Efflorescence shows active moisture movement through the wall. Scrape a sample; if it crumbles to a white powder, salts are present and indicate water paths.
Peeling, bubbling, or flaking paint on foundation walls also signals moisture push from inside. Paint fails when water vapour or liquid moves through the substrate. Check lower wall sections first, especially near the floor where rising damp or seepage concentrates.
Address efflorescence by fixing exterior drainage, sealing cracks, and improving grading. Removing loose paint and treating surfaces helps, but the paint will not hold unless you stop the moisture source.
Effective Solutions to Stop Water Seeping Through Foundation Walls
You can stop water by repairing openings, adding barriers, and forcing sealants into deep cracks. Focus on cutting off water paths, restoring solid concrete, and applying long‑lasting surface protection.
Sealing Foundation Cracks and Gaps
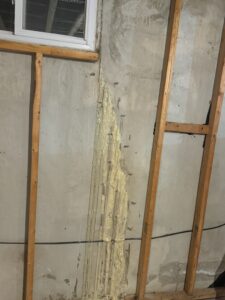
You should first find and clean all visible cracks, hairline gaps, and joints where water enters. Use a wire brush and a damp cloth to remove dirt and loose concrete so sealants bond well. For small cracks, use a high‑quality polyurethane or silicone sealant meant for concrete; press the sealant into the crack and smooth it to form a tight bead.
For wider or moving cracks, install a backer rod before sealing to give the sealant proper depth and flexibility. Pay special attention to wall‑to‑floor joints and around pipe penetrations; these spots often need oversized sealant beads. After sealing, monitor the area during the next heavy rain to confirm the fix.
Applying Waterproof Coatings and Membranes
Apply a waterproof coating on the interior or exterior foundation surface to create a continuous barrier against moisture. Interior cementitious coatings work quickly and are easy to apply with a trowel or brush, but exterior liquid membranes (bituminous or elastomeric) provide stronger protection when you can excavate.
When using a membrane, clean the wall, repair major defects, then apply primer if required. Roll or spray at the manufacturer’s recommended thickness and overlap seams. For extra protection, install a drainage board over the membrane to prevent backfill from damaging it and to channel water down to the footing drain.
Crack Injection and Hydraulic Cement Repairs
Use crack injection when water comes through active or structural cracks. Epoxy injections restore structural strength; polyurethane injections swell and seal active leaks. Drill ports along the crack, inject from the lowest port upward, and allow material to cure as directed.
For sudden leaks or large voids, apply hydraulic cement to stop water fast. It sets in minutes and expands slightly to plug flow. Mix per instructions and press it firmly into the leaking area. Combine hydraulic cement patches with later injections or coatings to ensure a durable repair and to fully stop water seepage.
Drainage Systems and Interior Waterproofing Methods
You will control water that reaches your foundation by directing it away, collecting it, and then removing it. Focus on a reliable interior drain tile, a properly installed sump pump, and continuous vapour barriers or interior membranes where needed.
Interior Drainage Systems and Drain Tile
An interior drainage system (also called a drain tile system or interior weeping tile) collects water that seeps through foundation walls or under the slab. Typically, you dig a shallow trench along the inside perimeter of the foundation, place a perforated drain pipe in crushed stone, and slope the pipe to a sump pit. The pipe must sit below the floor slab level so water drains quickly into the sump.
Use a plastic perforated pipe wrapped in filter fabric to reduce clogging. Ensure the trench ties into floor joints or a small cut-out to capture wall seepage. For block foundations, add a channel at the wall joint to intercept flow. Keep the pipe gently sloped (about 1–2% where possible) toward the sump.
Installing a Sump Pump
A sump pump moves collected water out and away from your house. You need a properly sized pit, a pump rated for your expected water volume, and a discharge line that carries water at least 2–3 metres from the foundation or to a storm sewer where allowed. Choose a submersible pump for quiet operation and fewer freezing issues, or a pedestal pump for easier access.
Install a check valve on the discharge line to prevent water returning to the pit. Wire the pump to a dedicated circuit and add a battery backup or a high-water alarm for reliability during power outages. Test the pump after installation by pouring water into the pit and checking that the pump starts and discharges fully.
Vapor Barriers and Interior Membranes
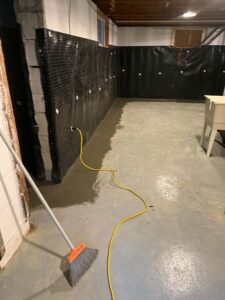
Vapour barriers and interior membranes stop moisture vapour and reduce dampness on walls and floors. You can apply a sheet membrane or a dimpled drainage mat directly to the foundation wall before finishing. These products create an air gap that channels moisture down to the drain tile and prevent water from contacting the finished surface.
For concrete floors, lay a polyethylene vapour barrier under any new flooring to keep ground moisture from entering living space. Seal seams and edges with compatible tape and fasteners. When installing a wall membrane, overlap and seal joints, and run the bottom into the drainage channel so any condensed water drains to the sump.
Enhancing Exterior Drainage and Preventative Measures
Start by directing water away from your foundation, keeping gutters clear, and choosing the right drainage systems for your yard. Focus on grading, waterproofing, drains, and rain-handling features to reduce seepage risks.
Proper Grading and Exterior Waterproofing
Grade soil so the ground slopes away from your foundation at least 15 cm over the first 1 metre. This small slope sends surface water downhill, away from foundation walls and window wells.
If you have repeated seepage, plan for exterior excavation to access the foundation wall. After digging, apply an exterior waterproofing membrane or rigid drainage board to the wall. Seal visible cracks with hydraulic cement before you install the membrane.
Backfill with free-draining granular material like crushed stone, not clay, to keep water moving downward to your drains. Add a perimeter drain at the footing level if water collects near the base of the wall.
French Drains and Dry Wells
A French drain is a trench filled with gravel and a perforated pipe that moves water away from your foundation. Install the pipe with a slight slope (about 1–2%) so water flows toward a daylight outlet, storm sewer, or dry well.
To install a French drain, dig a trench 45–60 cm wide and deep enough to reach below the footing or to the depth of the problem area. Wrap the pipe in filter fabric to stop silt, then cover with gravel and soil. Connect several drains if your yard funnels water from multiple spots.
Use a dry well when you need temporary storage rather than immediate discharge. A dry well takes surface water and lets it slowly infiltrate the soil. Ensure local bylaws allow dry wells and place them where soil has good percolation.
Extending Downspouts and Cleaning Gutters
Keep gutters free of debris by cleaning them at least twice a year. Blocked gutters overflow at the roof edge and dump water near your foundation. Use leaf guards if you have many trees.
Attach downspout extensions to move roof water at least 1.5–2 metres away from the house. Rigid PVC or corrugated extensions work; secure them so they don’t pull away in wind. If possible, direct extensions to a garden bed, berm, or storm sewer.
Check that downspouts discharge onto a stable surface. Use splash blocks under short downspouts to prevent soil erosion and channel water away from the foundation. Replace damaged splash blocks to keep flow controlled.
Rain Gardens and Splash Blocks
A rain garden is a planted depression that captures roof and yard runoff and lets it soak into the ground. Choose native, water-tolerant plants and excavate 15–30 cm deeper than surrounding grade. Add a layer of sand and compost to improve infiltration.
Place rain gardens downhill from downspouts or low spots but never where water will pool against foundation walls. Use them to reduce peak runoff and relieve pressure on subsurface drains.
Splash blocks sit under downspouts to slow and spread water flow. They are simple, low-cost devices made of concrete, plastic, or stone. Position splash blocks on gently sloped ground so discharged water runs away from your foundation and into a lawn or rain garden.
Maintaining a Dry and Healthy Basement Environment
Keep air moisture low and check key systems often. Control humidity with a properly sized dehumidifier and inspect drains, sump pumps, and wall seals on a schedule to catch problems early.
Using Dehumidifiers and Monitoring Humidity
Choose a dehumidifier sized for your basement square footage and ceiling height; look for one with a built-in humidistat and an auto-drain option so you don’t empty it daily. Set the humidistat to 40–50% relative humidity to slow mould growth and protect stored items.
Place the unit near the wettest area or where air circulation is best, and keep doors and windows closed when it runs. Clean or replace filters every 1–3 months and check coils for frost in cold basements. If humidity stays high, combine the dehumidifier with improved ventilation, an upgraded HVAC fan, or a heat source to raise air temperature slightly.
Use a separate digital hygrometer to verify readings and log values weekly for the first month after installation. If readings stay above 60%, inspect for leaks, clogged exterior drains, or failed waterproofing before buying a larger unit.
Routine Inspections and Ongoing Maintenance
Inspect interior drainage, sump pump operation, and foundation walls every spring and after heavy rain. Look for new cracks, efflorescence (white mineral deposits), peeling paint, or damp spots that signal water entry.
Test the sump pump monthly by pouring water into the pit until it activates. Clean the grate and float, and install a battery backup or high-capacity pump if your basement floods during power outages. Keep gutter downspouts at least 1.5–2 metres from the foundation and ensure grading slopes away from the house.
Repair small wall cracks with an epoxy or hydraulic cement product rated for below-grade use, and consult a licensed contractor for larger structural issues. Record each inspection, repair, and part replacement in a simple log so you can spot recurring problems and verify that your basement waterproofing measures stay effective.
Frequently Asked Questions
You will find practical answers about sealing cracks, interior and exterior waterproofing, drainage, soil grading, and when to hire a pro. The answers name specific materials, systems, and actions you can use to stop water coming through foundation walls.
What are effective methods for sealing cracks in basement walls?
For small hairline cracks, use a polyurethane or epoxy injectable sealant. Clean the crack, insert an injection port, and fill from the bottom up to ensure full penetration.
For larger or active leaks, consider epoxy or hydraulic cement for a temporary plug, then follow with an exterior repair or interior drain system. Patch kits and cement-based mortars work for non-moving cracks but may fail if the foundation shifts.
Can interior waterproofing prevent foundation water leaks?
Interior waterproofing stops water that has already passed through the wall from entering living spaces. Systems include interior sealants, wall-mounted drain channels, and a sump pump to remove collected water.
Interior methods do not stop water from entering the foundation itself. Use interior waterproofing with exterior fixes or improved drainage for a long-term solution.
What are the best exterior waterproofing techniques to protect foundations?
Excavate down to the footing, clean the foundation wall, and apply a liquid membrane or sheet membrane to create a continuous barrier. Finish with a protection board to shield the membrane during backfill.
Add exterior drainage like a perimeter drain pipe (weeping tile) at the footing. Combine membrane, drain pipe, and proper backfill material (free-draining gravel) for the most reliable protection.
How does proper drainage help to prevent water infiltration in basements?
A working perimeter drain redirects groundwater away from the foundation before it soaks the wall. Sump pumps then move that water safely away from the house.
Gutters and downspouts that discharge at least 2 metres from the foundation keep roof water off the soil next to your walls. That reduces saturation and hydrostatic pressure that forces water through cracks.
What role does soil grading play in combating foundation moisture problems?
Grade the soil to slope away from your foundation at about 1:100 (1 cm drop per metre) for the first 1.5–2 metres. This slope moves surface water away before it soaks into the ground near the wall.
Use free-draining fill like coarse sand or gravel near the foundation and avoid clay or compacted soil. Proper grading reduces pooling and lowers the risk of seepage.
Can professional foundation repair services mitigate water seepage issues?
Yes. A licensed contractor can diagnose the source of water, recommend the correct mix of interior and exterior solutions, and perform excavation and drainage work safely.
Professionals can also repair structural issues, install sump systems, and offer warranties. Get multiple quotes and check references and licences before hiring.