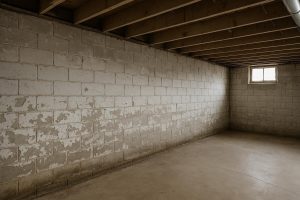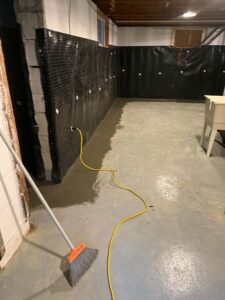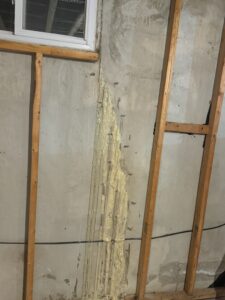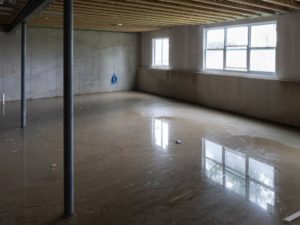
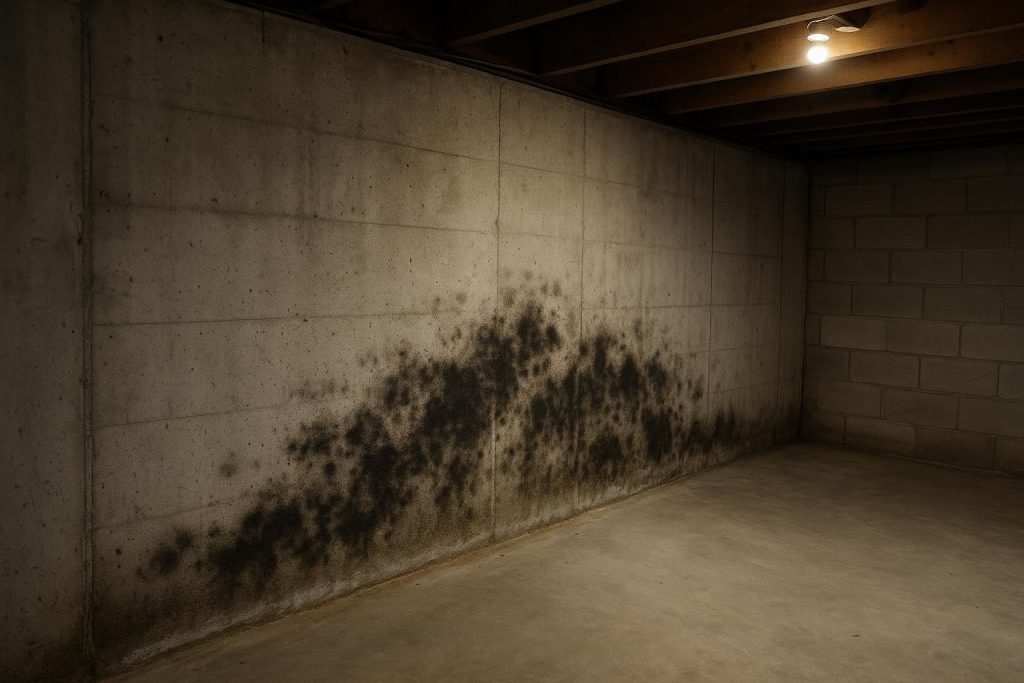
Mold on basement walls in Toronto is almost always a sign that water is getting in, not just that the air is humid. The first step is to identify the moisture source, because cleaning the mold without stopping the water guarantees it will return within weeks. If you can see active growth covering more than a few square centimetres, treat this as urgent and read on before reaching for bleach.
How urgent is this?
Monitor: A faint musty smell, minor surface condensation on cold pipes, or a small dusty patch on an unpainted block wall after a humid summer week.
Act soon: Visible fuzzy or discoloured growth on drywall, wood framing, or painted concrete; a recurring patch that keeps coming back after cleaning.
Act now: Black or green colonies spreading across multiple wall sections, a strong persistent odour, or any growth near an HVAC air handler that could circulate spores through the house.
Key Takeaways
- Mold on basement walls is a symptom of moisture intrusion, not the root problem itself.
- Toronto’s heavy clay soil holds water against foundation walls, making hydrostatic pressure the most common driver.
- Cleaning mold without fixing the water source is a temporary measure at best.
- A professional moisture assessment identifies whether the source is a crack, failed weeping tile, or condensation before any repair work begins.
Confirm it is actually mold
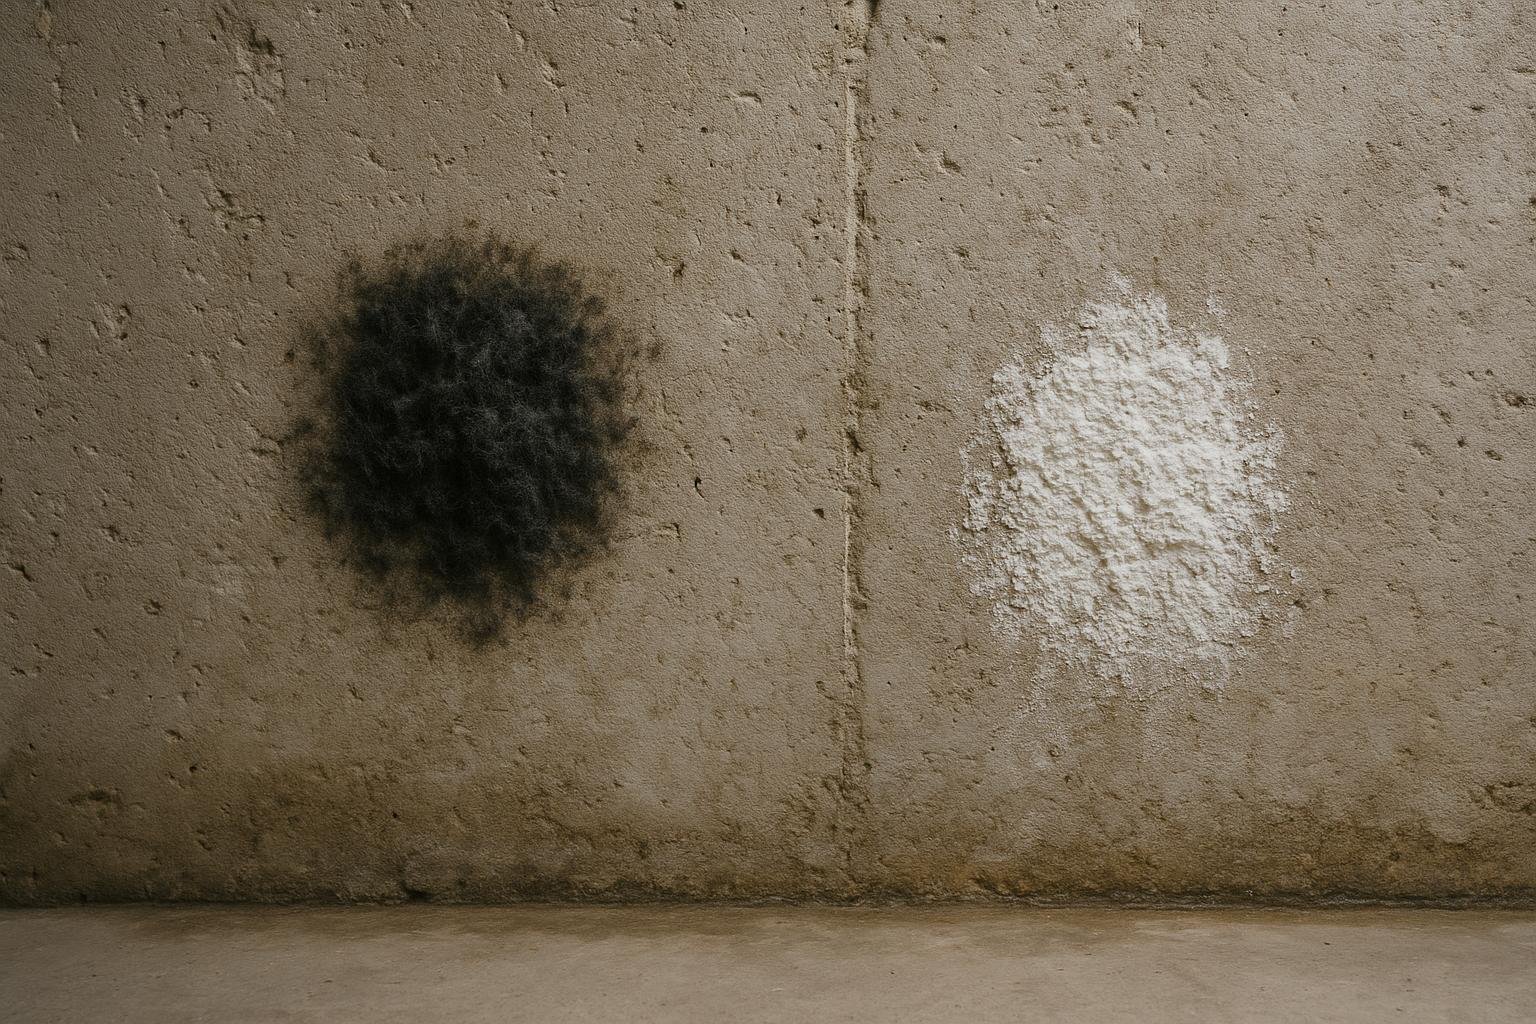
Basement wall mold typically appears as fuzzy or powdery patches in shades of black, green, grey, or white. It grows on organic surfaces first: drywall paper, wood framing, carpet backing, and stored cardboard. On bare concrete or block it can look like a thin dark film, sometimes confused with dirt or soot.
The clearest confirmation is smell. Active mold produces a damp, earthy odour that intensifies when you open the basement door after the space has been closed for a day or two. If the smell is strongest near the base of the wall or in a corner, that is usually where moisture is entering.
Run your hand along the wall surface. If the concrete feels damp or you can see a tide mark or mineral staining below the growth, water is migrating through the wall. If the wall feels dry and the growth is only on wood or drywall near a cold-water pipe, condensation may be the culprit rather than a foundation leak. The distinction matters because the fix is completely different.
Problems it gets confused with
Efflorescence is the most common look-alike. It appears as a white or grey chalky crust on concrete or block walls and is caused by mineral salts carried to the surface by water movement. It is not mold and is not a health hazard, but it does confirm that water is passing through the wall. You can read more about that specific issue on the efflorescence removal page.
Soot or dust accumulation near floor joists can look like a dark mold colony but wipes off cleanly with a dry cloth. Mold does not wipe off cleanly; it smears and leaves a stain. Iron bacteria staining from well water can also produce reddish-brown patches on block walls in cottage-country properties, which is unrelated to mold entirely.
Causes, ranked
1. Hydrostatic pressure through the foundation wall
This is the most common cause in Toronto and the broader GTA. The heavy clay soil that dominates most Toronto neighbourhoods holds rainwater and snowmelt against the foundation for days or weeks after a storm. That sustained pressure forces water through hairline cracks, porous block, or deteriorated parging. The mold then grows wherever the moisture reaches an organic surface. The telltale sign is that growth appears or worsens after heavy rain or spring thaw, and the wall feels damp to the touch below grade.
2. Failed or silted-up weeping tile
Many Toronto homes built before the 1980s have original clay weeping tile that has either collapsed or filled with silt and root intrusion over the decades. When the weeping tile can no longer carry groundwater away from the footing, water backs up against the wall and wicks upward. The telltale sign is persistent dampness along the base of the wall, often with a white mineral crust at the very bottom course of block or at the floor-wall joint.
3. Foundation wall cracks
Poured concrete walls develop shrinkage cracks as they cure, and those cracks widen slightly with each freeze-thaw cycle. A crack as narrow as a hairline can admit enough water to sustain mold growth on adjacent drywall. The telltale sign is a visible vertical or diagonal crack in the wall with a damp or stained zone directly behind any finishing material. A single crack injected with low-pressure polyurethane from the interior typically costs $600 to $900 and stops the entry point permanently.
4. Condensation from warm humid air
In summer, warm humid air enters the basement through windows, doors, or gaps in the rim joist. When that air contacts a cold concrete wall, moisture condenses on the surface. This is more common in finished basements with poor air circulation. The telltale sign is that dampness appears on the wall surface during hot humid weather but the wall is dry in winter, and there is no visible crack or staining pattern.
5. Plumbing leaks or HVAC condensate
A slow drip from a supply line, drain connection, or air handler condensate pan can sustain mold growth for months before anyone notices. The telltale sign is that growth is concentrated directly below a pipe or mechanical unit rather than spread along the base of the wall, and the surrounding concrete is otherwise dry.
Cause to solution table
| Cause | Telltale sign | Appropriate fix | Urgency |
|---|---|---|---|
| Hydrostatic pressure through wall | Damp wall after rain, worsens in spring | Interior weeping tile system or exterior waterproofing with membrane and drainage board | Act soon to act now |
| Failed weeping tile | Persistent dampness at wall-floor joint, efflorescence at base | Weeping tile replacement to a sump basin | Act soon |
| Foundation wall crack | Visible crack with damp or stained zone behind drywall | Low-pressure polyurethane crack injection from interior | Act soon |
| Condensation | Damp in summer only, no staining pattern, dry in winter | Dehumidification, air sealing, vapour barrier on walls | Monitor |
| Plumbing or HVAC leak | Growth concentrated below a pipe or unit | Plumber or HVAC technician to repair source, then mold remediation | Act now |
Use this table to match what you are seeing to the most likely source before spending money on any repair. A condensation problem treated as a waterproofing problem wastes money. A hydrostatic pressure problem treated with a dehumidifier will keep coming back every spring.
What you can safely check yourself
- Tape the plastic sheet test. Tape a 30 cm square of clear plastic sheeting to the damp wall section, sealing all four edges with duct tape. Leave it for 24 hours. If moisture forms on the room side of the plastic, the source is condensation. If it forms on the wall side, water is migrating through the concrete.
- Check the grade around the foundation. Walk the perimeter of your home. The soil should slope away from the wall at a rate of roughly 5 cm per metre for the first 2 metres. Flat or inward-sloping grade directs surface water toward the foundation.
- Inspect window wells. Clogged or shallow window wells fill with water during heavy rain and direct it straight through the window frame into the basement.
- Look for visible cracks. On any exposed concrete or block wall, scan for vertical, diagonal, or stair-step cracks. Note their width and whether the edges are stained or damp.
- Check the sump pit. If you have a sump pump, look into the pit. Standing water well above the pump intake, or a pump that runs constantly, suggests the weeping tile system is overwhelmed.
What NOT to do
Do not apply bleach directly to porous concrete or block. Bleach kills surface mold but does not penetrate masonry, and the moisture that fed the mold remains. The colony regrows within weeks, often larger.
Do not seal over mold on basement walls with paint or hydraulic cement without addressing the water source. Trapping moisture behind a coating accelerates deterioration of the wall and can cause the coating to blister and fail within one season.
Do not run a dehumidifier as the sole response to a wall that is wet from hydrostatic pressure. A dehumidifier manages air humidity; it cannot counteract water migrating through a foundation wall under pressure. It will run continuously, raise your electricity bill, and the mold will persist.
Do not disturb large mold colonies without proper respiratory protection. Health Canada recommends that mold areas larger than one square metre be assessed and remediated by a qualified professional. For a full overview of professional mold removal services, see what DryShield offers across Toronto and the GTA.
How a professional diagnoses it
A qualified waterproofing inspector starts with a visual survey of the entire basement perimeter, noting the location and pattern of mold growth, staining, efflorescence, and any visible cracks. Pattern matters: growth concentrated at the base of the wall points to weeping tile failure or floor-wall joint seepage, while growth behind a finished wall near a vertical crack points to crack infiltration.
The inspector then checks the exterior grade, window wells, and downspout discharge points. A moisture meter is used on the wall surface and on any wood framing to quantify how much water is present and how far it has spread.
Where the source is not immediately obvious, the inspector may recommend a written scope that includes excavation to the footing on one wall section to inspect the membrane condition, the state of the original weeping tile, and whether the footing drain is still functional. This full-picture assessment is what separates a lasting repair from a cosmetic one. The CMHC’s guidance on moisture and mold in residential buildings aligns with this diagnostic approach and is a useful reference for homeowners who want to understand the health implications.
Temporary vs permanent fixes
Temporary measures buy time but do not resolve the underlying problem. Cleaning the mold with a hydrogen peroxide solution, improving ventilation, and running a dehumidifier can reduce spore counts and slow regrowth while you arrange a professional assessment. These steps are appropriate for a week or two, not as a long-term strategy.
| Approach | What it does | Typical cost range | How long it lasts |
|---|---|---|---|
| Surface cleaning and dehumidification | Removes visible mold, reduces air humidity | DIY cost of materials | Weeks to months if water source persists |
| Polyurethane crack injection | Seals a single active crack permanently | $600 to $900 per crack | Long-term; flexible cure tolerates seasonal movement |
| Interior weeping tile system with sump | Intercepts groundwater at the footing before it enters the living space | Varies by linear footage; typically less than exterior | Long-term with sump pump maintenance |
| Full exterior waterproofing | Excavates to footing, applies rubberised membrane, installs new weeping tile and drainage board | Roughly $6,000 to $9,000 for an average Toronto semi or detached | Decades; addresses hydrostatic pressure at the source |
The right choice depends on the source of moisture and the condition of the existing foundation. A single injected crack is a very different job from a perimeter weeping tile replacement. All cost ranges above depend on a site inspection because linear footage, excavation depth, and access conditions vary significantly from one Toronto property to the next. You can review a detailed breakdown of what drives repair costs on the basement leak repair cost guide for Toronto.
A full exterior waterproofing job on a typical Toronto semi or detached runs roughly $6,000 to $9,000 depending on linear footage, excavation depth, and site access. A single crack injection is typically $600 to $900. Final figures always depend on a site inspection.
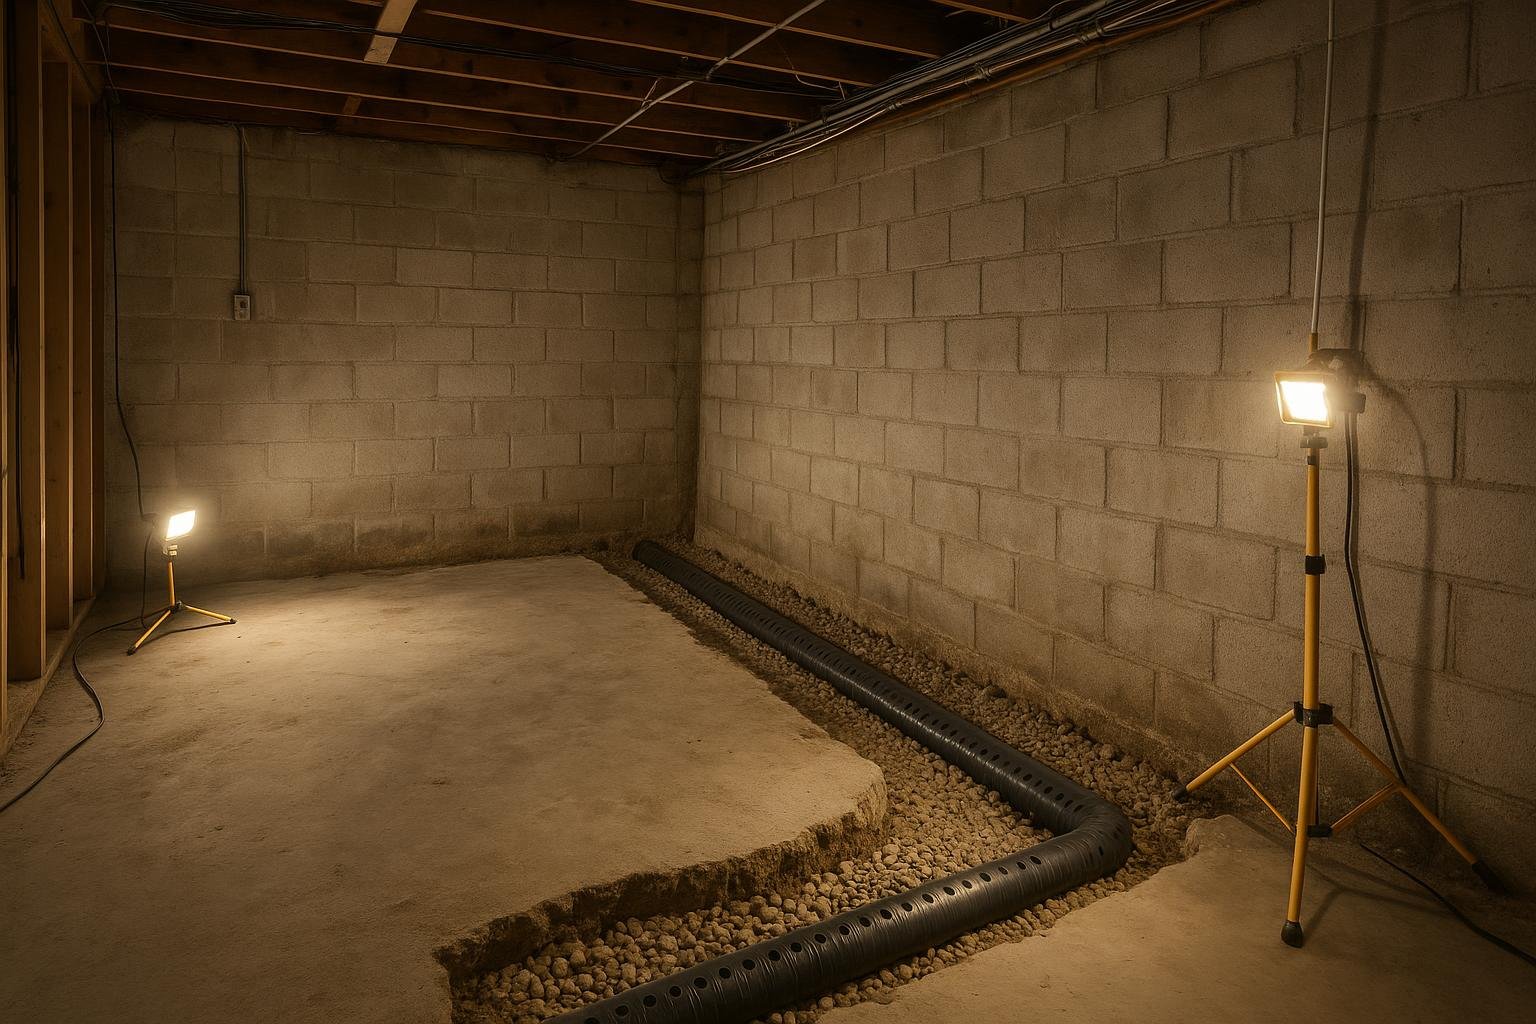
For homes where the weeping tile has silted up completely, an interior system that jackhammers the perimeter slab, installs new weeping tile to a sump basin, and finishes with a vapour barrier up the wall is often the most practical solution. This is a core part of the basement waterproofing services offered across Toronto and the GTA.
Where a foundation crack is the confirmed entry point, low-pressure polyurethane injection from the interior is the standard repair. Polyurethane cures flexible, which means it tolerates the seasonal expansion and contraction that Toronto’s freeze-thaw cycles cause. Epoxy injection is reserved for structural cracks where the wall needs to be re-bonded rather than simply sealed. More detail on that distinction is available on the polyurethane crack injection service page.
If you are unsure whether your basement wall crack is structural or a shrinkage crack, the guide on identifying structural foundation cracks walks through the key visual indicators before you call anyone.
Frequently asked questions about mold on basement walls
Is mold on basement walls dangerous to my family’s health?
Yes, prolonged exposure to basement mold can aggravate respiratory conditions, trigger allergies, and cause headaches or fatigue, particularly in children and anyone with asthma. Health Canada advises that any visible mold growth in a living space be taken seriously. The risk increases if the HVAC system draws air from the basement, because spores can circulate through the whole house.
Can I just paint over the mold with a mold-resistant primer?
No. Mold-resistant paint slows regrowth on a dry, clean surface but it cannot stop mold that is fed by an active moisture source. If water continues to migrate through the wall, the paint will blister and peel within one or two seasons and the mold will return underneath. The water source must be eliminated first.
How do I know if the mold is from a leak or just humidity?
Use the plastic sheet test described above. If moisture forms on the wall side of the plastic, water is coming through the foundation. If it forms on the room side, condensation from humid air is the cause. Growth that appears only in summer and only on cold surfaces like pipes or block walls near grade usually points to condensation rather than a leak.
Will a dehumidifier solve the problem?
A dehumidifier helps manage air moisture and can slow mold growth caused by condensation. It cannot counteract hydrostatic pressure forcing water through a foundation wall. If your wall is wet because groundwater is pushing through, a dehumidifier will run continuously without solving the problem. It is a useful tool alongside a proper repair, not a substitute for one.
How much does it cost to fix the underlying water problem in Toronto?
A single foundation crack injected from the interior typically costs $600 to $900. An interior weeping tile system varies by linear footage. Full exterior waterproofing on an average Toronto semi or detached runs roughly $6,000 to $9,000 depending on excavation depth and access. Every figure depends on a site inspection because no two foundations are identical.
Does mold in the basement affect my home’s resale value?
Yes, and significantly. Buyers and home inspectors flag visible mold and moisture staining as major concerns. In the Toronto market, a basement with active mold and no documented repair history can reduce offers or cause deals to fall through entirely. Addressing the water source and obtaining a warranty for the repair is the most effective way to protect resale value.
If you are seeing mold on your basement walls and want to know exactly what is driving it, book a free on-site moisture assessment with the DryShield team. The inspection covers the full perimeter, identifies the entry point, and produces a written scope so you know precisely what the repair involves before committing to anything. Contact DryShield to arrange a visit at a time that suits you.