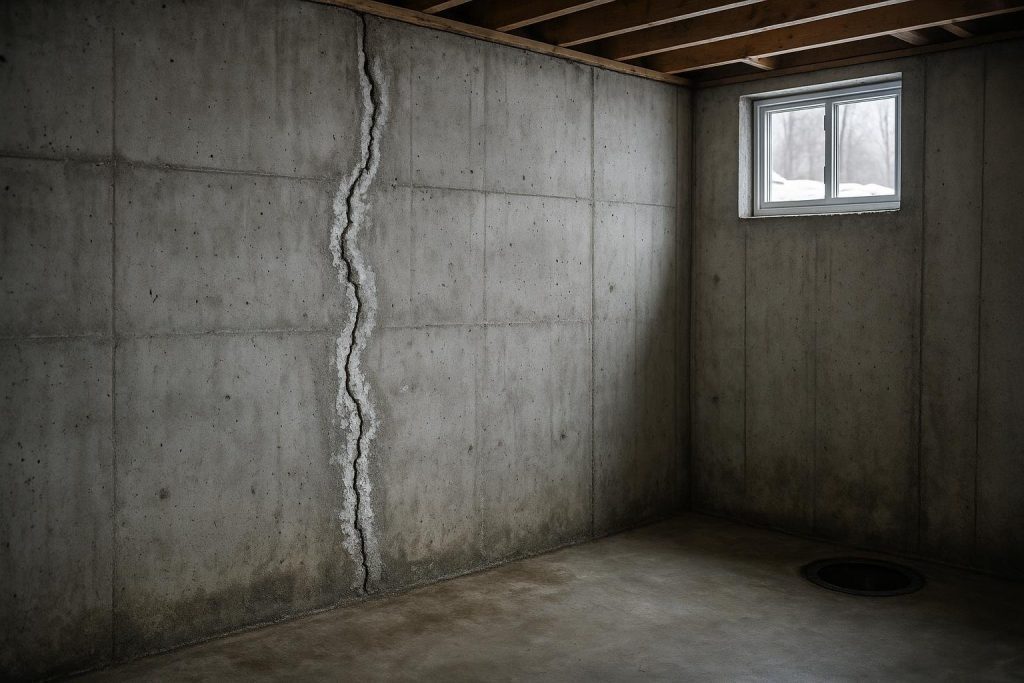
Freeze-thaw foundation cracks North Bay homeowners discover each spring are almost always caused by water entering hairline concrete pores, freezing, expanding by roughly nine percent, and forcing the crack wider with every cycle. North Bay’s climate delivers some of the most aggressive freeze-thaw cycling in Ontario, with temperatures crossing the zero-degree mark dozens of times between November and April. The right first step is to measure the crack width, note whether it is actively wet, and call a waterproofing professional before the next thaw season adds another cycle of damage.
Key Takeaways
- North Bay’s repeated freeze-thaw cycles are the primary driver of new and widening foundation cracks in the region.
- Hairline cracks under 0.3 mm can be monitored; cracks wider than 3 mm or actively leaking need professional repair before the next winter.
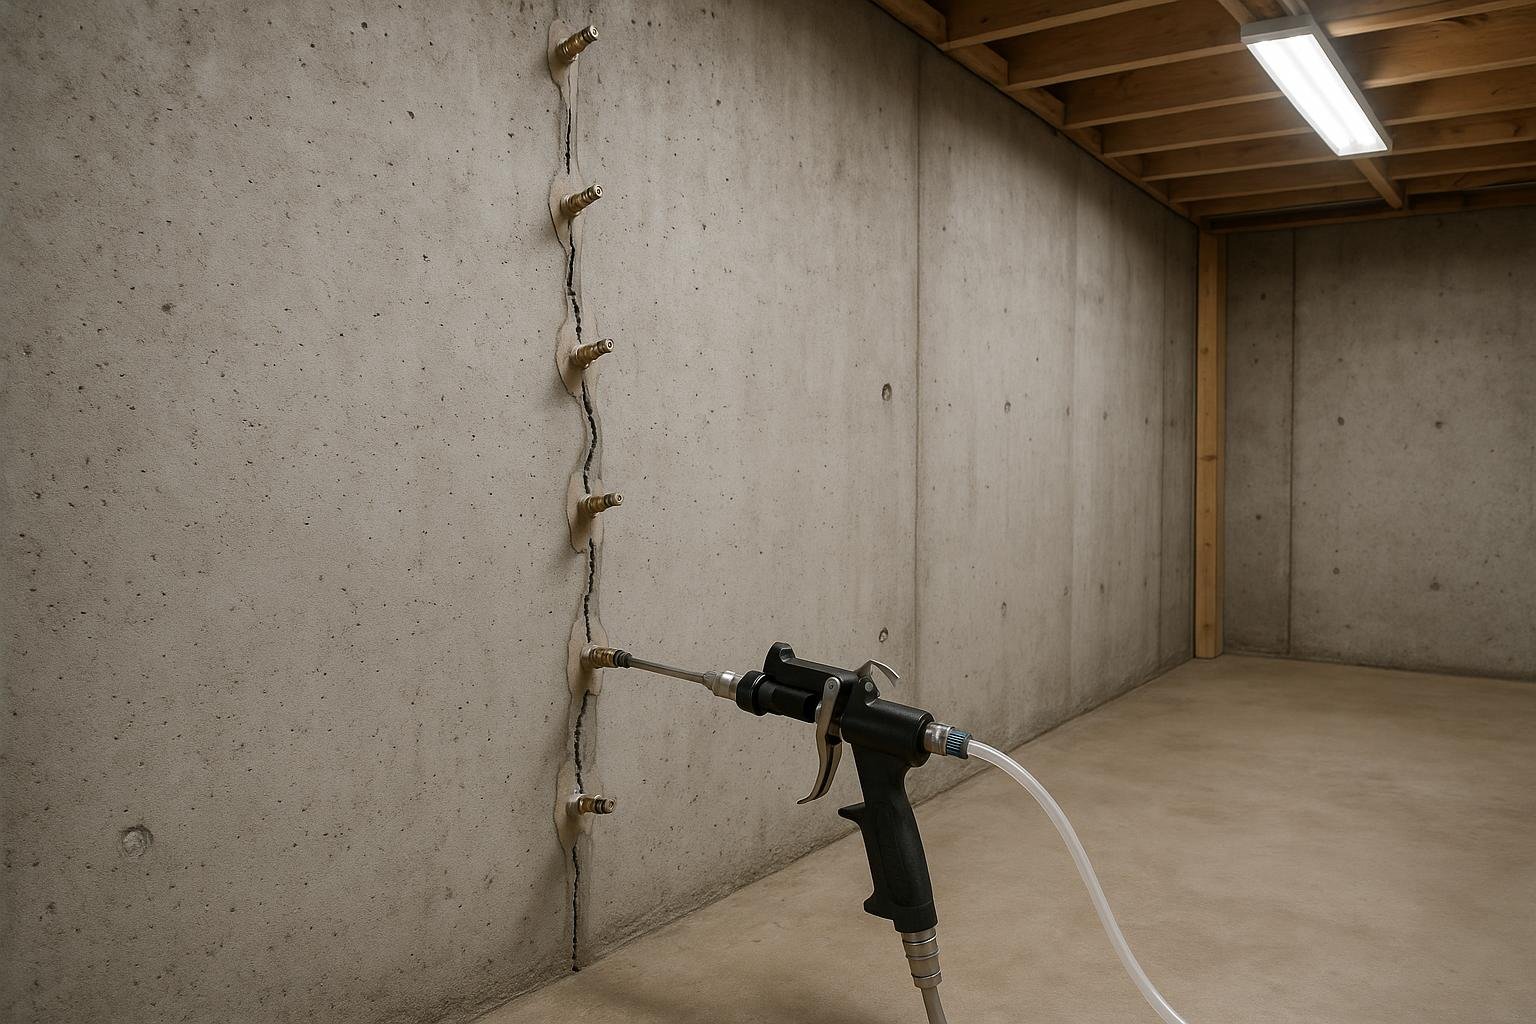
- Low-pressure polyurethane injection seals most non-structural freeze-thaw cracks from the interior for roughly $600 to $900 per crack.
- Leaving cracks unrepaired allows hydrostatic pressure from spring snowmelt to drive water directly into the basement.
- Soil type around North Bay, which includes a mix of sandy glacial till and pockets of clay, affects how quickly water migrates to the footing.
North Bay records an average of 40 or more freeze-thaw cycles per winter season. Each cycle that finds water inside a crack widens it a fraction of a millimetre. Over five winters, a hairline crack can open enough to allow steady seepage during spring snowmelt.
What freeze-thaw foundation cracks actually look like
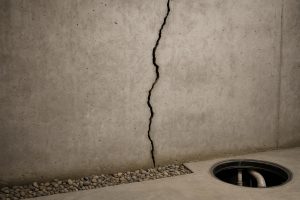
Most freeze-thaw foundation cracks North Bay residents find run vertically or at a slight diagonal on poured concrete walls. They typically start near a window corner, a tie-rod hole, or a mid-wall cold joint, because those are the weakest points where water first penetrates the concrete matrix. The crack face is usually clean and sharp-edged rather than crumbling, which distinguishes it from deteriorating parging or spalling caused by surface carbonation.
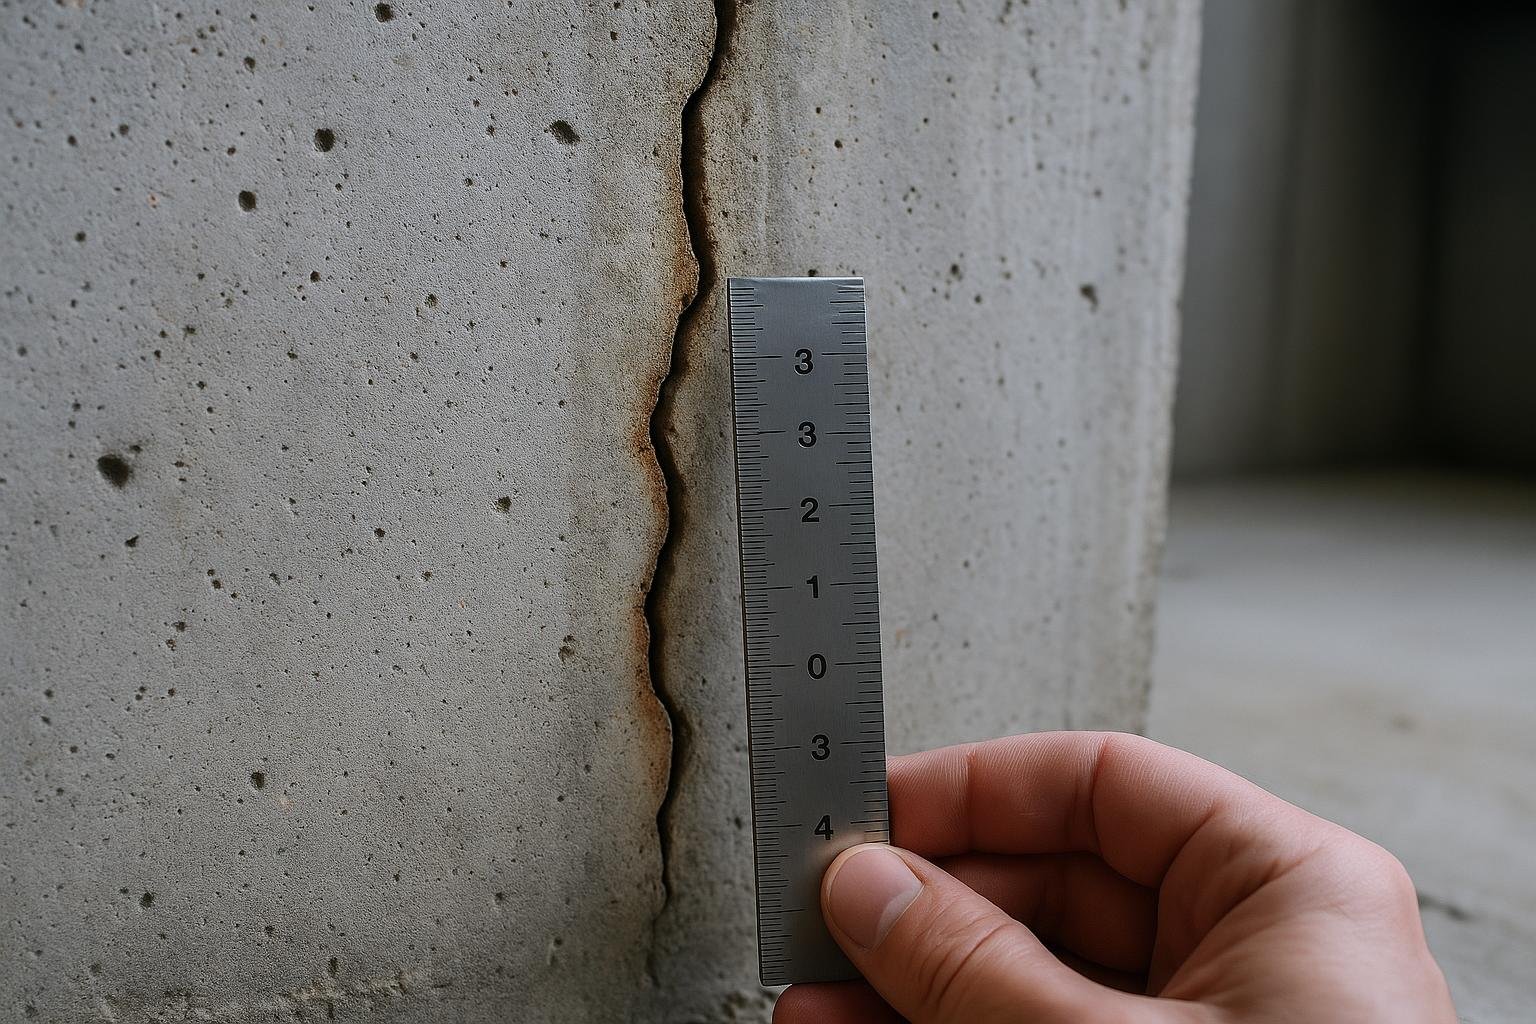
Width matters. A crack you cannot fit a credit card into is under roughly 0.5 mm and is in the monitoring category. A crack you can slide a dime into is approaching 1.5 mm and should be sealed before winter. Anything wider than 3 mm, or any crack that has shifted so one side sits higher than the other (called differential displacement), moves into structural territory and needs an engineer’s assessment alongside waterproofing work.
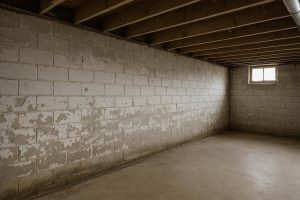
Look for efflorescence, the white chalky mineral deposit left when water evaporates, along the crack edges. Its presence confirms the crack has already carried water and is an active pathway, not just a cosmetic surface line. You can read more about that symptom in our guide to white efflorescence on basement walls.
How urgent is this?
Monitor: Hairline crack, dry, no efflorescence, no displacement. Measure and photograph it monthly through winter.
Act soon: Crack is 1 mm or wider, shows efflorescence, or feels damp after rain or snowmelt. Seal before the next freeze season.
Act now: Active water entry, crack wider than 3 mm, one side displaced vertically, or crack is horizontal. Call a professional this week.
Problems it gets confused with
Shrinkage cracks form during the original concrete cure and are typically very fine, numerous, and random in pattern. They do not widen over time the way freeze-thaw cracks do. Settlement cracks run diagonally from corners and are caused by soil movement under the footing, not ice pressure inside the wall. Tie-rod holes are small circular voids left by formwork hardware; they look alarming but are a known weak point that simply needs injection. Horizontal cracks are the most serious category and are caused by lateral soil pressure against the wall, not freeze-thaw action. If you see a horizontal crack, that is a structural issue requiring immediate professional review, not a DIY injection job.
Causes, ranked
1. Water infiltration followed by repeated freezing
This is the cause in the vast majority of North Bay cases. Rainwater or snowmelt enters a micro-crack or a porous section of the concrete wall. When temperatures drop below zero, that water expands as it freezes, applying pressure from inside the concrete matrix outward. The crack widens slightly. When it thaws, more water enters the now-wider gap. The telltale sign is a crack that has visibly grown since you first noticed it, often with white efflorescence along its edges.
2. Inadequate or failed original drainage
Many North Bay homes built before the 1980s rely on clay tile weeping systems that have since silted up completely. When drainage fails, water pools against the footing and saturates the lower wall. That saturated concrete is far more vulnerable to freeze-thaw damage than a dry wall would be. The telltale sign is seepage concentrated at the base of the wall or at the floor-wall joint, not just at the crack itself.
3. Poor grading directing water toward the foundation
Settled soil or landscaping that slopes toward the house channels surface water directly against the foundation wall. In North Bay, spring snowmelt from heavy snowpack can deliver a large volume of water in a short window, overwhelming even functional drainage. The telltale sign is seepage that appears specifically during or immediately after snowmelt, then dries up by mid-May.
4. Hydrostatic pressure from a high water table during thaw
North Bay sits on terrain with variable drainage. In low-lying areas near Lake Nipissing or along creek corridors, the water table rises sharply during spring thaw. Hydrostatic pressure pushes water through any existing crack or porous section with considerable force. The telltale sign is water appearing at the floor-wall joint or through the floor itself, not just through wall cracks.
5. Thermal bridging through uninsulated walls
An uninsulated or poorly insulated foundation wall allows the exterior freeze-thaw temperature swing to penetrate deeply into the concrete. The concrete itself cycles through freezing and thawing repeatedly, accelerating internal micro-fracturing. The telltale sign is cracks distributed across a broad wall section rather than concentrated at a single weak point.
Freeze-thaw foundation cracks North Bay: cause and solution table
| Cause | Telltale sign | Appropriate fix | Urgency |
|---|---|---|---|
| Water in crack freezing and expanding | Crack widened since last year, efflorescence present | Low-pressure polyurethane injection from interior | Act soon (before next winter) |
| Failed weeping tile, no drainage | Seepage at floor-wall joint, damp lower wall | Interior weeping tile system to sump basin | Act soon to Act now |
| Negative grade directing snowmelt inward | Seepage only during spring thaw, dry by June | Grade correction plus crack sealing | Monitor to Act soon |
| High water table, hydrostatic pressure | Water at floor-wall joint or through floor | Sump pump installation, interior drainage | Act now |
| Thermal bridging, uninsulated wall | Multiple cracks spread across wall face | Injection of all cracks, consider exterior membrane | Act soon |
The table above shows that most North Bay freeze-thaw cracks are solved by polyurethane injection, but the underlying drainage condition must also be addressed. Injecting a crack without fixing a failed weeping tile system is like patching a tire without removing the nail: the next weak point will open under the same pressure. A site inspection identifies which combination of fixes applies to your specific wall and soil conditions.
Repair options and realistic cost ranges
When addressing freeze-thaw foundation cracks North Bay homeowners have several repair paths available, ranging from interior injection to full exterior waterproofing. The right choice depends on crack width, drainage conditions, and wall type.
| Repair method | What it addresses | Typical cost range (Ontario) | Durability |
|---|---|---|---|
| Polyurethane crack injection (interior) | Single non-structural crack, seals flexible | $600 to $900 per crack | Long-term if drainage is also corrected |
| Epoxy crack injection (interior) | Structural crack requiring wall re-bonding | $700 to $1,100 per crack | Rigid bond, appropriate for structural repair only |
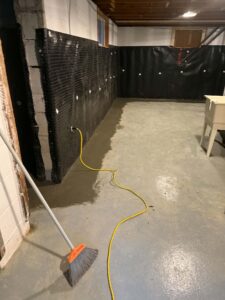
| Interior weeping tile to sump basin | Failed drainage, hydrostatic pressure | Below exterior system cost; site-specific | Permanent with sump pump maintenance |
| Exterior waterproofing with membrane | Multiple cracks, failed exterior drainage | $6,000 to $9,000 for average home | Most comprehensive; addresses root cause |
| Hydraulic cement patch (DIY) | Surface cosmetic only | Under $50 in materials | Temporary; cracks re-open within one to two winters |
These ranges come from completed jobs across Ontario and are starting points only. The final figure for any North Bay home depends on the number of cracks, wall height, soil conditions, and whether existing drainage needs to be replaced. An exterior waterproofing job that requires deep excavation through rocky glacial till, which is common north of the city, will sit at the higher end of the range. Always get a written scope with linear-foot pricing before committing to any system. For a broader look at what sealing work costs across the province, see our foundation crack sealing cost guide for Ontario homeowners.
What you can safely check yourself
- Measure and photograph every crack. Use a ruler and take a photo with a coin for scale. Date the photo. Repeat each month through winter to see whether the crack is growing.
- Check the grade around the foundation. Stand back and look at whether the soil slopes away from the house or toward it. Six inches of drop over the first ten feet is the standard recommended by the Canada Mortgage and Housing Corporation (CMHC) for positive drainage.
- Inspect eavestroughs and downspouts. Blocked gutters overflow directly against the foundation wall. Downspouts should discharge at least two metres from the wall.
- Test your sump pump. Pour a bucket of water into the pit and confirm the float triggers the pump. A failed pump during spring thaw is a common cause of sudden basement flooding in North Bay.
- Look for efflorescence inside. White mineral deposits along a crack confirm active water movement through that pathway and move the crack from cosmetic to functional concern.
What NOT to do
Do not fill a freeze-thaw crack with hydraulic cement or flexible caulk and consider the job done. Both materials are rigid or poorly bonded and will be pushed out by the same ice pressure that opened the crack in the first place. You will be back at the same crack the following spring.
Do not ignore a crack that has been stable for years if you notice it is now wet for the first time. A change in drainage conditions, a new downspout extension removed by a landscaper, or a neighbour’s new driveway can redirect water to your wall and activate a previously dormant crack.
Do not attempt to inject a crack yourself with consumer-grade foam. Low-pressure polyurethane injection requires calibrated equipment and port spacing to ensure the resin travels the full depth of the crack. Underfilled sections remain open pathways for water and ice.
How a professional diagnoses it
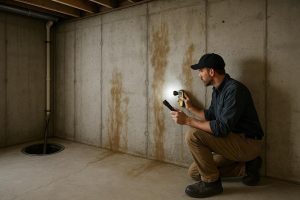
A proper site inspection for a North Bay foundation crack starts with a moisture assessment of the interior wall surface, using a calibrated moisture meter to identify wet zones that are not yet visible to the eye. The inspector then traces each crack from floor to ceiling, noting width, displacement, and whether the crack passes through the full wall thickness or is surface-only.
Outside, the inspector checks grade slope, downspout discharge points, and any visible signs of soil settlement or previous excavation. In North Bay, the inspector will also consider the home’s proximity to Lake Nipissing or low-lying areas where the spring water table rises significantly.
The inspection concludes with a written scope that specifies whether injection alone is sufficient or whether a drainage solution, such as a new interior weeping tile system tied to a sump basin, is needed alongside crack repair. CMHC’s guidance on foundation moisture management, available at cmhc-schl.gc.ca, aligns with this diagnostic approach and confirms that addressing drainage is as important as sealing the crack itself.
For a full walkthrough of what the repair process involves, the foundation crack repair guide for North Bay homeowners covers each stage in detail.
Temporary vs permanent fixes
A temporary fix buys time but does not stop the underlying cycle. Hydraulic cement packed into a crack will hold through one dry summer but typically fails within one or two winters as ice pressure breaks the bond. Flexible caulk applied to the interior face seals the visible gap but leaves the crack open through the wall depth, where water continues to freeze and expand.
A permanent fix addresses the full crack depth and the water source. Low-pressure polyurethane injection fills the crack from the interior surface to the exterior face, curing into a flexible seal that tolerates the seasonal foundation movement North Bay homes experience. Because the cured resin flexes rather than shatters, it survives subsequent freeze-thaw cycles without re-opening. Epoxy injection is reserved for structural cracks where the wall needs to be re-bonded, not for typical freeze-thaw cracks, because epoxy is rigid and can transfer stress to adjacent concrete.
Where drainage is the root problem, injection alone is a partial solution. A permanent outcome requires new weeping tile bedded in clear stone, tied to a functioning sump basin with a reliable pump. That combination removes the water before it ever reaches the wall, eliminating the hydrostatic pressure that drives seepage through even a well-injected crack.
Frequently asked questions
How do I know if a freeze-thaw crack in my North Bay foundation is structural?
A crack is likely structural if it is horizontal, if one side sits higher than the other (differential displacement), or if it is wider than 6 mm. Vertical freeze-thaw cracks are usually non-structural. Any crack with displacement or a horizontal orientation should be reviewed by a structural engineer before injection work begins. Our guide on identifying structural foundation cracks explains the visual tests in detail.
Can I inject a foundation crack myself in winter?
Polyurethane resin requires a minimum wall temperature of around 5 degrees Celsius to cure properly. In a North Bay winter, an unheated basement wall can be well below that. Professional crews use heated equipment and may apply warming measures to the wall surface. DIY injection in cold conditions typically results in incomplete cure and a crack that re-opens by spring.
How much does crack injection cost in North Bay?
A single non-structural foundation crack injected from the interior typically falls in the $600 to $900 range. The final figure depends on crack length, wall thickness, and whether multiple cracks are addressed in the same visit. A site inspection is needed to confirm the scope. For broader repair pricing, see the North Bay foundation crack repair guide.
Will the crack come back after injection?
Polyurethane injection cures flexible, so it tolerates the minor seasonal movement that North Bay foundations experience. If the underlying drainage problem is also corrected, the repaired crack should not re-open. If water continues to saturate the wall and freeze inside adjacent pores, new cracks can form nearby. That is why drainage assessment is part of every proper repair scope.
Does home insurance cover freeze-thaw foundation crack repair?
Most standard Ontario home insurance policies treat foundation cracking as a maintenance issue and do not cover repair costs. Some policies cover sudden and accidental water damage but exclude gradual seepage. Review your policy wording carefully and ask your broker specifically about foundation crack exclusions before assuming coverage exists.
How many freeze-thaw cycles does North Bay typically experience?
North Bay’s climate produces roughly 40 or more freeze-thaw cycles per winter, meaning temperatures cross zero degrees Celsius that many times between November and April. That is significantly more cycling than southern Ontario cities like Toronto or Hamilton, which is why foundation crack problems are more common and progress faster in the North Bay area.
If you have found a crack in your North Bay foundation and are not sure whether it needs immediate attention or can wait until spring, a free on-site assessment from the DryShield Team will give you a clear answer. We inspect freeze-thaw foundation cracks North Bay homeowners report, check your drainage, and provide a written scope so you know exactly what is needed and what it will cost before any work begins. Visit our North Bay waterproofing page to book your assessment or call us directly.