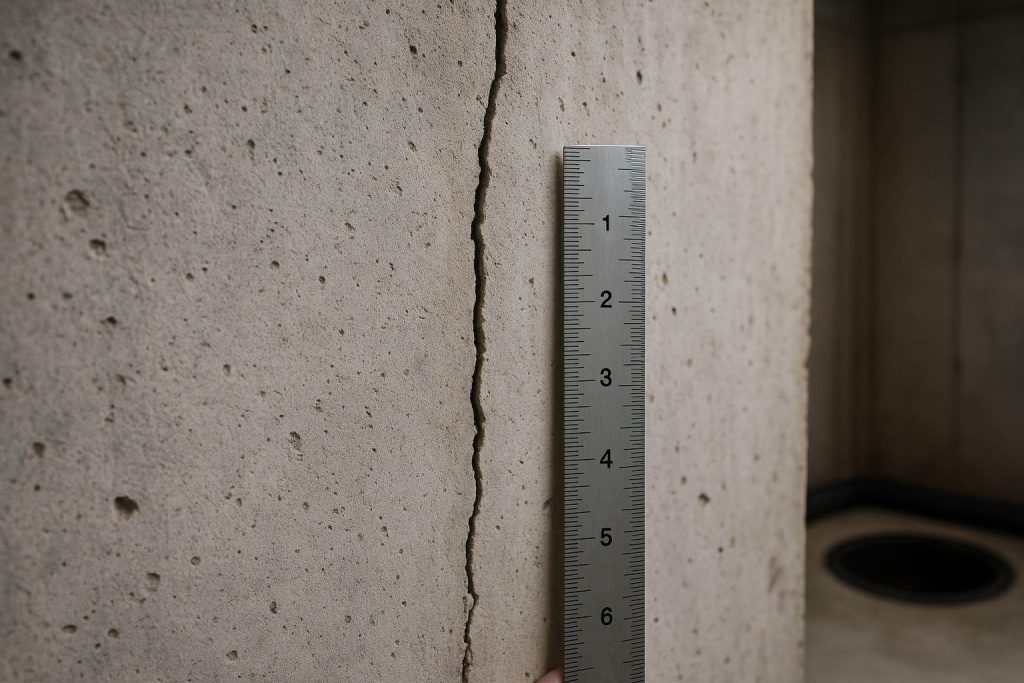
Whether to fix a basement wall crack yourself or hire a pro depends on the crack type, width, direction, and whether water is already entering. A hairline shrinkage crack in a dry poured-concrete wall is often a reasonable DIY candidate using a two-part polyurethane injection kit; a horizontal crack, a crack wider than 6 mm, or any crack with wall movement or active leaking almost always requires professional diagnosis first. Start by measuring the crack and checking it for moisture.
How urgent is this?
Monitor: Hairline vertical or diagonal crack, completely dry, no change in width over two weeks, no efflorescence. Document with tape marks and check monthly.
Act soon: Crack wider than 3 mm, damp to the touch, showing white mineral deposits, or near a window or pipe penetration. Book an assessment within a few weeks.
Act now: Horizontal crack at any width, visible wall displacement or bowing, active water entry, or rapid widening. Stop loading the area and call a professional today.
- Crack direction and width are the two fastest indicators of severity.
- DIY polyurethane kits can seal simple vertical shrinkage cracks, but only when the crack is dry and stable.
- Horizontal cracks signal lateral soil pressure and are outside the scope of any DIY repair.
- A failed DIY attempt can trap moisture behind a surface plug, making professional repair harder and more expensive.
- A professional inspection is free at DryShield and removes the guesswork.
Confirm it is actually a repairable wall crack
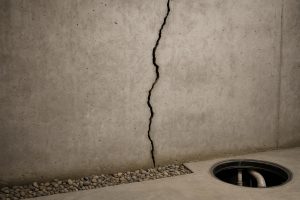
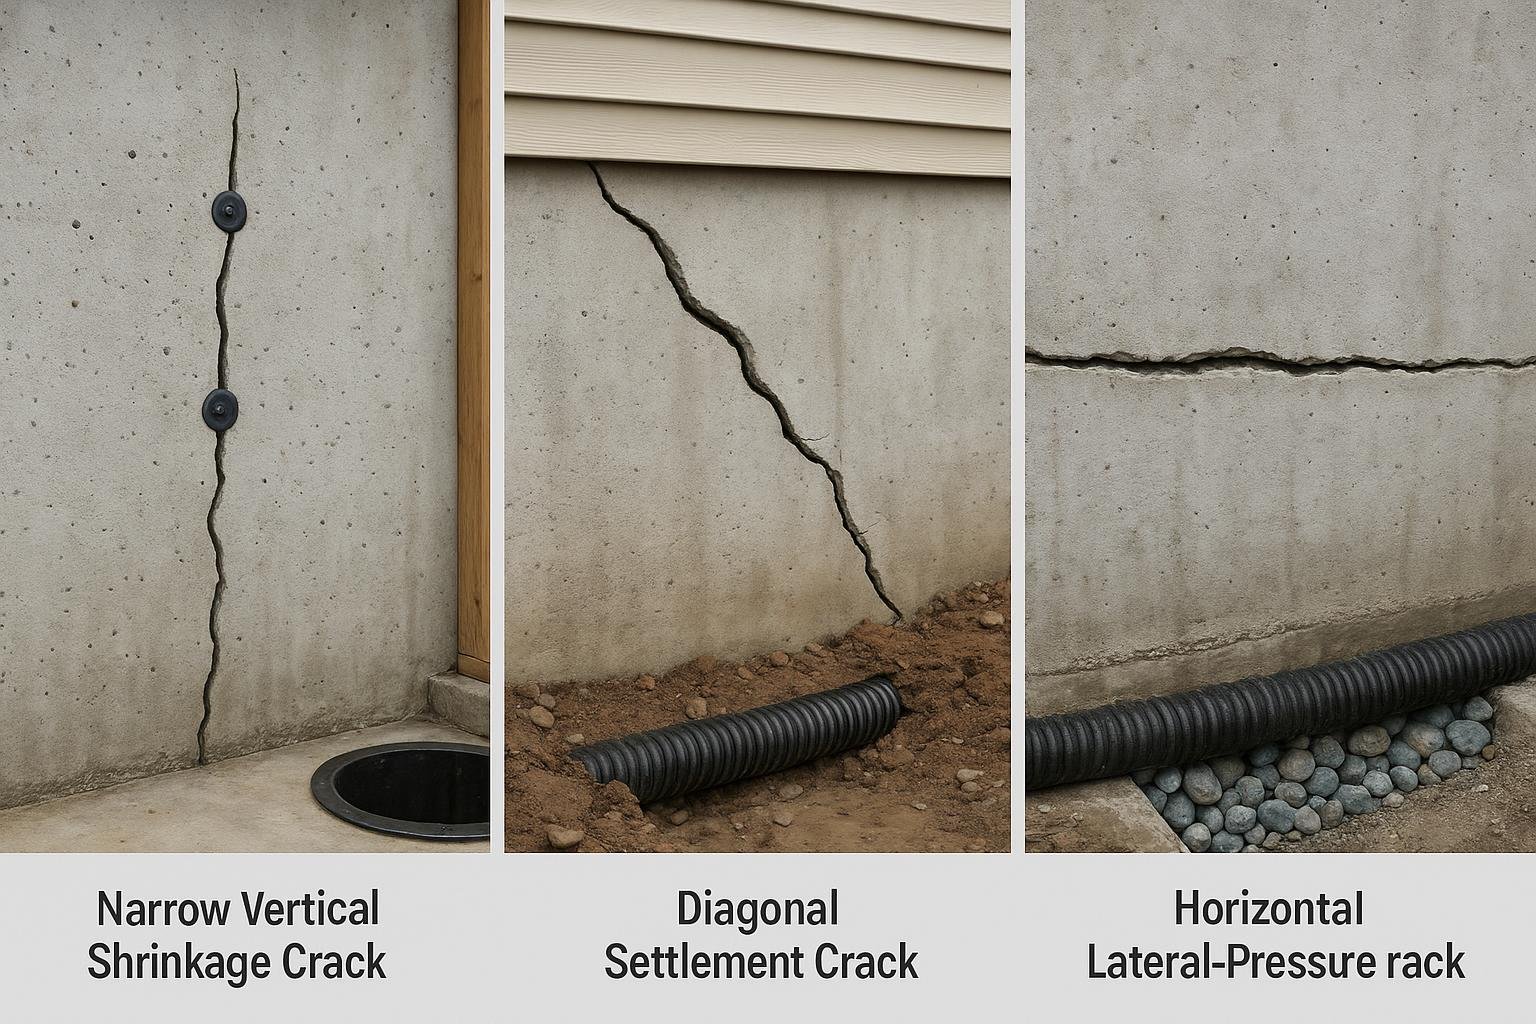
A repairable basement wall crack is a discrete fracture through the wall panel itself, distinct from joint failures, snap-tie holes, or window-frame gaps. On a poured-concrete wall, shrinkage cracks are typically vertical or slightly diagonal, uniform in width (often under 3 mm), and appear within the first few years after construction. They do not displace one side of the wall relative to the other.
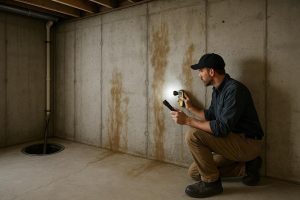
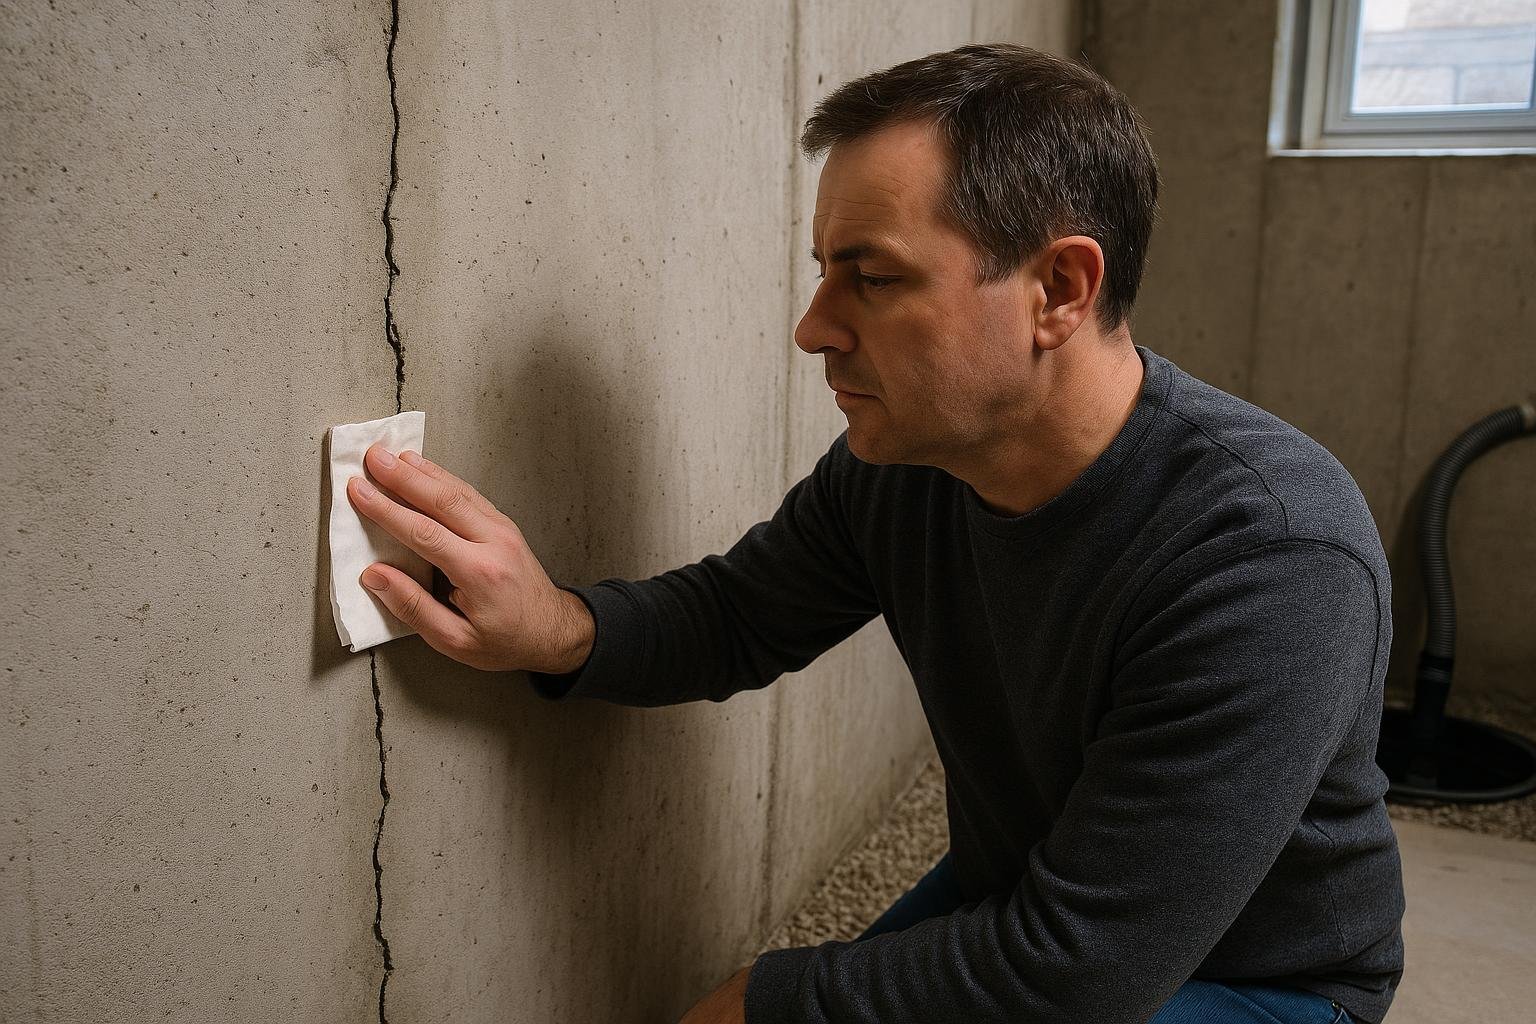
Run a straightedge across the crack. If one side sits proud of the other, the wall has shifted and the crack is structural. Shine a flashlight along the wall at a low angle: a crack that casts a shadow has measurable depth. Press a tissue against the surface; if it picks up moisture, water is already migrating through. Check the exterior grade above the crack if accessible. Soil sloping toward the wall, a missing downspout extension, or a window well without drainage are common contributors.
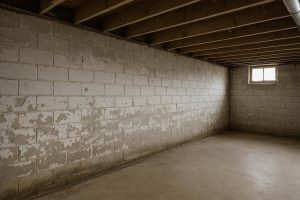
On concrete block or stone foundations, cracks follow mortar joints rather than cutting through the block. These behave differently from poured-concrete cracks and require a different repair approach. See the guide on types of foundation cracks for a full visual breakdown.
Problems it gets confused with
Efflorescence is a white chalky deposit left when water carries dissolved minerals through concrete and evaporates at the surface. It often appears along a crack line but is a symptom of ongoing moisture movement, not the crack itself. Brushing it off without sealing the crack changes nothing.
Snap-tie holes are small round voids left by the metal ties used to hold formwork during construction. They are not cracks but can leak just as readily. See the dedicated page on leaking snap-tie holes for the correct fix.
Cold joints are horizontal seams where two separate concrete pours meet. They can open and leak but respond poorly to surface patching.
Bowing walls may show a pattern that looks like a vertical centre crack, but the real problem is inward wall movement from lateral soil pressure. See the page on bowing basement foundation walls.
Causes, ranked
1. Concrete shrinkage during curing
As fresh concrete loses moisture and hydrates, it contracts slightly. This is the most common cause of vertical hairline cracks in poured-concrete walls, typically appearing within two to five years of construction. The telltale sign is a crack that is narrow (under 3 mm), consistent in width, completely dry, and located away from corners or openings. These cracks are not structural failures, but they are pathways for future water entry if left unsealed.
2. Hydrostatic pressure from saturated soil
When soil around the foundation becomes saturated after heavy rain or snowmelt, water pressure builds against the wall. This can widen existing shrinkage cracks or force water through them even when the crack has not grown. The telltale sign is leaking that correlates with rainfall or spring thaw, often with a damp streak or efflorescence running down from the crack. Clay-heavy soils, common across much of the GTA and Ontario, retain water longer and amplify this effect.
3. Freeze-thaw cycling
Water that enters a hairline crack and then freezes expands by approximately 9 percent in volume, according to the Portland Cement Association (PCA: Freeze-Thaw Resistance). This wedging action progressively widens the crack with each cycle. The telltale sign is a crack that has measurably widened over a single winter, often with spalling along the crack edges.
4. Settlement or differential movement
Uneven soil compaction, erosion of fill material, or a failing footing can cause one section of the wall to move relative to another. The telltale sign is a crack where the two sides are not flush. Diagonal cracks running from corners of window or door openings at roughly 45 degrees are also associated with settlement. This cause requires engineering assessment before any repair.
5. Lateral soil pressure (horizontal cracks)
Soil exerts inward pressure on basement walls, increasing with depth, frost, and saturated conditions. When this load exceeds the wall’s design capacity, horizontal cracks form, typically one-third to halfway down the wall. The telltale sign is a crack running horizontally, possibly with visible inward deflection. This is a structural emergency. No DIY product addresses the underlying load.
6. Tree root intrusion or pipe leaks near the foundation
Roots from large trees can exert pressure on walls over time, and a leaking water or sewer line near the footing can erode soil and undermine support. The telltale sign is a crack that appears or worsens in a localized area near a known tree or utility line, sometimes with soft or wet soil at the exterior. Exterior investigation is required before any wall repair is attempted.
Cause to solution table
| Cause | Telltale sign | Appropriate fix | Urgency |
|---|---|---|---|
| Concrete shrinkage | Narrow, dry, vertical, uniform width | Polyurethane crack injection (DIY kit or professional) | Monitor; seal before winter |
| Hydrostatic pressure | Leaks after rain or thaw; efflorescence | Professional injection plus drainage improvement (weeping tile, grading) | Act soon |
| Freeze-thaw widening | Crack grew over one winter; spalling edges | Professional injection; address water source | Act soon |
| Settlement or differential movement | Displaced crack faces; diagonal from openings | Structural engineer assessment; underpinning if required | Act soon to Act now |
| Lateral soil pressure | Horizontal crack; possible wall bowing | Structural engineer assessment; wall anchors or underpinning | Act now |
| Root or pipe intrusion | Localized crack near tree or utility line | Exterior investigation; root barrier or pipe repair before wall fix | Act soon |
Use this table as a starting point, not a final diagnosis. A single crack can involve more than one cause, and the appropriate fix changes if water is actively entering. For a broader look at repair methods, see the guide on DIY foundation crack repair kits vs professional crack injection.
What you can safely check yourself
- Measure the crack width. Use a credit card edge or a crack gauge. A crack narrower than 3 mm is in the hairline-to-minor range. Wider than 6 mm warrants professional attention.
- Mark the crack ends. Use a pencil to mark the top and bottom of the crack and write today’s date. Check again in two weeks. If the crack has extended beyond your marks, it is active.
- Check for displacement. Run your finger across the crack. If one side is higher or further out than the other, the wall has moved.
- Test for moisture. Press a dry tissue firmly against the crack for 30 seconds. Any dampness means water is migrating through.
- Inspect the exterior grade. Check that soil slopes away from the wall at roughly 6 inches of drop over the first 10 feet. A flat or inward-sloping grade directs runoff toward the foundation.
- Check downspout extensions. Confirm that downspouts discharge at least 1.8 metres (6 feet) from the foundation wall.
- Document with photos. Take a close-up photo with a ruler or coin in frame. Dated photos help track change and assist any professional who inspects later.
What NOT to do
Do not apply hydraulic cement or epoxy paint over an active crack. Surface plugs trap moisture behind the wall and can cause spalling as pressure builds. They also make subsequent injection repair more difficult because the professional must remove the surface material before ports can be installed.
Do not ignore a horizontal crack. Horizontal cracks are not cosmetic. Loading the floor above with heavy goods while a horizontal crack is present adds stress to an already compromised wall.
Do not assume a dry crack is permanently dry. A crack that is dry in summer can leak heavily during spring thaw. Seal it before the season changes.
Do not use expanding foam sealant. Spray foam has no structural bond to concrete and will not withstand hydrostatic pressure. It is not a recognized crack repair material for foundation walls.
For a comparison of which materials actually hold up, see hydraulic cement vs crack injection.
How a professional diagnoses it
A professional inspection typically begins at the exterior, checking grade slope, downspout discharge points, window well drainage, and any visible soil disturbance near the crack location. This exterior context often explains why a crack is leaking even when the interior surface appears dry.
Inside, the technician measures crack width at multiple points, checks for displacement across the crack face, and probes for moisture. The direction and pattern of the crack are recorded: vertical and diagonal cracks are assessed differently from horizontal ones. Adjacent areas are checked for efflorescence, staining, or previous repair attempts that may have masked the crack’s extent.
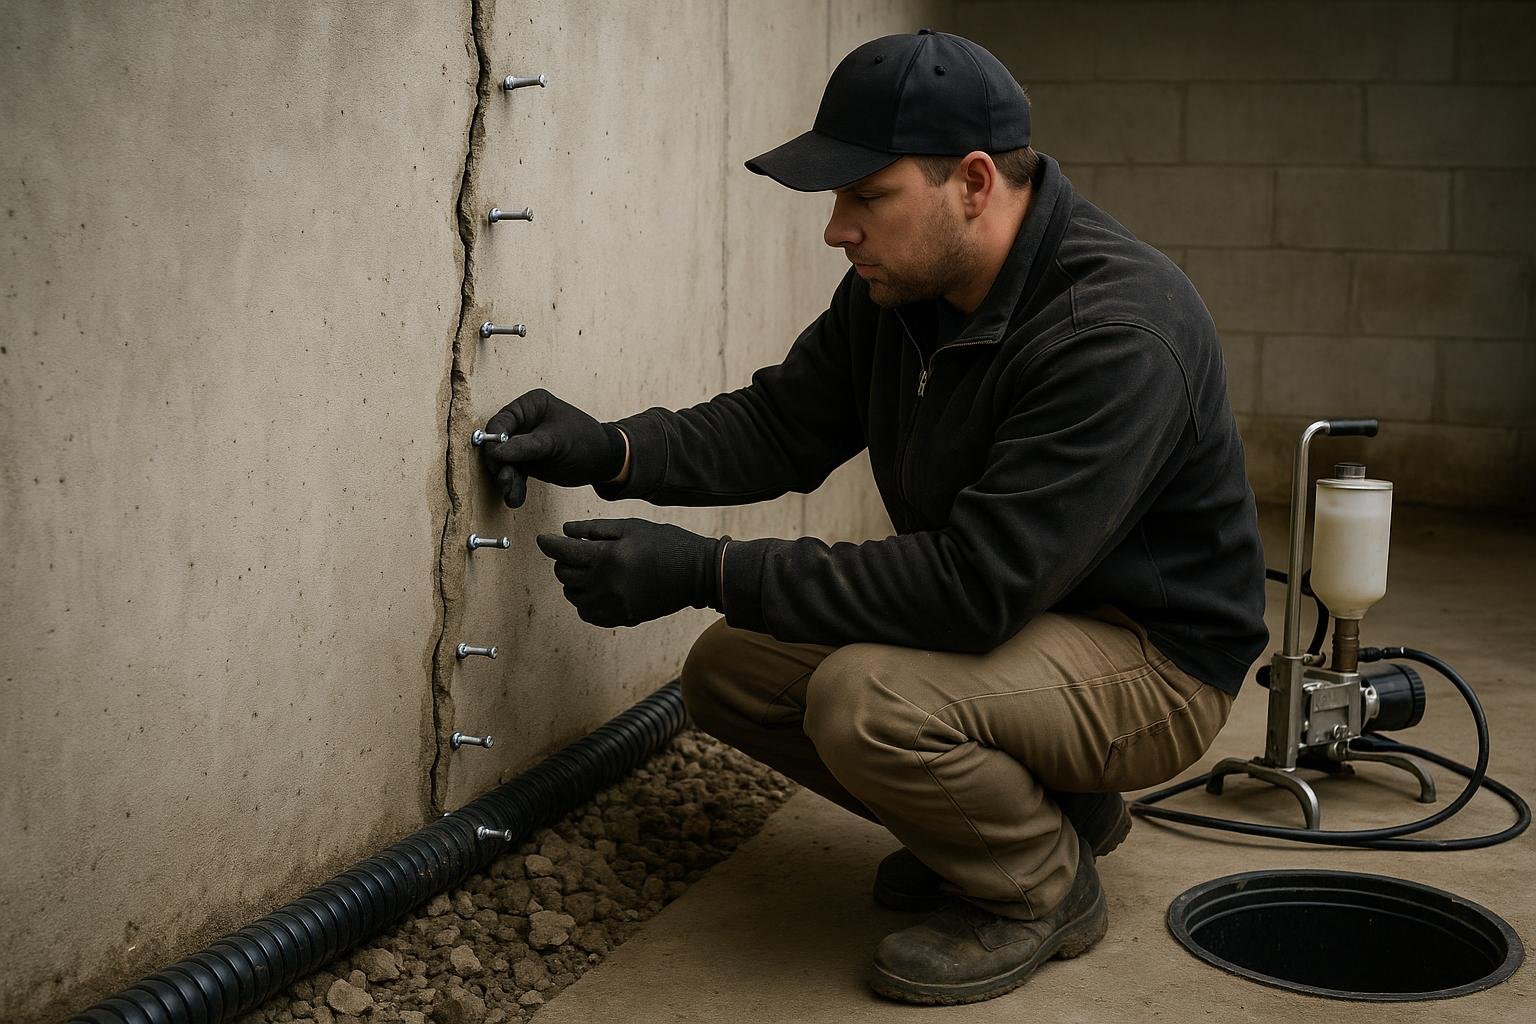
If structural movement is suspected, the technician may recommend a structural engineer’s review before any repair proceeds. For a straightforward shrinkage crack, the diagnosis typically concludes with a recommendation for polyurethane crack injection, which fills the crack from the inside out under low pressure, bonding to both faces and remaining flexible through seasonal movement. See the guide on how to tell if a foundation crack is structural for more on the inspection process.
Temporary vs permanent fixes
| Approach | What it does | Lifespan | Best used when |
|---|---|---|---|
| Hydraulic cement plug | Stops active water flow at the surface | Months to a few years; brittle over time | Emergency stop-gap only; not a final repair |
| DIY polyurethane injection kit | Fills crack through the wall thickness; flexible cure | Several years if crack is stable and dry at time of injection | Dry, stable, hairline-to-3 mm vertical shrinkage crack |
| Professional polyurethane injection | Low-pressure injection through ports; fills full depth; flexible | Long-term; DryShield backs this with a lifetime transferable warranty | Most non-structural poured-concrete wall cracks |
| Exterior excavation and membrane | Exposes wall, repairs crack, applies waterproof membrane and drainage board | Decades when properly installed | Recurring leaks, multiple cracks, failed interior repairs |
Stopping active water entry with a hydraulic cement plug while you arrange a professional assessment is a reasonable step. The mistake is treating a temporary fix as a permanent solution and deferring the underlying repair until water damage has spread to framing, insulation, or finishes. For a broader comparison of interior and exterior approaches, see interior crack injection vs exterior foundation crack repair.
Frequently asked questions
Can I use a store-bought polyurethane injection kit on my basement wall crack?
Yes, for a specific type of crack: a dry, stable, vertical or slightly diagonal shrinkage crack in a poured-concrete wall, narrower than about 3 mm, with no displacement across the faces. Consumer kits inject expanding polyurethane foam through surface-mounted ports. Results depend on correct port spacing and injection pressure. If the crack is damp, active, or wider than 3 mm, professional injection with controlled low-pressure equipment is more reliable. See the detailed comparison at DIY kit vs professional crack injection.
How do I know if my foundation crack is structural?
The clearest indicators are horizontal direction, visible displacement across the crack faces, rapid widening over weeks, or a diagonal crack running from a window or door corner at roughly 45 degrees. Any crack accompanied by wall bowing should be treated as structural. A vertical, narrow, dry crack is far less likely to be structural, but a professional assessment removes the guesswork. See the guide on how to tell if a foundation crack is structural.
What happens if I leave a basement wall crack unrepaired?
An unrepaired crack is an open pathway for water. Freeze-thaw cycling widens it over time, hydrostatic pressure forces moisture through it, and the resulting dampness promotes mold growth and degrades concrete. If the crack is structural and left unaddressed, wall movement can progress to the point where repair becomes significantly more involved. Sealing a crack early, when it is still narrow and dry, is almost always less costly than repairing the water damage it eventually causes.
How much does professional crack injection cost?
No verified current price data has been supplied to this page. Cost depends on crack length, depth, accessibility, and whether additional drainage work is needed. DryShield publishes a cost reference at crack injection cost in Southern Ontario and offers a free on-site assessment so you receive a specific quote rather than a range.
Will crack injection stop water from coming in?
Polyurethane injection fills the crack through the full wall thickness and cures to a flexible, waterproof material. For a crack where water entry is caused by the crack itself, injection addresses the pathway directly. If water is also entering through the floor-wall joint, snap-tie holes, or a failing weeping tile system, injection alone will not stop all moisture. A professional inspection identifies all entry points. The guide on does crack injection work explains the method and its limits.
Is a hairline crack in a new home’s foundation normal?
Hairline shrinkage cracks in poured-concrete foundations are common in new construction, typically appearing within the first two to five years as concrete completes its curing process. They are not automatically a sign of a defective foundation, but they should be monitored and sealed before water entry begins. Ontario’s Tarion warranty program covers certain foundation defects in new homes; review your warranty documentation for applicable timelines. The guide on shrinkage cracks in a new home foundation covers what is normal and what is not.
Can I paint over a basement wall crack to waterproof it?
Waterproof masonry paint or elastomeric coatings applied over a crack do not fill it through its depth and will not withstand sustained hydrostatic pressure. They may slow surface moisture briefly but are not a recognized repair for a through-wall crack. Painting over a crack also makes it harder to inspect and inject later. Interior waterproof coatings have a role in managing surface condensation and minor seepage through porous concrete, but they are not a substitute for crack repair.
What is the difference between epoxy and polyurethane injection for wall cracks?
Epoxy injection cures rigid and is used when structural bonding of the crack faces is required, such as in load-bearing walls where the crack has reduced the wall’s cross-section. Polyurethane injection cures flexible and is preferred for waterproofing non-structural cracks because it accommodates seasonal movement without re-cracking. Using rigid epoxy in a wall that continues to move can result in a new crack forming adjacent to the repair. The blog post on epoxy vs polyurethane crack injection explains when each is appropriate.
If you have measured your crack, checked it for moisture and displacement, and are still unsure which path is right, a free on-site assessment from the DryShield team gives you a clear answer without any obligation. Book a free assessment or use the basement leak diagnostic tool to describe what you are seeing and get guidance on next steps. For the full picture on foundation crack repair services, visit the foundation crack repair page.