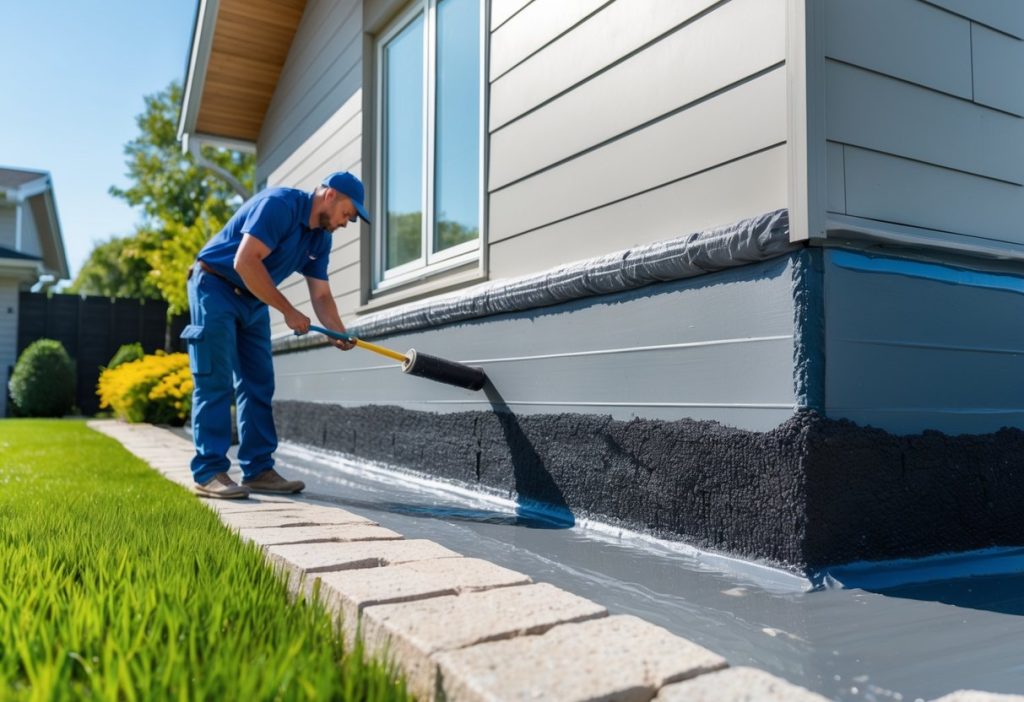
You can stop foundation leaks for good by fixing the problem from the outside. Exterior waterproofing creates a barrier that keeps water away from your foundation, repairs damage, and pairs with proper drainage to prevent future leaks. A correctly installed exterior membrane plus good drainage and foundation repairs gives you the best chance of a permanent fix.
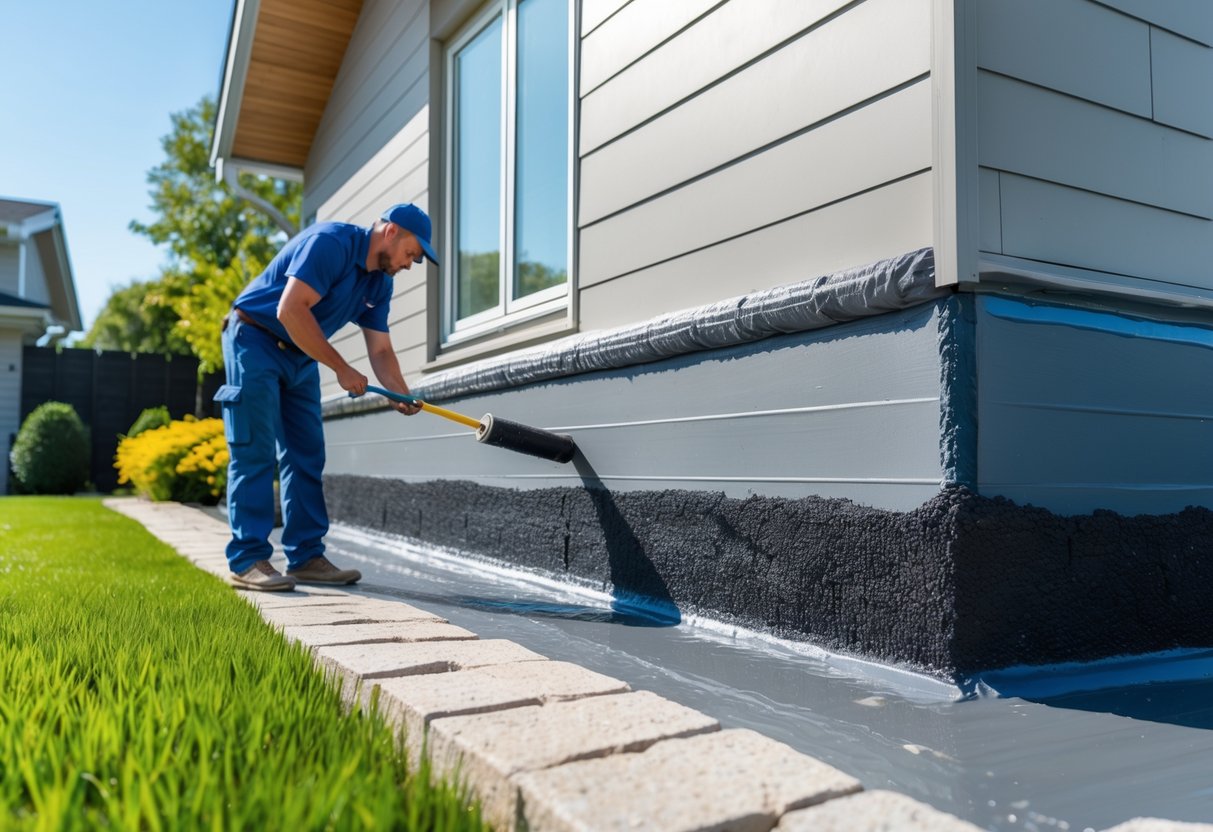
If your basement or crawl space stays damp after short fixes, exterior work targets the source: soil, water flow and damaged walls. You’ll learn what the exterior waterproofing process involves, how to prepare the site, what drainage options matter, and when to hire a pro so you avoid repeating the same costly repairs.
Key Takeaways
- Exterior waterproofing blocks water at the source and stops repeat leaks.
- Proper site assessment and repairs make waterproofing last.
- Good drainage and maintenance prevent future foundation problems.
Why Foundation Leaks Happen and Why Exterior Waterproofing Is Essential
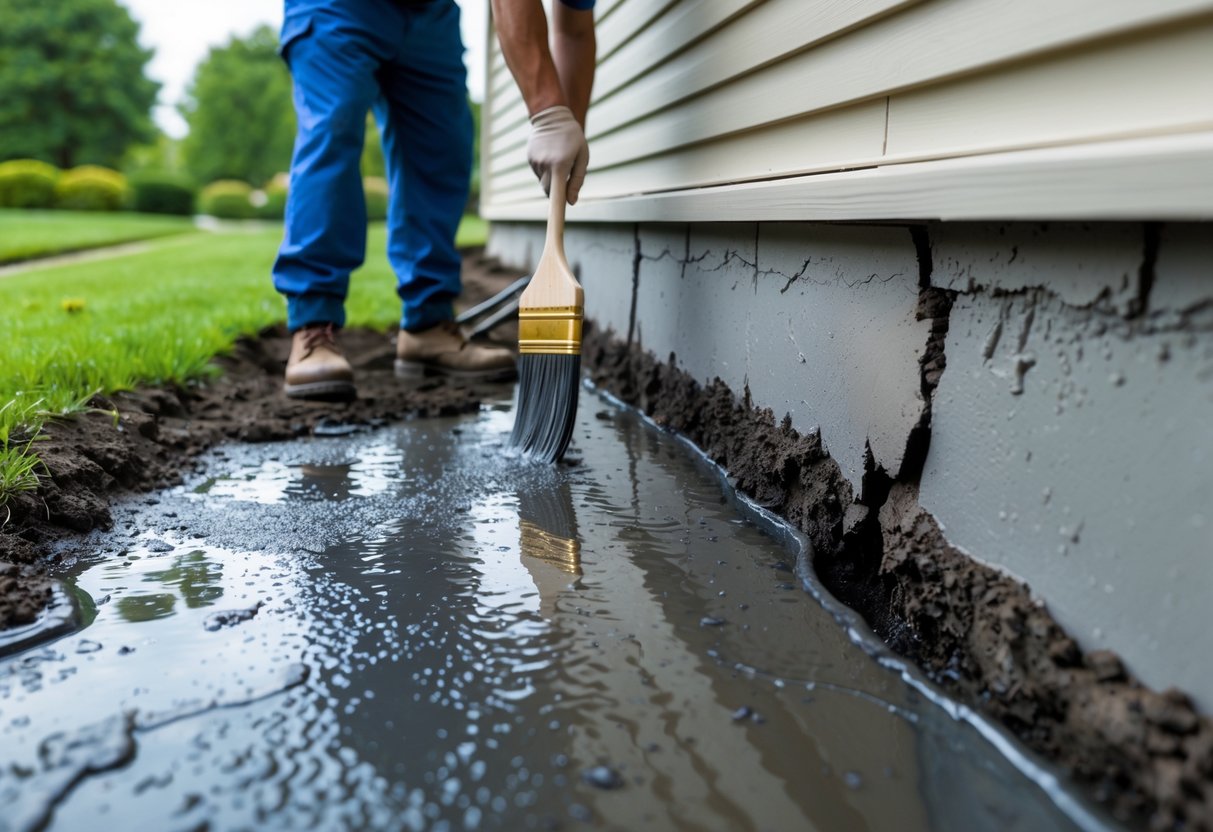
Water follows the easiest path into your home. Problems start outside with soil, drainage, and shifting ground, and then show up inside as damp basements and cracks.
Common Causes of Foundation Leaks
Cracks in poured concrete or gaps in block foundations let water in. These openings can form from settling, poor construction joints, or impact damage. Even small hairline cracks can route water under pressure into your basement.
Poor grading and clogged or missing gutters concentrate water against the foundation. Surface water that pools at the base of your walls soaks the soil and increases moisture near the footing. Tree roots can also create pathways for water and widen existing cracks.
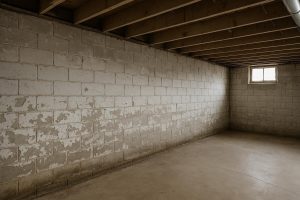
Freeze–thaw cycles worsen conditions. Water that enters tiny pores freezes, expands, and breaks down concrete and mortar over time. You often see efflorescence — white mineral deposits — where water repeatedly moves through masonry.
Impact of Hydrostatic Pressure and Soil Conditions
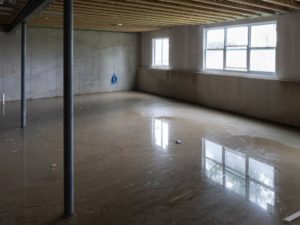
Hydrostatic pressure forces water through cracks, joints, and porous materials. When soil around your foundation is saturated, it behaves like a sponge and pushes water toward the lowest point: your basement walls. That pressure can drive continuous leaks even when surfaces look dry.
Clay and silty soils hold more water than sandy soils. Heavy clay expands when wet and contracts when dry, repeatedly stressing foundation walls. Poorly drained backfill traps moisture and raises hydrostatic pressure against the wall.
High water tables or seasonal groundwater rises can create persistent moisture control problems. If you rely only on interior fixes, you’ll still face water that’s being driven into the wall from the outside.
Consequences of Ignoring Leaks
Left unchecked, moisture leads to mould growth, musty odours, and poor indoor air quality. Basements with repeated dampness can develop structural issues: crumbling concrete, spalling, and wider cracks that affect floor level and door alignment.
Interior cosmetic fixes mask the problem but don’t stop soil pressure or groundwater. That lets leaks return, often worse, increasing repair costs. You may also see efflorescence, which signals ongoing water movement and salt deposition that damages masonry over time.
Uncontrolled water can damage insulation, wiring, and stored items. It can reduce your home’s resale value and raise maintenance costs, so acting on the exterior source of water is the most reliable way to protect your foundation.
Preparation: Assessing Foundation and Site for Effective Waterproofing

Before you start waterproofing, inspect the foundation type, find where water enters, and check how the yard moves water away from the house. These steps tell you what materials and methods will work best.
Identifying Leak Sources and Foundation Types
First identify the foundation material: poured concrete, cinder block, or fieldstone. Poured concrete often leaks at cold joints or hairline cracks. Cinder block commonly leaks through mortar joints or hollow cores. Fieldstone leaks at irregular mortar gaps and between stones.
Look inside the basement for water stains, efflorescence, and mould lines. Outside, note damp soil, peeling paint, or water pooling against the wall. Use a flashlight and probe cracks with a screwdriver to find soft mortar or voids. Mark active leaks versus old stains so you can target repairs before applying a membrane or coating.
Document wall height, presence of a footing drain, and any visible penetrations like pipes. This helps you decide whether to install exterior membrane, drain tile, or both.
Evaluating Site Drainage and Grading
Check yard grading within 3 metres (10 feet) of the foundation. The ground should slope away from the house at least 5 cm per metre (about 2 inches per foot). Fix low spots, compacted soil, or a buried downspout that dumps water next to the wall.
Inspect gutters, downspouts, and splash blocks. Ensure downspouts discharge at least 1.5 metres (5 feet) from the foundation or into storm drains. Look for pooled water after heavy rain — that shows poor surface drainage.
Walk the perimeter during a storm or run a garden hose for 10–15 minutes to test flow. Note areas where water accumulates and plan swales, extensions, or regrading to move water away before you dig for exterior waterproofing.
Understanding Soil Types and Their Influence
Identify the soil type around your home: clay, sandy, or mixed. Clay soil holds water and expands when wet, keeping hydrostatic pressure against the foundation. That increases seepage risk for poured concrete and cinder block walls. Sandy soil drains quickly but can allow rapid water flow toward footings if grading is poor.
Dig a small test hole and feel the soil. Sticky, smooth soil that forms a ribbon is clay. Gritty, loose soil that falls apart is sand. Your soil type affects the choice of exterior system: heavy clay often needs a robust drainage system (perforated pipe and granular backfill) plus a membrane; sandy sites may only need a membrane and surface drainage corrections.
Also consider frost and seasonal freeze-thaw cycles in your region. Clay around fieldstone foundations can force mortar loose, so pair soil management with proper exterior mortar repair and drainage solutions.
The Exterior Waterproofing Process: Step-by-Step Methods
This section explains the physical work and key materials used to stop leaks at the source. You will see how excavation, repairs, membrane application, and careful backfill combine to keep water away from your foundation.
Excavation and Cleaning the Foundation Walls
You dig down to the foundation footing to expose the wall from grade to footing. Excavation depth varies by foundation type and footing depth; confirm measurements before you start. Keep a safe trench slope and shoring if the soil is unstable.
After digging, remove loose soil, roots, old coatings and efflorescence with a stiff brush, wire brush, or pressure washer. Clear all loose mortar and dirt so repair materials bond. Check for drainage issues and nearby utilities before proceeding.
Install temporary drainage if groundwater is present. Place a trench drain or sump pump to keep the work area dry. Clean, dry surfaces improve adhesion for membranes and coatings.
Crack Repair and Surface Preparation
Identify hairline to structural cracks and mark them. Use hydraulic cement for active leaks; it sets fast and plugs flowing water. For static cracks, widen slightly with a grinder or chisel to create a V-groove for better bond.
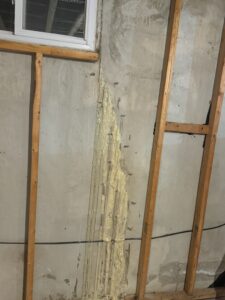
Apply a foundation sealant or epoxy injection for structural repairs when needed. Follow manufacturer instructions for cure time. Fill joints between blocks and pourable holes with a compatible cementitious or polymer-modified mortar.
Smooth the wall and remove irregularities. Prime porous concrete when required by the membrane system. If you plan to use a dimpled drainage board, ensure the wall is even to allow close contact with the membrane.
Applying Waterproofing Membrane Systems
Choose a system that suits your site: sheet membranes, liquid-applied membranes (liquid rubber), bituminous coatings, or cementitious coatings. Sheet membranes (peel-and-stick or heat-welded) provide a continuous barrier. Liquid membranes conform to irregular surfaces and seal around penetrations.
Apply membranes from the footing up to above grade, overlapping seams per manufacturer specs. Use reinforcement at corners and around pipes. For active water areas, combine a liquid-applied membrane over cracks plus a sheet membrane for redundancy.
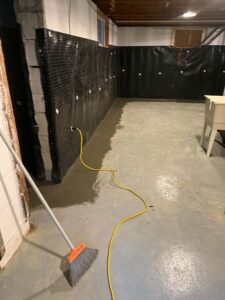
Consider adding a foundation membrane or dimpled drainage board over the waterproofing to protect the membrane during backfill and to create a drainage plane. Secure membranes with termination bars or compatible adhesive and inspect all seams and fasteners.
Backfilling and Site Restoration
Backfill with free-draining material like clean gravel or engineered fill to promote water flow away from the wall. Place filter fabric where fines might clog the drain layer. Compact in lifts to avoid settling that could stress the membrane.
Install exterior drainage such as a perforated French drain at footing level, leading to a sump or storm outlet. Ensure the drain tile sits on a stable, graded base and that connections are watertight.
Finish the site with soil graded to slope away from your foundation by at least 50 mm over the first metre. Reinstall landscaping and hardscaping carefully to avoid cutting or compressing the dimple board or membrane. Inspect the final grade and drainage outlets to confirm proper function.
Drainage Solutions for Permanent Leak Prevention
Good exterior drainage keeps water moving away from your foundation and lowers hydrostatic pressure against walls and footings. Focus on solid drainage paths, reliable pipes, and clean water exits to stop leaks long-term.
Perimeter Drains and Weeping Tile Replacement
Perimeter drains (also called footing drains or drain tile) sit at the footing level and collect groundwater before it reaches your foundation wall. If your weeping tile is blocked, crushed, or clay-made, replace it with a new perforated pipe wrapped in filter fabric and set in clean ¾-inch stone.
Install the pipe on a slight slope (at least 1%) toward a safe discharge point such as a storm sewer, sump pump, or daylight outlet. Ensure the trench bottom is level and compacted to prevent pipe sagging.
When you excavate to replace weeping tile, remove damaged backfill and any saturated soil. Add a drainage board against the foundation if waterproofing membrane is present, then backfill with free‑draining material. Test the system by running water into the drain to confirm flow.
Installing French Drains and Foundation Drains
A French drain is a trench filled with stone that contains a perforated pipe to capture and redirect subsurface water. Place the perforated pipe pipebed on gravel, wrap the pipe in filter fabric, and cover with stone. This reduces soil infiltration and keeps the drain functioning longer.
You can install an exterior French drain around the foundation perimeter or a larger relief French drain away from the house to intercept water earlier.
Foundation drains are similar but sit directly against the footing to protect the foundation wall. For both systems, maintain a continuous slope to a discharge point and include cleanouts or access points for flushing. Connect to a sump pump or storm drain where gravity drainage is not possible.
Use of Drainage Boards and Filter Fabrics
Drainage boards create a clear air gap between the foundation membrane and backfill so water flows down to the footing drain without saturating the wall. Choose boards with proven compressive strength and a textured surface to resist soil pressure. Install them over the waterproof membrane and fasten as recommended by the manufacturer.
Filter fabric prevents fine soil particles from entering the gravel and perforated pipe, which extends system life. Wrap the pipe and line the trench with non-woven geotextile. Avoid woven fabrics that clog more easily. For best results, overlap fabric seams by at least 300 mm and secure edges so backfill won’t push soil through gaps.
Optimising Downspouts and Extensions
Downspouts often carry the largest single source of roof runoff. Ensure your downspouts discharge at least 1.5–3 metres from the foundation or into a connected underground drainage pipe. Use solid pipe or rigid extensions to prevent erosion and ponding near the foundation.
Install splash blocks or buried downspout extensions sloped away from the house. If you have clay soil or frequent heavy rains, add additional extensions or tie into your perimeter drainage system. Keep gutters and downspouts clear of debris and check connections each season to ensure water flows freely away from your foundation.
Additional Protection, Maintenance, and Professional Considerations
You should combine mechanical systems, good site drainage, and timely repairs to keep water out long-term. Focus on reliable sump systems, proper window well and gutter management, and getting professional help when damage goes beyond DIY fixes.
Sump Pumps and Basement Moisture Control
A reliable sump pump system reduces basement moisture by removing water that collects at the footing drain or interior drain tile. Install a primary pump with a battery-backed backup so you still have pumping during power outages. Test the float switch and clean the pump intake twice a year; clear debris and check the discharge line for ice or blockages in winter.
Choose a pump sized for your home’s water table and expected inflow. Consider a pedestal pump for easy service or a submersible pump for quieter operation. Pair the pump with an interior waterproofing membrane and proper grading to reduce how much water reaches the foundation.
Window Wells, Egress Solutions, and Gutter Management
Window wells and egress drains must divert water away from the foundation to stop leaks. Fit window wells with tight-fitting covers and a perforated drain that connects to the exterior drainage system or sump pit. Grade the soil away from egress openings and seal the concrete openings with a polymer or rubber boot to limit seepage.
Keep gutters clean and add gutter guards to reduce clogging. Extend downspouts at least 1.5–2 metres away from the foundation or into a buried drain that ties into your storm system. Inspect gutters and downspouts each spring and after major storms to prevent overflow that soaks the foundation.
When to Seek Professional Waterproofing and Foundation Repair
Call a professional waterproofing contractor when leaks recur, cracks widen, or you see efflorescence, mould, or bowed walls. Professionals can test hydrostatic pressure, excavate for exterior waterproofing membranes, and install or replace weeping tile and landscape waterproofing properly. They also diagnose structural issues that require foundation repair rather than just waterproofing.
Ask for written warranties on labour and waterproofing products, and request references or photos of similar projects. Get at least two quotes that separate costs for excavation, membrane, drainage, and interior waterproofing so you compare apples to apples before you commit.
Frequently Asked Questions
This section answers practical questions about stopping foundation leaks with exterior waterproofing. You will learn how the method stops water, the work steps, lifespan, suitability for existing homes, costs, and upkeep.
How can exterior waterproofing prevent basement leaks?
Exterior waterproofing stops water before it reaches your foundation wall. It uses a continuous membrane and drainage to keep soil moisture away from your concrete.
It reduces hydrostatic pressure by diverting water into drains and away from the footing. That lowers seepage through cracks and pores in the wall.
What are the key steps involved in the exterior waterproofing process?
First, contractors excavate soil down to the foundation footings around the affected side. This exposes the foundation wall for proper treatment.
Next, they clean and repair cracks or damaged masonry, then apply a waterproof membrane or coating. A drainage system, such as perforated pipe (weeping tile) wrapped in filter fabric and gravel, is installed at the footing level.
Finally, they backfill with free-draining material and restore surface grading to channel water away from the house. Some jobs add a protection board over the membrane to prevent damage during backfilling.
How long does an exterior waterproofing solution typically last?
A properly installed membrane and drainage system can last 20 to 50 years. Longevity depends on material quality, soil conditions, and installation care.
Routine inspections of yard grading and surface drains help the system perform as intended. Repairs to surface features after landscaping work also protect the waterproofing.
Can exterior waterproofing be applied to existing homes?
Yes. Exterior waterproofing is common for existing homes that have recurring leaks. It requires excavation around the foundation, so access and landscaping will be affected.
In some cases, contractors recommend combining exterior work with internal measures for best results. Accessibility, utility lines, and tree roots may raise project complexity and costs.
What is the cost range for professional exterior waterproofing services?
Costs vary by home size, depth of excavation, site conditions, and materials. Expect a range from a few thousand dollars for small fixes to tens of thousands for full-perimeter waterproofing.
Additional expenses can include structural repairs, tree root removal, and new landscaping. Always get multiple written estimates and itemized scopes before you hire.
Are there any maintenance requirements for an exterior waterproofing system?
You must keep surface grading sloped away from your foundation and maintain gutters and downspouts. Clear debris from drains and ensure downspouts discharge at least 1.5 to 2 metres from the foundation.
Check for new cracks in the foundation and fix surface drainage problems quickly. Periodic inspections after heavy storms help you spot issues early.