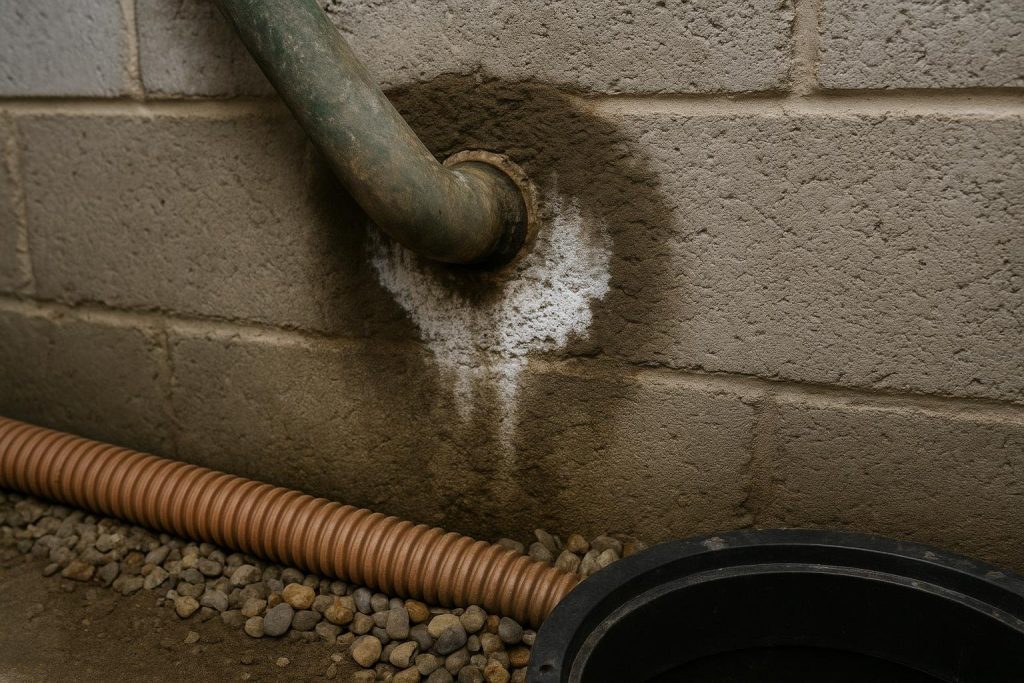
Water leaking around a pipe in your basement wall almost always means the seal between the pipe and the surrounding concrete has failed, allowing groundwater or surface water to track along the pipe’s exterior and enter the basement. Before anything else, confirm the water is coming from outside the wall rather than from a plumbing leak inside the pipe itself. Shut off nearby fixtures, dry the area, and watch for 30 minutes to narrow down the source.
How urgent is this?
Monitor: A faint mineral ring or occasional dampness around the pipe, only after heavy rain, with no active drip. Check monthly and track whether it worsens.
Act soon: A visible wet ring or slow drip that appears after most rain events or during snowmelt. Schedule a professional assessment within a few weeks to prevent mould growth and concrete deterioration.
Act now: Active water flowing or streaming around the pipe, water pooling on the floor, or any sign of sewage odour. Apply a hydraulic cement plug to slow the flow and call a waterproofing professional the same day.
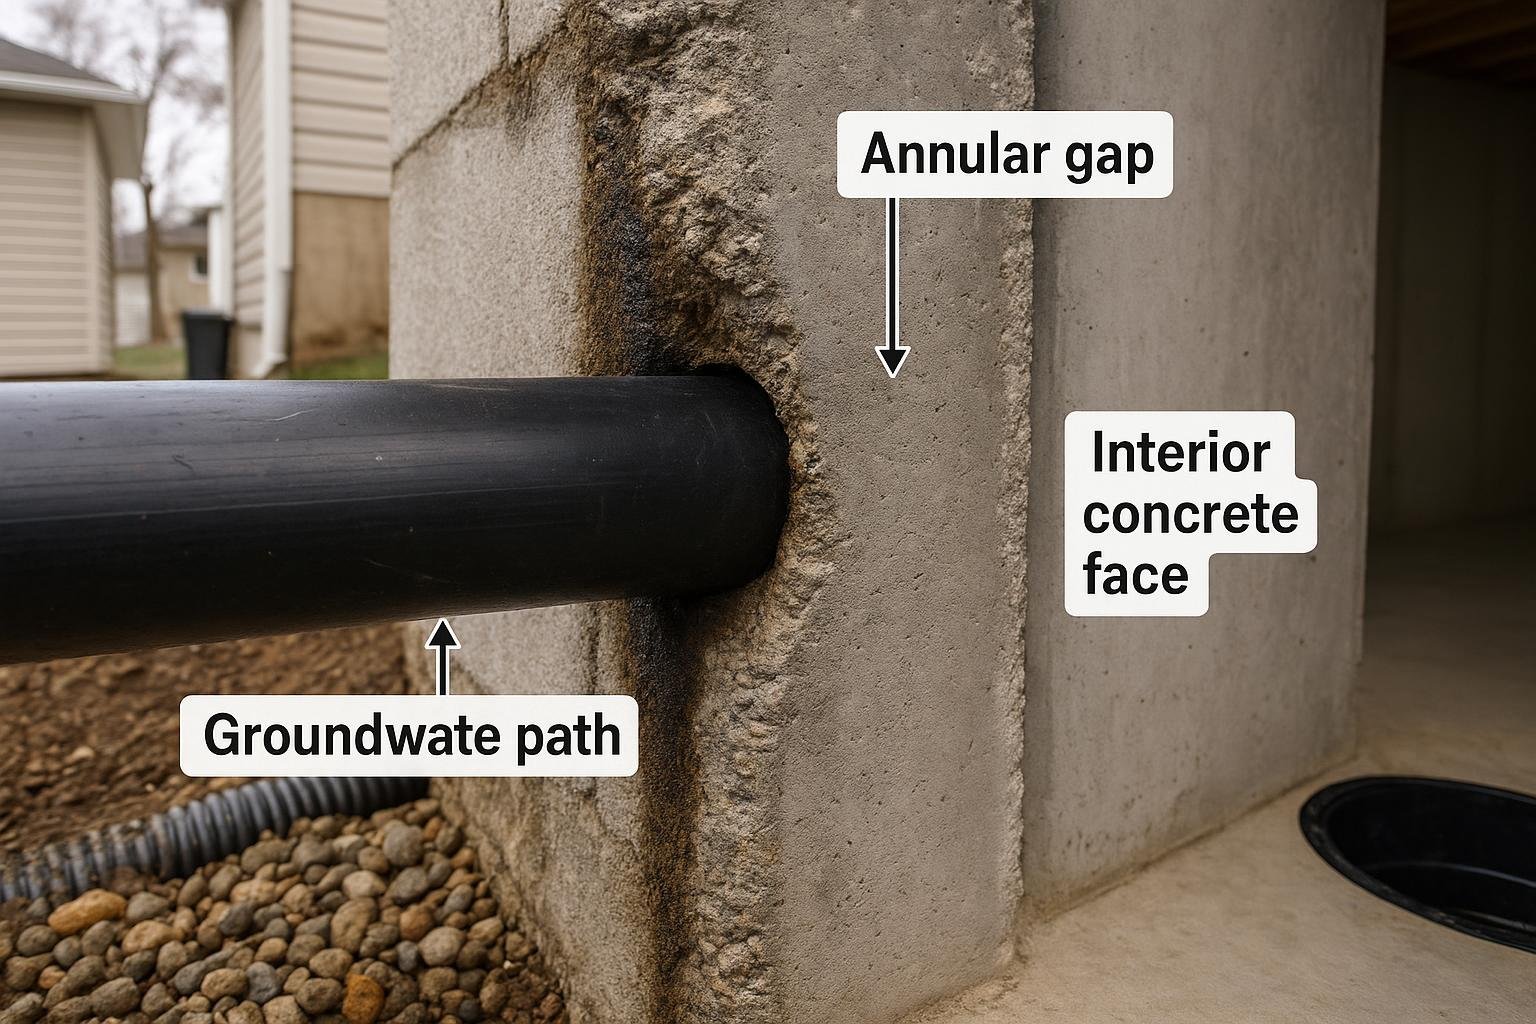
- The gap between a pipe and the concrete wall is a common entry point for groundwater, especially when the original oakum, mortar, or link seal has aged or shifted.
- Freeze-thaw cycling in Ontario winters can widen the annular gap around a pipe by repeatedly expanding and contracting the concrete.
- The fix must address the exterior water source, not just plug the interior gap, for a lasting result.
- Polyurethane injection into the annular space is a proven interior repair method when exterior excavation is not practical.
- Ignoring even a slow drip creates conditions for mould, efflorescence, and long-term concrete degradation.
Confirm it is actually water leaking around a pipe in your basement wall
Stand in front of the wet area with a flashlight and look carefully at the pipe where it passes through the wall. The telltale signs of a penetration leak are:
- A wet or damp ring on the concrete directly surrounding the pipe, not on the pipe itself.
- White mineral deposits (efflorescence) forming a halo around the penetration point, indicating repeated water movement through that gap.
- Water that appears or worsens after rain or snowmelt, rather than after running a tap or flushing a toilet.
- The pipe itself is dry to the touch on its outer surface above and below the wall entry point.
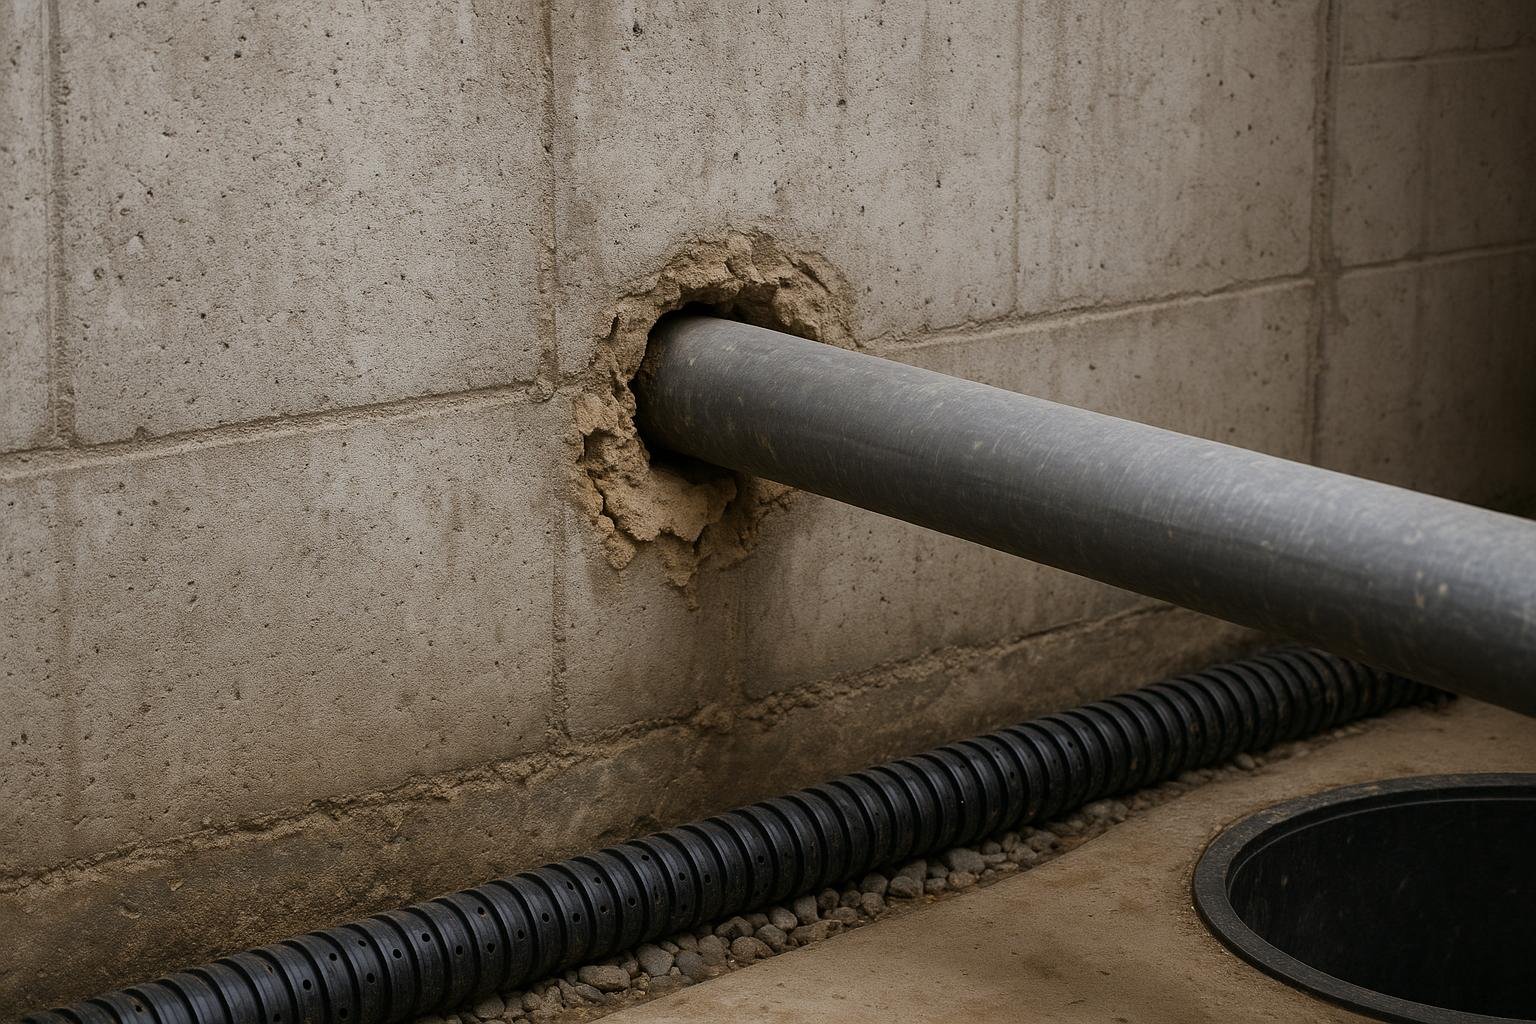
- A visible gap, crumbled mortar, or deteriorated rubber link seal between the pipe and the surrounding concrete.
If the pipe is sweating condensation uniformly along its length, that is a humidity problem, not a penetration leak. If water drips from a joint or fitting inside the basement, that is a plumbing issue. A penetration leak is specifically localised to the wall entry point and correlates with external water events.
Problems it gets confused with
Several other basement water problems can look like a pipe-penetration leak at first glance.
Condensation on a cold pipe: Cold water supply pipes sweat in humid summer air. The moisture appears on the pipe surface and drips to the floor, not from the wall gap.
Plumbing joint failure: A leaking compression fitting or soldered joint inside the wall cavity can send water running down the pipe and appearing at the wall face. This leak is present regardless of weather.
Poured-concrete wall crack nearby: A hairline crack in the wall close to the pipe can be mistaken for the penetration gap itself. See the Foundation Crack Diagnosis guide for how to distinguish crack types.
Floor-wall joint seepage: Water entering at the cove joint at the base of the wall can travel along the floor toward a pipe and appear to originate from the penetration.
Causes, ranked
1. Deteriorated original pipe seal (most common)
Most basement pipe penetrations were sealed at construction with oakum, hydraulic cement, or a rubber link seal. All of these materials have a finite service life. Oakum dries and shrinks over decades; mortar becomes porous and cracks; rubber link seals lose elasticity. Once the seal degrades, even modest hydrostatic pressure pushes groundwater through the annular gap. Telltale sign: Crumbled, dark, or absent material visible in the gap at the wall face.
2. Freeze-thaw movement widening the gap
Ontario’s freeze-thaw cycles cause concrete to expand and contract repeatedly each winter. A pipe, particularly a metal one, expands and contracts at a different rate than the surrounding concrete. Over many seasons this differential movement enlarges the annular gap. Telltale sign: Leaking that first appeared or worsened after a cold winter, with visible cracking radiating from the pipe.
3. Settlement or structural movement
If the foundation has settled unevenly, the wall can shift relative to the pipe, which is often anchored to a fixed utility line outside. This shear movement tears the seal open and may create a crack running through the penetration. Telltale sign: A crack visible in the wall that passes through or originates at the pipe penetration, or a pipe that appears to be at an angle relative to the wall face.
4. High hydrostatic pressure after heavy rain or snowmelt
Even a well-sealed penetration can be overwhelmed when the soil around the foundation becomes saturated. This cause does not mean the seal has failed permanently; it means the seal is marginal and the water table is temporarily high. Telltale sign: Leaking occurs only during or immediately after heavy rain or spring snowmelt and stops completely when the ground dries.
5. Improper original installation
In some cases the pipe was never properly sealed at installation. The gap was left open, filled loosely with spray foam, or sealed only on the interior face. Telltale sign: Spray foam, caulk, or no visible sealing material around the pipe; leaking present since the home was built or since a renovation.
6. Corroded or damaged pipe creating a new gap
Cast iron and older galvanised pipes can corrode at the wall entry point. As the pipe loses diameter, the gap around it grows. Telltale sign: Orange rust staining on the concrete around the pipe; visible pitting or flaking on the pipe surface at the wall entry.
Cause to solution table
| Cause | Telltale sign | Appropriate fix | Urgency |
|---|---|---|---|
| Deteriorated original seal | Crumbled oakum or mortar visible in gap | Remove old material; polyurethane injection or new link seal plus hydraulic cement | Act soon |
| Freeze-thaw gap widening | Cracking radiating from pipe; worsened after cold winter | Polyurethane injection into annular gap; consider exterior seal if gap is large | Act soon |
| Settlement or structural movement | Crack through or from penetration; pipe at angle | Structural assessment first; then crack injection and penetration re-seal | Act now |
| High hydrostatic pressure | Leaks only during or after rain or snowmelt | Improve exterior drainage; interior drainage channel and sump pump if recurring | Act soon |
| Improper original installation | Spray foam or no seal; leak since construction | Remove foam; install proper link seal or polyurethane injection with hydraulic cement cap | Act soon |
| Corroded or damaged pipe | Rust staining; pipe pitting at wall entry | Plumber to assess pipe condition; re-seal gap after pipe repair or replacement | Act now |
Use this table as a starting point, not a final diagnosis. More than one cause can be present simultaneously. If the leak correlates with weather events, address both the penetration seal and the exterior drainage situation for a lasting result. If a structural crack is involved, obtain a structural opinion before proceeding with injection alone.
What you can safely check yourself
- Dry the area completely with a towel and run a dehumidifier for two hours. Return and check whether moisture reappears at the wall gap or on the pipe surface. This distinguishes a penetration leak from condensation.
- Run interior plumbing fixtures while watching the penetration. If water appears during this test, the source is a plumbing leak, not groundwater.
- Inspect the gap visually with a flashlight. Note whether you can see daylight, crumbled material, or a visible opening. Photograph what you find.
- Check the exterior grade at ground level above the penetration. Soil that slopes toward the house directs surface water straight to the wall. You can regrade this yourself with compacted fill.
- Check downspout discharge to confirm it terminates at least 1.8 m from the foundation wall and is not blocked.
- Record the weather correlation over two or three rain events. Note whether leaking starts during rain, hours after rain, or is unrelated to weather. This information is valuable for a professional diagnosis.
What NOT to do
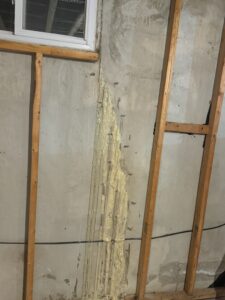
- Do not fill the gap with expanding spray foam. Spray foam is not waterproof under hydrostatic pressure and will compress and crack within one or two seasons.
- Do not apply silicone or latex caulk as a permanent fix. Caulk cannot bond reliably to wet or damp concrete and will peel away quickly.
- Do not ignore a slow drip. Sustained moisture promotes mould growth on nearby framing and insulation and gradually erodes the surrounding concrete.
- Do not assume the problem is solved after one dry season. A marginal seal may hold through a dry summer and fail again the following spring.
- Do not attempt to inject polyurethane foam yourself without proper equipment and training. Incorrect injection pressure or port placement can push water further into the wall assembly.
How a professional diagnoses it
A waterproofing professional will ask about the history of the leak: when it was first noticed, whether it correlates with rain or snowmelt, and whether any previous repairs have been attempted. They will then inspect the penetration from the interior, probing the gap to assess how deep the deterioration extends and whether it connects through to the exterior.
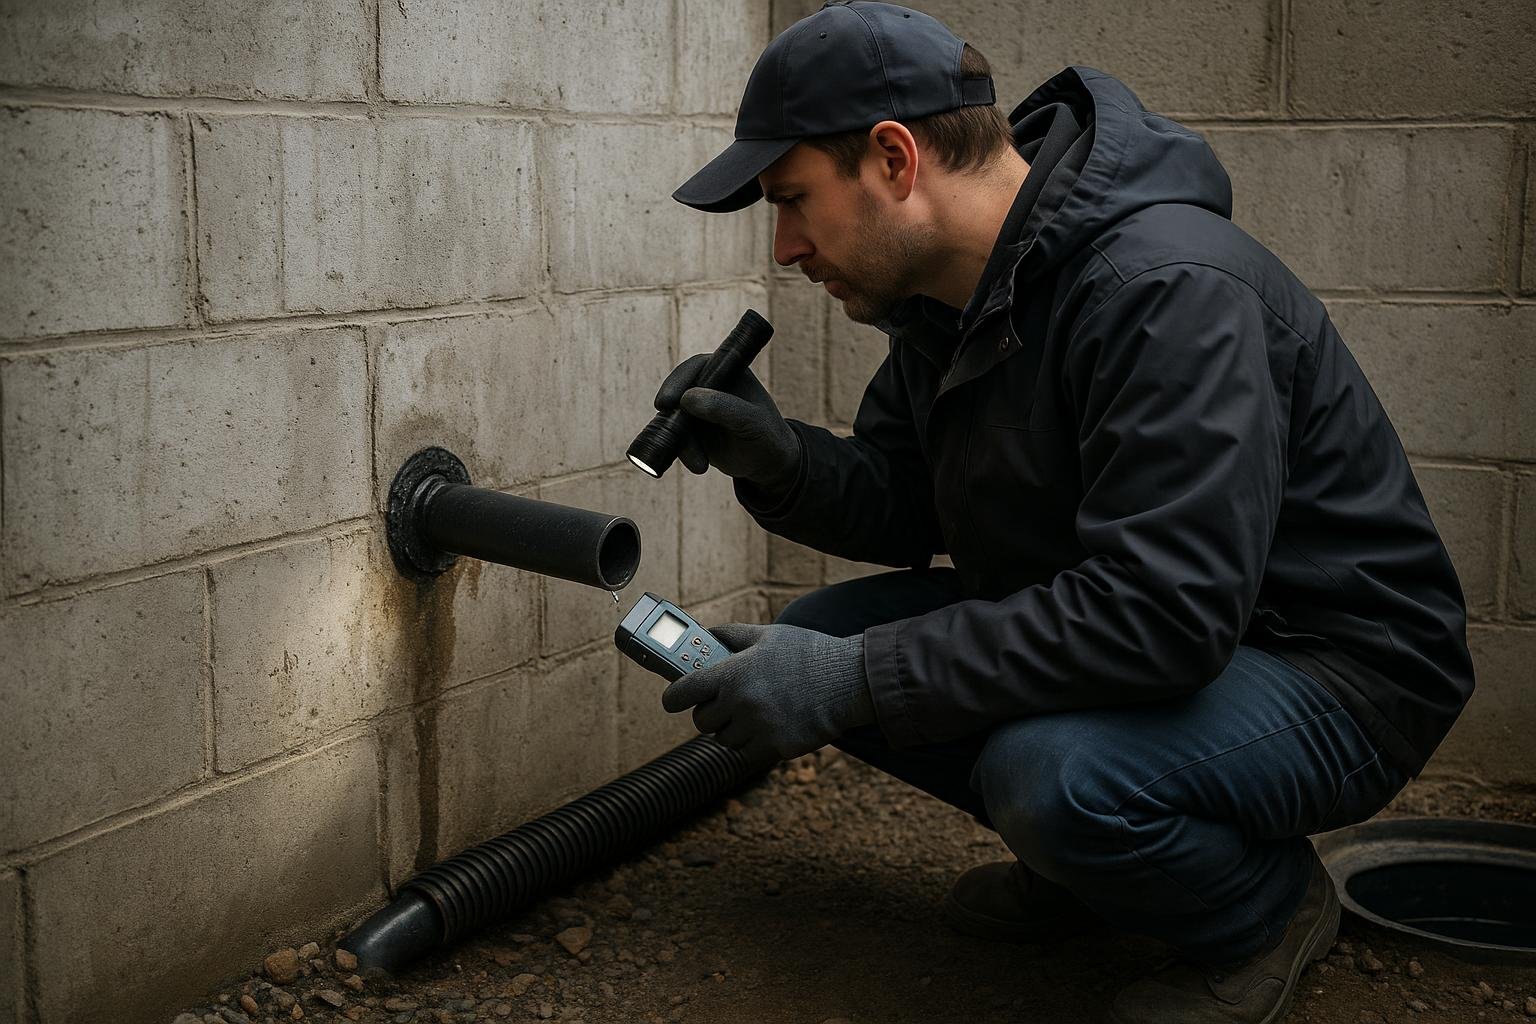
If the wall is poured concrete, the technician will look for associated cracks radiating from the penetration and may use a moisture meter to map the extent of saturation. Where the exterior is accessible, a visual inspection of the pipe entry from outside is standard. If settlement or structural movement is suspected, a referral to a structural engineer may be recommended before waterproofing work proceeds. The Wet Basement and Basement Leak Master Guide covers the full diagnostic framework.
Temporary vs permanent fixes
It is worth being honest about what each repair type can and cannot achieve.
| Repair type | What it does | Limitations | Durability |
|---|---|---|---|
| Hydraulic cement plug | Stops active flow quickly by expanding as it sets | Brittle; can crack under ongoing hydrostatic pressure or movement; does not seal the full annular gap depth | Temporary to short-term |
| Interior polyurethane injection | Flexible foam fills and seals the annular gap from inside; bonds to wet concrete | Requires proper port placement; does not address exterior drainage; may need re-injection if gap is very large | Long-term when correctly applied |
| Mechanical link seal (interior) | Rubber gasket compressed against pipe and wall creates a mechanical water barrier | Requires enough annular space to fit the seal; not suitable for very corroded pipes | Long-term |
| Exterior excavation and re-seal | Exposes the full pipe penetration from outside; allows proper waterproof membrane and seal application | Higher cost and disruption; not always practical for pipes deep in the wall or under a driveway | Most durable option |
A hydraulic cement plug is appropriate as an emergency measure to stop active flow before a professional arrives. Polyurethane injection is the most common professional interior repair for pipe penetrations in poured concrete walls and uses the same technology as foundation crack injection. Where exterior access is practical and the penetration has failed repeatedly, exterior excavation and re-sealing provides the most complete solution. The guide on crack injection versus full waterproofing explains how to choose between these approaches.
Frequently asked questions
Is water leaking around a pipe in my basement wall a plumbing problem or a waterproofing problem?
It depends on the source. If the water appears or worsens after rain or snowmelt and the pipe itself is dry, it is a waterproofing problem: groundwater is entering through the gap between the pipe and the wall. If the leak is present regardless of weather and correlates with running fixtures, it is a plumbing problem. Both can occur simultaneously, so test for each separately before deciding on a repair path.
Can I fix a leaking pipe penetration myself?
You can apply hydraulic cement as a temporary stop to active flow, and you can improve exterior grading and downspout discharge yourself. A permanent interior seal using polyurethane injection or a mechanical link seal requires proper equipment and technique. Incorrect application can push water further into the wall or create a false sense of repair that fails within a season. For a lasting fix, a professional assessment is advisable.
How much does it cost to seal a pipe penetration in a basement wall?
DryShield does not publish fixed prices for this repair because cost depends on the pipe diameter, the depth and condition of the gap, whether associated cracks are present, and whether exterior access is required. The Crack Injection Cost page explains the factors that drive pricing for injection-based repairs. A site assessment is the only reliable way to get an accurate figure for your specific situation.
Will the leak get worse over time if I leave it?
In most cases, yes. Water moving through a gap carries fine particles of concrete with it, gradually enlarging the opening. Repeated wetting and drying promotes efflorescence and concrete spalling. Sustained moisture also creates conditions for mould growth on nearby wood framing and insulation. A slow drip today can become a significant flow within a few seasons, particularly if freeze-thaw cycling continues to widen the gap.
Can a pipe-penetration leak cause mould?
Yes. Even a slow, intermittent drip keeps the surrounding concrete and adjacent wood or insulation in a persistently damp state. Mould can establish on organic materials within days of sustained moisture exposure. If you notice a musty odour near the penetration or see dark staining on nearby materials, treat mould remediation as a parallel concern alongside the waterproofing repair. See the related page on mould on basement walls for further information.
Does polyurethane injection work on pipe penetrations, or only on cracks?
Polyurethane injection is well-suited to pipe penetrations. The same expanding, flexible foam used to seal foundation wall cracks can be injected into the annular gap around a pipe. It bonds to damp concrete, expands to fill irregular voids, and remains flexible enough to accommodate minor movement. The Polyurethane Injection guide covers how the material behaves and what conditions it is appropriate for.
My pipe penetration leaks only in spring. Does that mean it is not serious?
Seasonal leaking indicates the seal is marginal: it holds under normal groundwater levels but fails when hydrostatic pressure rises during snowmelt. Each spring thaw cycle that forces water through the gap enlarges it slightly, and a future wet season with higher-than-normal snowpack could produce a much larger leak. Addressing a marginal seal before it fails completely is typically less disruptive and less costly than repairing after significant water damage has occurred.
Should I be worried about structural damage from a pipe-penetration leak?
A pipe penetration leak is not itself a structural event, but it can contribute to structural problems over time. Sustained water infiltration can erode the concrete around the penetration, and if the leak is associated with a crack that runs through the wall, that crack warrants a structural assessment. The guide on how to tell if a foundation crack is structural provides the key indicators to look for.
If you are seeing water around a pipe penetration in your basement wall, the DryShield team can assess the source, the extent of the gap, and the most appropriate repair for your specific wall type and drainage situation. Book a free assessment and get a clear picture of what is happening before the problem grows.