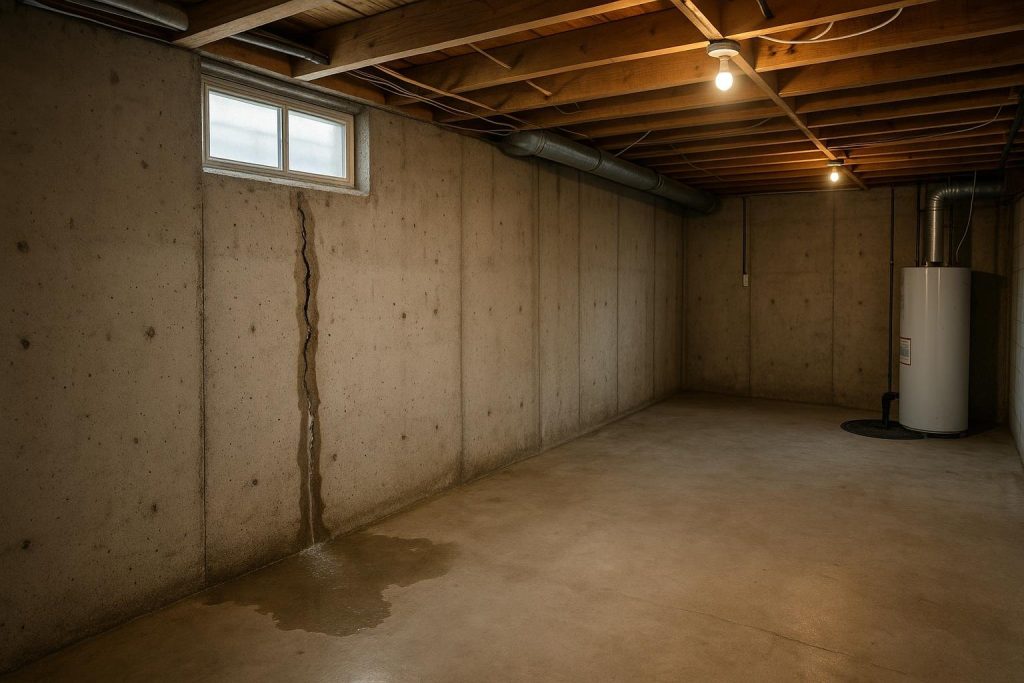
If you are asking why does my basement leak when it rains, the most likely answer is that hydrostatic pressure is forcing water through a crack, a failed wall-to-floor joint, or a silted-up weeping tile system. In Toronto and across the GTA, heavy clay soil holds rainwater against the foundation for hours after a storm, and that sustained pressure finds every weak point. Stop the water at the source first: move anything off the floor, check your sump pump is running, and call for a professional inspection before the next rain event.
Key Takeaways
- Rain-triggered leaks are almost always caused by hydrostatic pressure, not the rain itself hitting the wall.
- Toronto clay soil is a major factor: it drains slowly and keeps water pressed against your foundation long after a storm passes.
- The entry point matters: cracks, the cove joint, window wells, and failed weeping tile each need a different fix.
- A single injected crack costs roughly $600 to $900; a full interior weeping tile system or exterior waterproofing is a larger investment that depends on linear footage and site conditions.
Toronto’s spring downpours and summer convective storms are the two peak failure windows. If your basement leaks only during or just after heavy rain, hydrostatic pressure from clay soil is almost certainly the trigger.
Confirm it is actually a rain-triggered leak
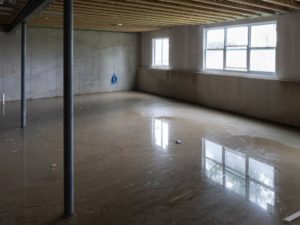
A rain-triggered leak follows a clear pattern: the basement is dry before the storm, water appears during or within a few hours of heavy rainfall, and the wet spot is in roughly the same location every time. You may see water tracking down a wall crack, seeping along the cove joint where the wall meets the floor, or pooling near a window well.
The water is usually clear or slightly grey. If it smells like sewage, the problem is a backed-up floor drain or sewer, not a foundation leak. If the dampness is uniform across the walls regardless of rain, condensation from humid interior air is more likely the culprit.
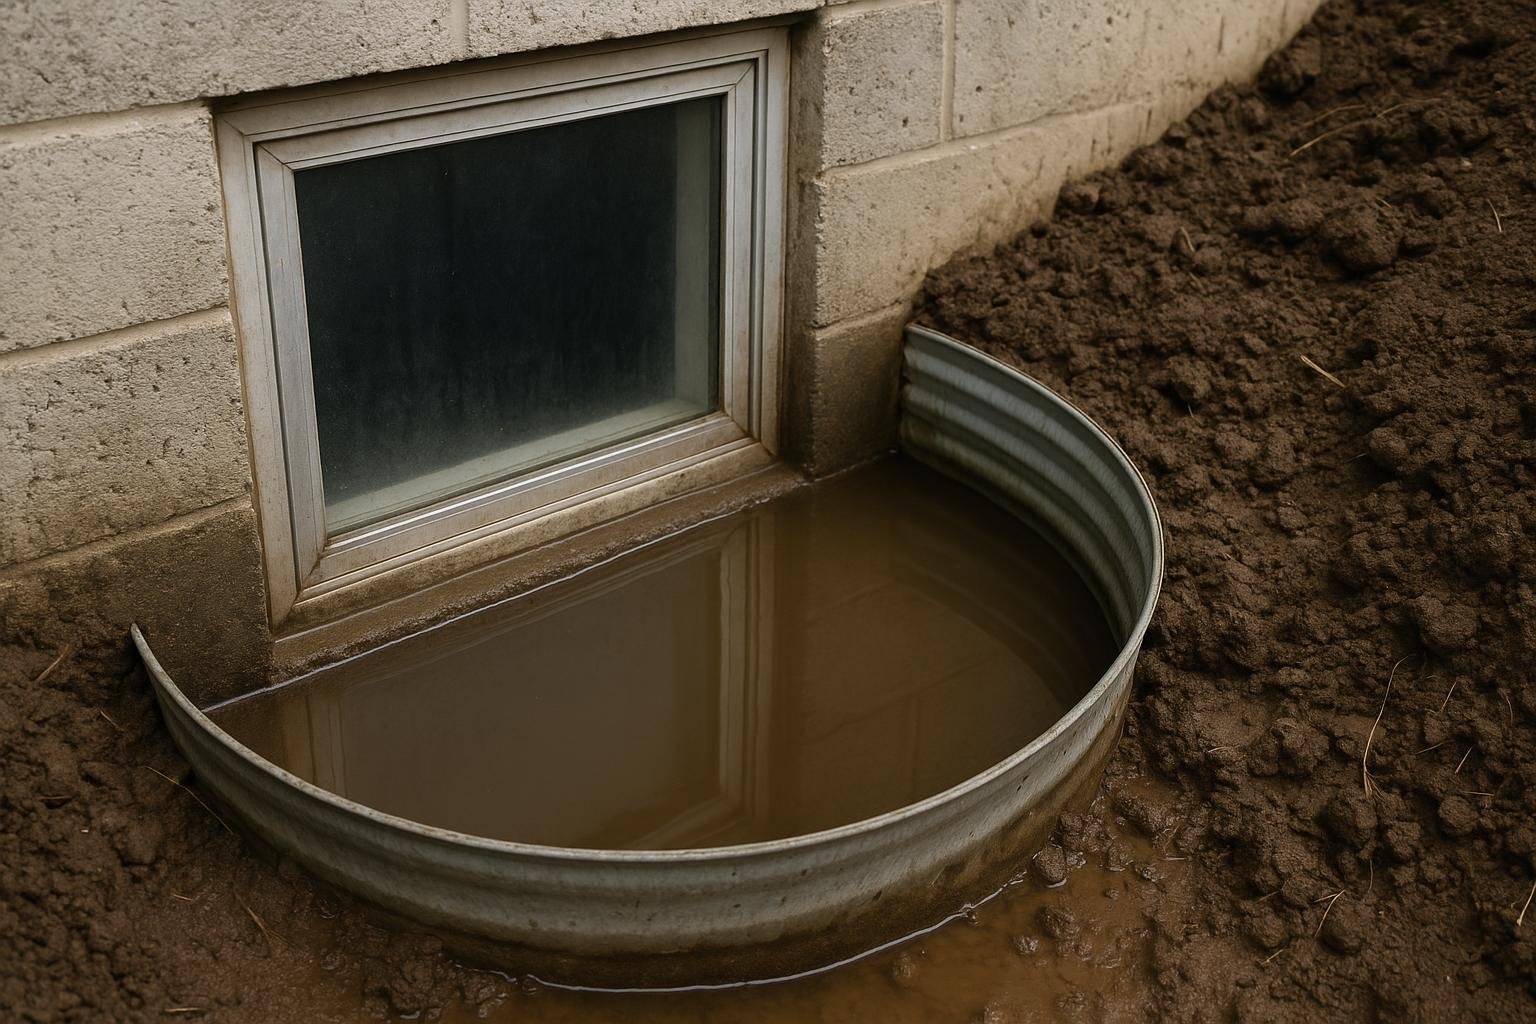
Pay attention to which wall is wet. A leak on the north or east wall of a Toronto semi-detached often points to a shared-wall drainage issue or a neighbour’s downspout discharging too close to the property line. A leak below a window well almost always means the well is collecting water faster than it can drain.
Problems it gets confused with
Condensation looks like sweating: water beads on the surface of a cold wall or cold pipe rather than tracking from a specific crack. Wipe the wall dry, tape a piece of plastic sheeting over the damp area, and seal the edges. If moisture forms on the room side of the plastic after a day, it is condensation. If it forms behind the plastic, water is coming through the wall.
A sewer backup produces water at the floor drain, often with a foul odour, and is triggered by heavy rain overwhelming the municipal combined sewer, not by hydrostatic pressure on the foundation. Window condensation dripping onto the sill can also mimic a wall leak. Ruling these out before calling a waterproofing contractor saves time and money.
Why does my basement leak when it rains: causes, ranked
1. Hydrostatic pressure through a foundation crack
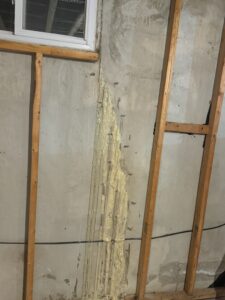
This is the most common cause in Toronto. Poured concrete foundations develop shrinkage cracks within the first few years, and clay soil holds rainwater against those cracks long after the storm ends. The water pressure builds until it finds a path through. The telltale sign is a crack that is dry between rain events but weeps or drips during or after heavy rainfall. Low-pressure polyurethane injection seals the crack from the inside and cures flexible, so it tolerates seasonal foundation movement without re-cracking.
2. Failed or silted weeping tile
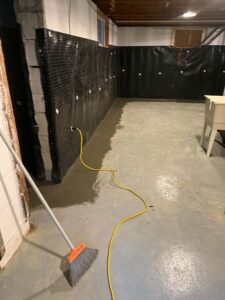
Older Toronto homes, particularly those built before the 1980s, often have original clay-tile or corrugated plastic weeping tile that has collapsed or filled with silt and root intrusion. When the drainage system around the footing stops working, water has nowhere to go and backs up against the wall. The telltale sign is water seeping along the entire base of one or more walls rather than from a single crack. The fix is a new interior weeping tile system draining to a sump basin, or exterior excavation and replacement of the perimeter drain.
3. Cove joint failure
The cove joint is where the foundation wall sits on the footing. It is not a monolithic pour, so it is inherently a weak point. When hydrostatic pressure builds under the floor slab, water pushes up through this joint. You will see a thin line of water along the base of the wall, often all the way around the perimeter. An interior weeping tile system relieves the pressure before it reaches the joint.
4. Window well flooding
A window well that lacks a gravel bed, a proper drain, or a cover collects rainwater and channels it directly against the window frame and the foundation wall below. The leak appears at or just below the window opening, usually on the side of the house that faces the prevailing rain direction. Cleaning the well, adding 15 to 20 cm of clear stone at the base, and fitting a polycarbonate cover resolves most window well leaks without professional intervention.
5. Poor grading and downspout discharge
If the soil around your foundation slopes toward the house, or if downspouts discharge within 1.5 metres of the wall, every rainstorm concentrates water exactly where you do not want it. The telltale sign is that the leak is worst on the side of the house where a downspout terminates or where the grade has settled over the years. Correcting the grade and extending downspouts is the first step before any waterproofing work begins.
6. Deteriorated parging or exterior membrane
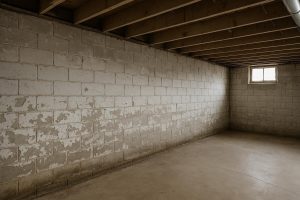
The original parging coat on a block or stone foundation can crack and spall over decades, exposing the masonry to direct water contact. On poured concrete walls, the factory-applied damp-proofing coat (a thin tar-based layer) is not a true waterproofing membrane and degrades over time. Water then migrates through the porous concrete itself. The leak is diffuse rather than pinpoint, and the wall feels damp to the touch across a broad area.
Cause to solution table
| Cause | Telltale sign | Appropriate fix | Urgency |
|---|---|---|---|
| Foundation crack (hydrostatic pressure) | Water tracks from a specific crack during rain | Low-pressure polyurethane crack injection | Act soon |
| Failed or silted weeping tile | Water seeps along the base of multiple walls | Interior weeping tile to sump, or exterior excavation and replacement | Act now |
| Cove joint failure | Thin water line around the perimeter at floor level | Interior weeping tile system to relieve sub-slab pressure | Act now |
| Window well flooding | Leak at or below a basement window | Clear stone bed, drain, polycarbonate cover | Act soon |
| Poor grading or downspout discharge | Leak on one side, worst near a downspout | Grade correction, downspout extension | Monitor to act soon |
| Deteriorated parging or membrane | Diffuse dampness across a broad wall area | Exterior excavation, new membrane and drainage board | Act soon |
Use this table as a starting point, not a final diagnosis. Two causes often act together: a crack may be the entry point, but failed weeping tile is the reason pressure built high enough to force water through. A professional inspection identifies which combination is at work before any repair scope is written.
What you can safely check yourself
- Walk the perimeter outside. Check that the soil slopes away from the foundation on all sides. Look for downspouts that terminate within 1.5 metres of the wall and extend them with a splash block or flexible extension.
- Inspect window wells. Clear any debris, check that the base has gravel, and confirm the well is not holding standing water after rain.
- Test your sump pump. Pour a bucket of water into the pit and confirm the float triggers the pump and the pump discharges water away from the house.
- Look for visible cracks inside. Use a flashlight to scan the walls and floor. Mark any cracks with masking tape and note their location, orientation, and width.
- Run the condensation test. Tape plastic sheeting over a damp area and check after 24 hours to confirm whether moisture is coming through the wall or forming on the surface.
What NOT to do
Do not apply hydraulic cement or expanding foam directly into an active crack as a permanent fix. These products can slow water temporarily but they do not bond to wet concrete reliably, and they cannot flex with seasonal foundation movement. The crack will re-open, often wider than before.
Do not paint the interior wall with a waterproofing paint and consider the problem solved. These coatings can reduce minor vapour transmission but they will blister and fail under any real hydrostatic pressure. They also hide the crack from view, making future diagnosis harder.
Do not ignore a leak that only happens once. A crack that weeps during one storm will weep during every subsequent storm, and the freeze-thaw cycle each Ontario winter widens it further.
How a professional diagnoses it
A proper inspection starts outside. The technician checks grade slope, downspout termination points, and any visible signs of soil settlement or previous excavation. Window wells, the driveway edge, and any additions or porches that may have altered drainage are all noted.
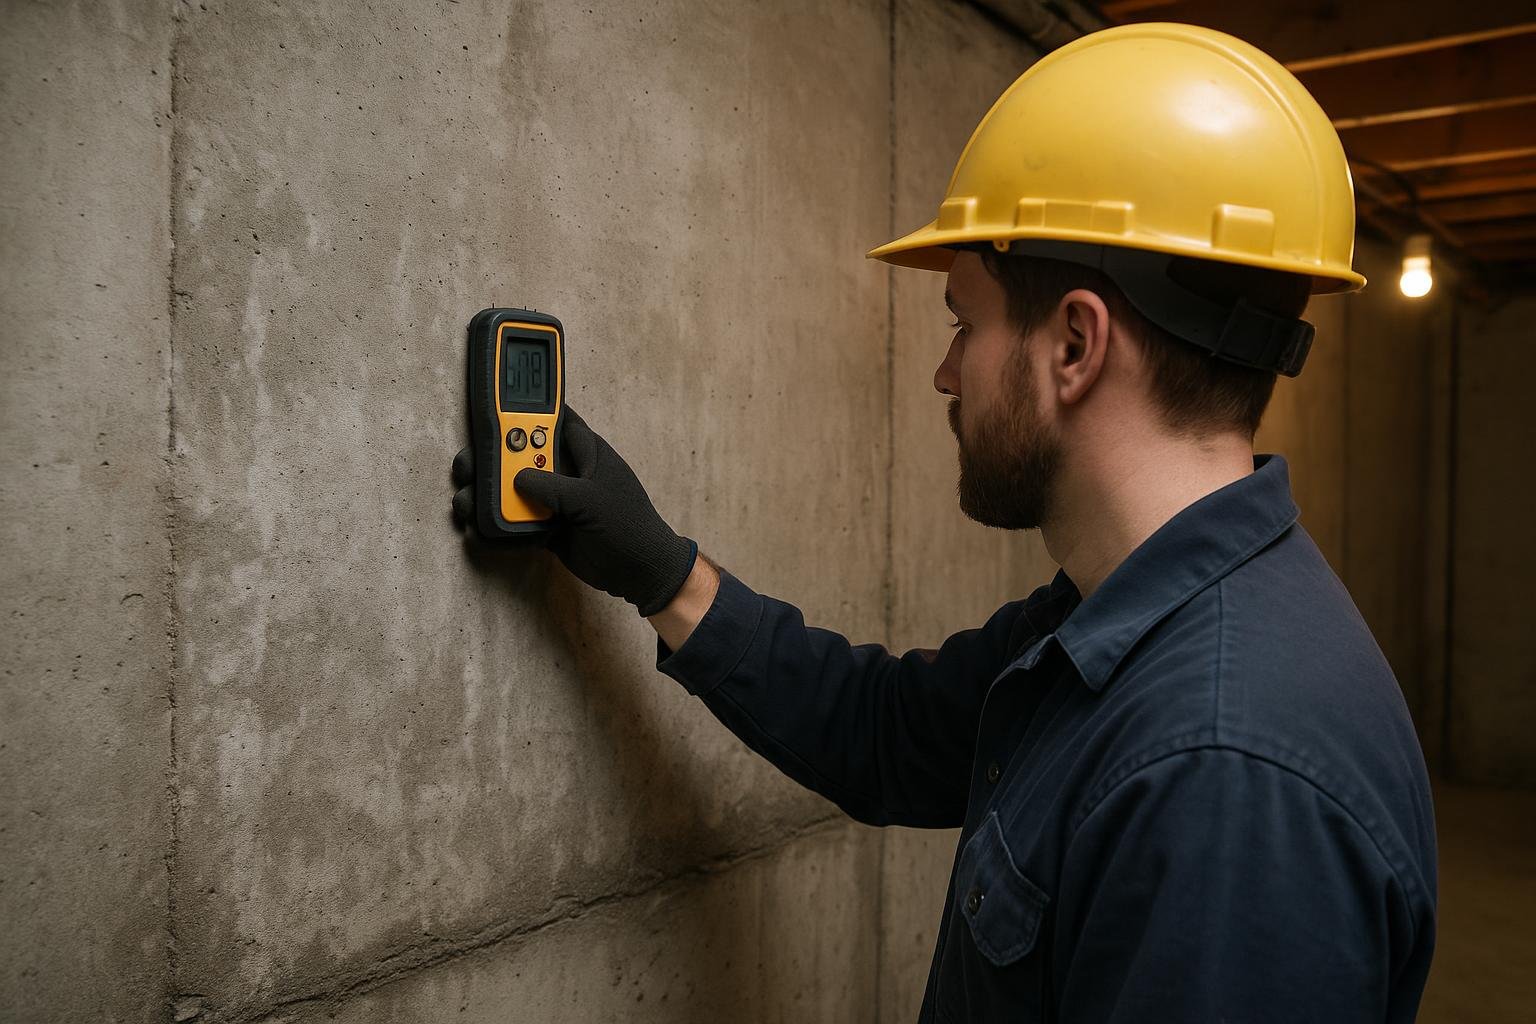
Inside, the technician scans the walls and floor with a moisture meter to map wet zones, then traces any cracks from floor to ceiling to determine their orientation and likely cause. Vertical cracks in poured concrete are almost always shrinkage cracks suited to polyurethane injection. Horizontal cracks in block walls can indicate lateral soil pressure and may need an engineer’s assessment before waterproofing proceeds. The Canada Mortgage and Housing Corporation publishes guidance on foundation moisture that aligns with this diagnostic approach.
The technician also checks the sump pit: whether a pump is present, its age, whether a battery backup exists, and whether the discharge line terminates far enough from the foundation. The written scope that follows includes linear-foot pricing for any weeping tile work, a per-crack price for injection, and a clear explanation of which problem each line item addresses. You can use the Basement Leak Diagnostic Tool to get a head start before the technician arrives.
Temporary vs permanent fixes
Temporary measures buy time but do not address the source of water pressure. Permanent repairs stop water at or before the point of entry. Understanding why does my basement leak when it rains is the first step toward choosing the right permanent solution.
| Approach | What it does | Realistic lifespan | Best suited for |
|---|---|---|---|
| Hydraulic cement plug | Slows active flow temporarily | Months to a year or two | Emergency stop while awaiting proper repair |
| Polyurethane crack injection | Fills and seals the crack, cures flexible | Decades with proper application | Isolated vertical shrinkage cracks |
| Interior weeping tile to sump | Relieves hydrostatic pressure before it enters | 25 or more years | Perimeter seepage, cove joint failure, failed original tile |
| Exterior excavation and membrane | Stops water at the wall exterior, installs new drainage board and weeping tile | Lifetime with proper backfill | Severe or recurring leaks, deteriorated parging, full perimeter failure |
Polyurethane injection is the right permanent fix for a single crack and typically costs $600 to $900 per crack. Full exterior waterproofing of an average Toronto semi-detached runs roughly $6,000 to $9,000 depending on linear footage, depth of excavation, and site access. Interior weeping tile systems generally fall below the exterior range. All final figures depend on a site inspection. For a detailed cost breakdown, see the Basement Leak Repair Cost in Toronto guide.
A single polyurethane crack injection typically costs $600 to $900. Full exterior waterproofing of a Toronto semi-detached runs roughly $6,000 to $9,000. Both figures depend on site conditions confirmed at inspection.
For a broader look at all the methods available, the Basement Leak Repair Services page covers interior and exterior options side by side. If you are weighing which approach suits your home, the comparison of interior vs. exterior waterproofing explains the trade-offs in plain language.
Toronto’s heavy clay soil is the underlying reason so many GTA basements leak during rain. Clay holds water against the foundation wall for hours after a storm, sustaining the hydrostatic pressure that forces water through cracks and joints.
Frequently asked questions
Why does my basement only leak when it rains hard, not during light rain?
Light rain soaks into the soil gradually and the water table does not rise enough to create significant hydrostatic pressure. A heavy downpour saturates Toronto clay quickly, raises the water table against the footing, and forces water through any weak point in the foundation. The threshold effect is a reliable sign that pressure, not surface water, is the trigger.
Can I fix a leaking foundation crack myself?
Window well cleaning, downspout extensions, and grade correction are safe DIY tasks. Crack injection requires a two-part polyurethane system, injection ports, and controlled pressure equipment. An improper injection can push the crack wider or leave voids that re-wet within a season. For anything beyond surface-level maintenance, a professional application is the reliable path.
How long does polyurethane crack injection last?
When applied correctly using the port-and-paste method at low pressure, polyurethane foam cures into a flexible seal that moves with the foundation through freeze-thaw cycles. A properly injected crack in a stable poured concrete wall can remain sealed for decades. Epoxy injection is used only for structural cracks where the wall needs to be re-bonded, not for the typical shrinkage crack.
Will my home insurance cover a rain-triggered basement leak?
Most standard Ontario home insurance policies exclude gradual water infiltration through foundation cracks or failed weeping tile. Sudden and accidental events, such as a sewer backup, may be covered under an optional endorsement. Check your policy wording carefully. The Ontario home insurance and basement waterproofing guide explains what is and is not typically covered.
Does the City of Toronto offer any subsidy for basement waterproofing?
Yes. The City of Toronto Basement Flooding Protection Subsidy Program offers financial assistance for eligible flood protection measures including sump pump installation, backwater valve installation, and window well covers. Eligibility and amounts change periodically, so confirm current terms directly with the City before planning your project.
How do I know if my weeping tile has failed?
The clearest signs are water seeping along the base of multiple walls rather than from a single crack, a sump pump that runs continuously during rain, and a basement that was dry for years before gradually becoming wetter each spring. A camera inspection of the weeping tile at the footing level confirms whether the pipe is intact, collapsed, or silted. Many Toronto homes built before 1980 have original clay tile that has long since failed.
If your basement is leaking during rain right now, the best next step is a free on-site assessment. DryShield’s inspection covers moisture mapping, crack assessment, sump pit condition, and a written scope with clear pricing, so you know exactly what the problem is and what it will cost to fix it before any work begins. Book your free assessment and stop guessing.