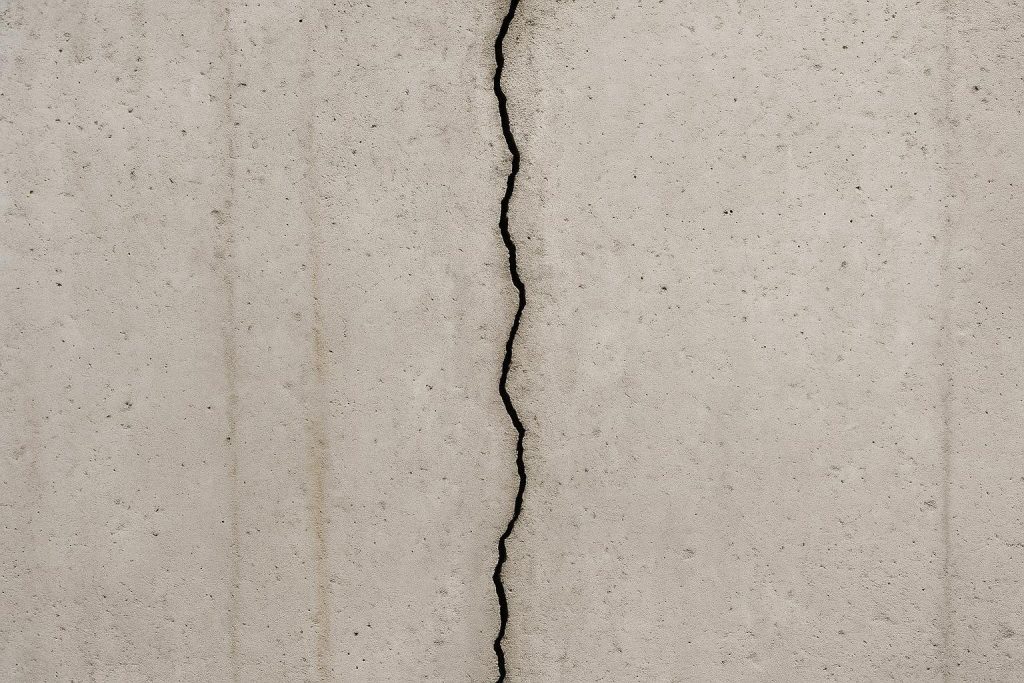
A foundation crack found during a home inspection is one of the most common flags buyers and sellers encounter in Ontario real estate transactions. Not every crack signals a structural emergency, but every crack deserves a clear-eyed assessment before closing day. This guide explains what different crack types mean, which repair options exist, how to compare them, and what cost drivers you should understand so you can make an informed decision.
If an inspector has flagged a crack, our foundation crack repair page explains how we assess it and what the repair involves.
- Hairline shrinkage cracks in poured concrete are common and often repairable with polyurethane injection, but they still require professional assessment.
- Horizontal cracks in block or poured walls can indicate lateral soil pressure and may need structural evaluation before any waterproofing work begins.
- A home inspector’s report identifies a crack but does not diagnose its cause or prescribe a repair method; a waterproofing or structural specialist should follow up.
- Repair costs vary widely depending on crack type, length, access, and whether waterproofing is also required; no single price applies universally.
- Addressing a flagged crack before closing protects both parties and may affect mortgage approval, insurance, and resale value.
Definitions & scope
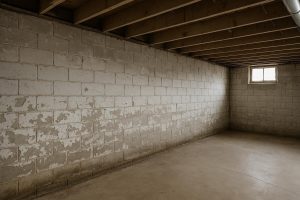
A foundation crack is any discontinuity in a basement wall or floor that breaks the concrete or masonry surface. In Ontario homes, foundations are most commonly poured concrete (a single continuous pour), concrete block (stacked hollow masonry units), or, in older homes, stone or brick. Each material cracks differently and for different reasons.
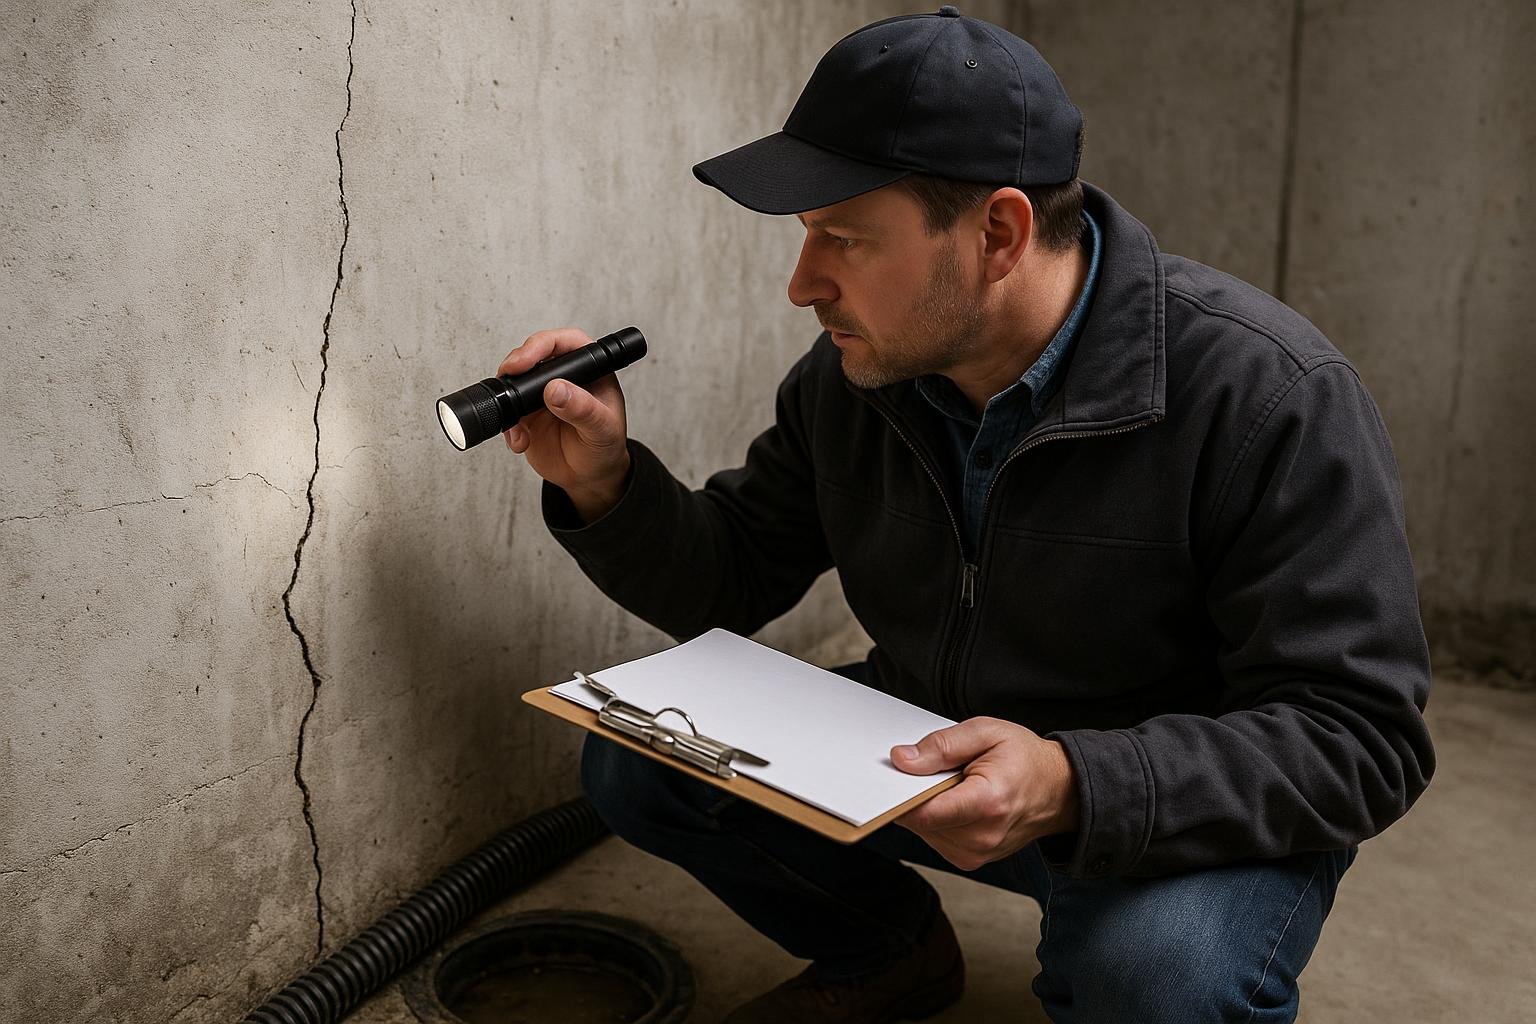
Home inspectors in Ontario are governed by the Ontario Association of Home Inspectors (OAHI) and the Home Inspection Act, 2017. Their mandate is to observe and report visible conditions, not to diagnose root causes or specify repairs. When an inspector notes a crack, the report typically describes its location, approximate width, and orientation. It does not tell you whether the crack is actively leaking, whether it has moved, or what repair method is appropriate. That follow-up assessment is the job of a foundation repair or waterproofing specialist, and in some cases a licensed structural engineer.
The scope of this guide covers poured concrete and concrete block foundations, which represent the vast majority of homes in the Greater Toronto Area and Ontario cottage country. It does not cover underpinning, helical piers, or full structural remediation, which fall outside standard waterproofing work and require engineering oversight.
Why this matters
Foundation cracks matter in a real estate context for several overlapping reasons. First, an unrepaired crack is a documented deficiency. Once it appears in an inspection report, both the buyer and seller are on notice. Ignoring it does not make it disappear from the record, and it can complicate mortgage financing if a lender requires a satisfactory repair before advancing funds.
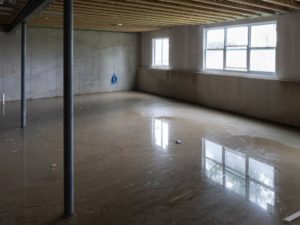
Second, cracks that allow water infiltration create conditions for mold growth, efflorescence, and deterioration of interior finishes. Ontario’s freeze-thaw cycle is particularly aggressive: water that enters a crack in autumn can freeze, expand, and widen the crack over winter, turning a minor cosmetic issue into a more significant repair by spring. The freeze-thaw cycle’s effect on foundations is well documented for seasonal properties but applies equally to year-round homes across the province.
Third, home insurance policies in Ontario generally do not cover gradual water infiltration through foundation cracks. Understanding what your policy covers before closing is important. For a detailed breakdown, see the guide on home insurance and foundation cracks in Ontario.
Finally, a repaired crack, especially one backed by a transferable warranty, can be a positive selling point rather than a liability. Buyers who see documented repair work with a warranty in place often view the property more favourably than one with an unaddressed flag.
Your options
Polyurethane crack injection
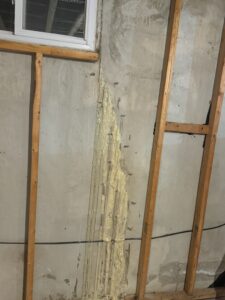
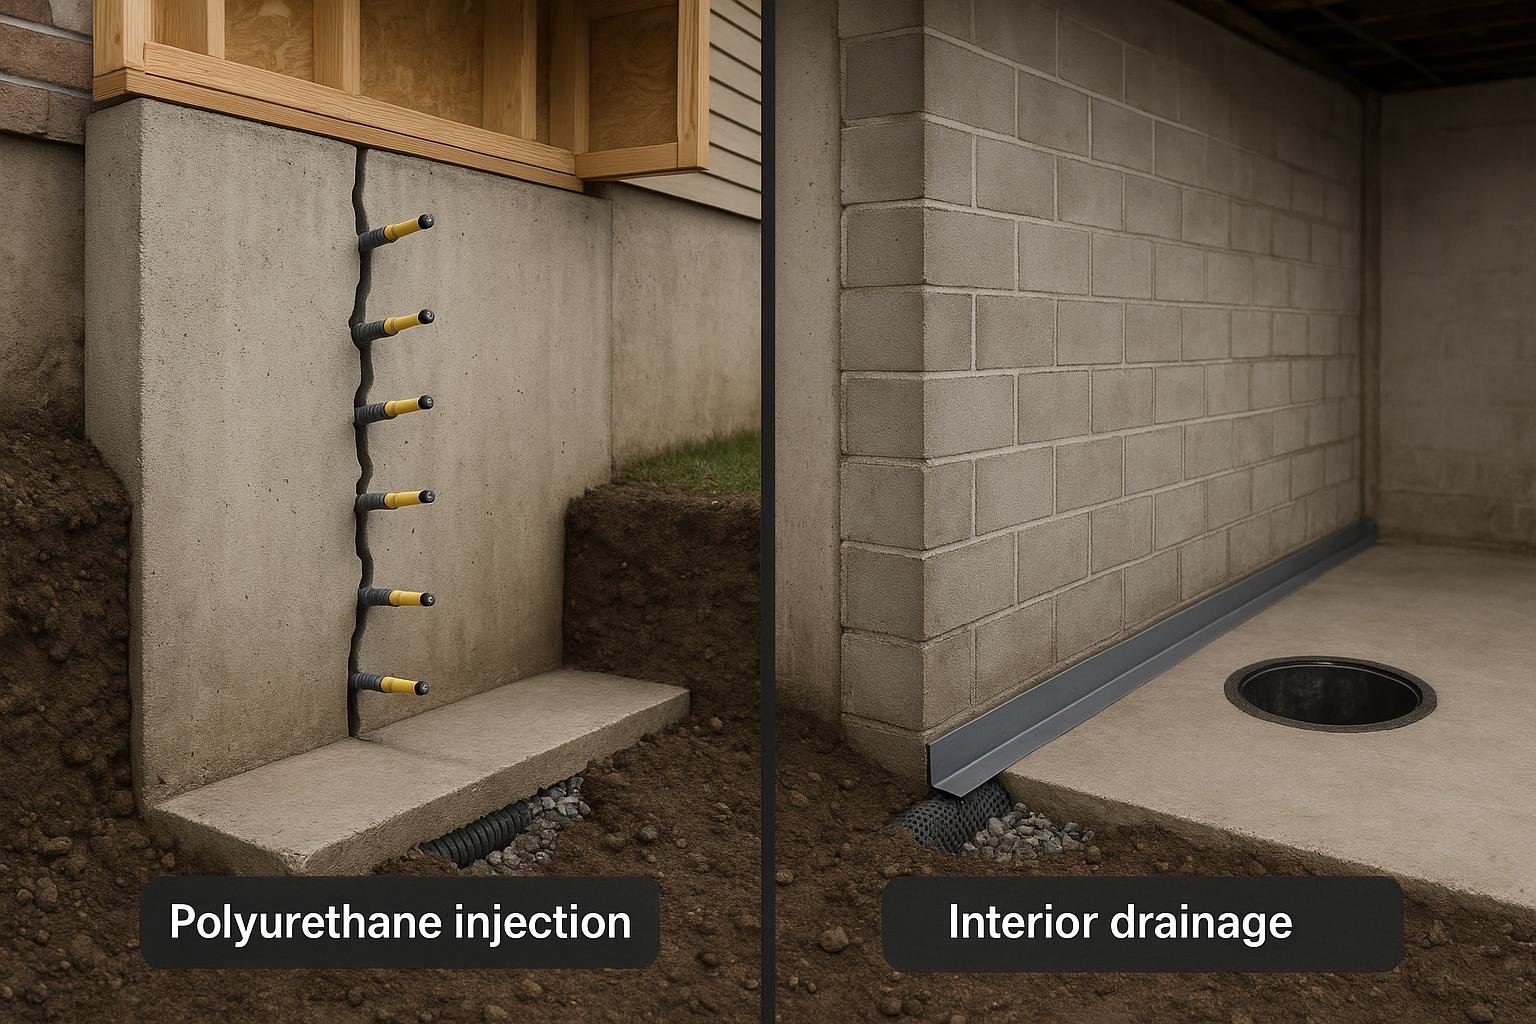
Polyurethane injection is the most widely used method for sealing active or dormant hairline to moderate-width cracks in poured concrete walls. A low-viscosity polyurethane foam is injected under controlled pressure through ports drilled or surface-mounted along the crack. The foam expands to fill the full depth of the crack, bonding to the concrete and creating a flexible, waterproof seal. Because polyurethane remains slightly flexible after curing, it can accommodate minor future movement without re-opening.
Best for: Vertical and diagonal shrinkage cracks in poured concrete walls; cracks that are actively seeping water at the time of repair; situations where excavation is not practical.
Limitations: Not suitable for structural cracks with measurable displacement, horizontal cracks caused by lateral pressure, or block foundations where voids between units prevent consistent foam travel. The repair addresses the crack itself but does not resolve underlying drainage or grading issues that may be driving hydrostatic pressure. See the detailed guide on polyurethane crack injection for method specifics.
Epoxy crack injection
Epoxy injection uses a two-part structural adhesive injected into a dry crack. Once cured, epoxy creates a bond that is typically stronger than the surrounding concrete, effectively welding the crack shut. The material is rigid after curing.
Best for: Dry, dormant cracks where structural continuity is the primary goal; situations where an engineer has specified a structural repair rather than a waterproofing seal.
Limitations: Epoxy does not perform well in wet or actively leaking cracks because moisture interferes with adhesion. Its rigidity means it cannot flex with future movement; if the crack re-activates, the repair may fail at the crack edges. Epoxy is generally not the first choice for waterproofing applications. The epoxy vs. polyurethane comparison covers this distinction in detail.
Interior drainage system (interior waterproofing)
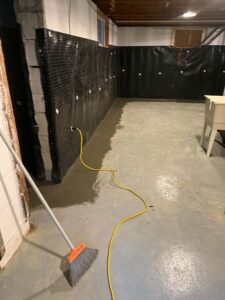
An interior drainage system involves installing a perimeter channel at the base of the basement wall, connected to a sump pit and pump. Water that enters through cracks or the wall-floor joint is captured and directed to the sump before it can pool on the floor. This approach does not seal the crack but manages water after it enters the wall assembly.
Best for: Homes with multiple entry points, block foundations where injection is impractical, or situations where exterior excavation is not feasible due to cost, access, or landscaping.
Limitations: Water still enters the wall; the system manages it rather than stopping it at the source. Ongoing sump pump maintenance is required. Not a structural repair. Learn more about interior waterproofing solutions.
Exterior waterproofing with crack repair
Exterior waterproofing involves excavating the soil around the affected wall, cleaning and repairing the crack from the outside, applying a waterproof membrane to the foundation wall, and installing or replacing weeping tile and drainage board before backfilling. This is the most comprehensive approach because it addresses the crack, the membrane, and the drainage system in a single scope of work.
Best for: Cracks with significant water infiltration history, walls with failed or absent original waterproofing membrane, homes where the weeping tile system is also compromised, or situations where a long-term solution is the priority.
Limitations: Higher cost and disruption than injection alone; requires excavation that may affect landscaping, driveways, or utilities. Not always practical for attached homes with shared walls or limited side-yard access. See the exterior foundation waterproofing guide for a full overview.
Crack monitoring without immediate repair
In some cases, particularly for very fine, dry, dormant cracks with no evidence of past water infiltration, a specialist may recommend monitoring the crack over one or two seasons before committing to a repair method. Monitoring involves marking the crack ends and measuring width at intervals to determine whether it is stable or progressing.
Best for: Hairline cracks (under 0.2 mm) with no staining, efflorescence, or moisture; situations where the buyer and seller agree to a price adjustment rather than a pre-closing repair.
Limitations: Monitoring is not a repair. If the crack is in a location subject to hydrostatic pressure or freeze-thaw cycling, waiting carries risk. A specialist assessment is still required to determine whether monitoring is appropriate.
Options compared
| Option | Best for | Typical considerations | Durability / limitations |
|---|---|---|---|
| Polyurethane injection | Active or dormant vertical/diagonal cracks in poured concrete | Minimal disruption; interior access only; no excavation | Flexible seal; long-lasting when crack is stable; not structural |
| Epoxy injection | Dry, dormant cracks requiring structural continuity | Requires dry crack; rigid bond | Very strong bond; brittle if crack re-activates; not for wet cracks |
| Interior drainage system | Multiple entry points; block walls; limited exterior access | Ongoing sump pump maintenance; water still enters wall | Manages water effectively; does not seal crack at source |
| Exterior waterproofing | Significant infiltration history; failed membrane; weeping tile issues | Excavation required; higher cost and disruption | Most comprehensive; addresses crack, membrane, and drainage together |
| Monitoring only | Hairline, dry, dormant cracks with no infiltration evidence | No immediate cost; requires follow-up assessment | Not a repair; risk increases with freeze-thaw cycling |
The table above illustrates that no single method suits every crack. Polyurethane injection is the most common choice for the typical inspection-flagged vertical crack in a poured concrete wall, but the right answer depends on crack orientation, foundation type, moisture history, and the condition of the surrounding drainage system. A specialist assessment that includes a review of the inspection report and a physical examination of the crack is the necessary first step before selecting a method.
How to choose
Use the following framework to narrow your options after receiving an inspection report that flags a foundation crack.
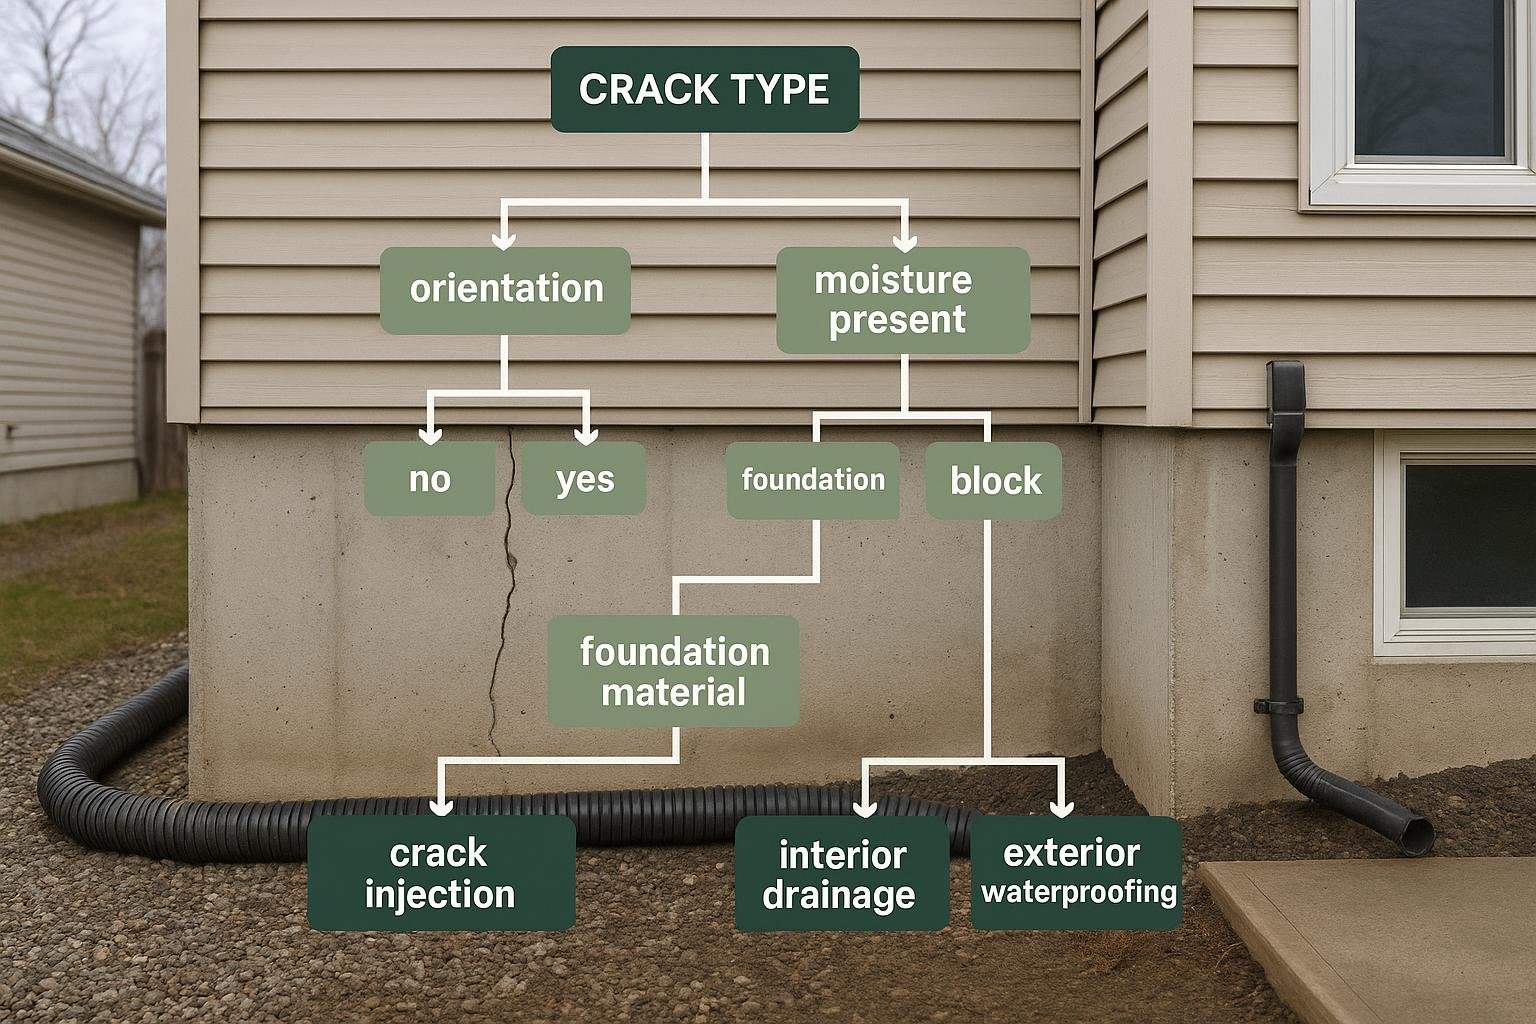
Choose polyurethane injection if the crack is vertical or diagonal, located in a poured concrete wall, shows evidence of past or active water seepage (staining, efflorescence, or dampness), and there is no measurable horizontal displacement between the two sides of the crack. This is the most common scenario for inspection-flagged cracks in Ontario homes built after the 1970s.
Choose epoxy injection if a structural engineer has reviewed the crack and determined that restoring structural continuity is the primary goal, and the crack is fully dry at the time of repair. This is less common in a standard home inspection context and more typical in commercial or post-repair structural documentation scenarios.
Choose an interior drainage system if the foundation is concrete block, the basement has multiple seepage points along the perimeter, or exterior excavation is not feasible. This approach is also appropriate when the inspection reveals a pattern of water management issues rather than a single isolated crack.
Choose exterior waterproofing if the crack has a documented history of significant water infiltration, the original exterior membrane is absent or visibly failed, the weeping tile system is also compromised, or you want the most durable long-term solution and excavation is practical.
Choose monitoring if the crack is hairline, completely dry, shows no staining or mineral deposits, and a specialist confirms it is stable. This option is most defensible when both buyer and seller agree in writing and a follow-up inspection is scheduled.
For cracks that are horizontal or show step cracking in block walls, consult the guide on how to tell if a foundation crack is structural and consider engaging a licensed structural engineer before proceeding with any repair.
Costs & timelines
Repair costs for inspection-flagged foundation cracks are driven by several factors. No verified price dataset has been supplied to this guide, so the following describes cost drivers only. For Ontario-specific cost ranges, see the foundation crack sealing cost guide and the crack injection cost page.
| Cost driver | Why it affects price | Direction of impact |
|---|---|---|
| Crack length and width | More material and more injection ports required for longer or wider cracks | Higher cost as length/width increases |
| Foundation type | Block foundations require different techniques than poured concrete; injection may not be suitable | Block typically higher cost or different method |
| Interior vs. exterior access | Exterior work requires excavation, shoring, and backfill; significantly more labour and equipment | Exterior substantially higher than interior-only |
| Number of cracks | Multiple cracks may be addressed in a single mobilization at lower per-crack cost, or may indicate a systemic issue requiring a broader solution | Variable; mobilization efficiency vs. scope increase |
| Drainage system condition | If weeping tile replacement or sump pump installation is also required, scope and cost increase substantially | Higher when drainage work is added |
| Access constraints | Finished basements, low clearance, or tight side yards increase labour time | Higher cost with limited access |
Timeline for polyurethane injection is typically a single visit of a few hours for one or two cracks. Exterior waterproofing projects are multi-day engagements depending on wall length and site conditions. Interior drainage system installation typically takes one to several days depending on basement perimeter length. Timelines can affect real estate closing schedules, so early assessment is advisable.
Risks & common mistakes
Several avoidable mistakes arise when buyers or sellers respond to an inspection-flagged foundation crack without adequate information.
Treating all cracks as equal. A hairline shrinkage crack and a horizontal crack with displacement are fundamentally different problems. Applying the same repair method or the same level of urgency to both leads to either over-spending or under-addressing a serious issue. The crack diagnosis guide provides orientation on crack types.
Relying solely on the home inspector’s report. Inspectors are trained observers, not repair specialists. Their report is the starting point, not the final word. A second assessment by a foundation repair specialist is standard practice and appropriate before negotiating a price adjustment or repair credit.
Accepting a surface patch as a permanent repair. Hydraulic cement, caulk, and paint-on sealers applied to the interior face of a crack do not address the full depth of the crack or the source of water pressure. These surface treatments may mask the crack temporarily but are not considered durable repairs by waterproofing professionals.
Skipping the drainage assessment. A crack that has leaked repeatedly is often a symptom of a drainage problem around the foundation. Sealing the crack without addressing grading, downspout discharge, or failed weeping tile may result in water finding a new entry point. The foundation waterproofing guide covers the relationship between drainage and crack infiltration.
Delaying repair through the winter. In Ontario, an unsealed crack that enters the freeze-thaw season is at risk of widening. Water that infiltrates in autumn freezes, expands, and can convert a minor crack into a more significant repair by spring. Early action after an inspection is generally lower risk and lower cost than deferred action.
Not asking about warranty terms. Reputable contractors offer written warranties on crack injection and waterproofing work. A transferable warranty is particularly valuable in a real estate context because it can be assigned to the new owner. DryShield offers a lifetime transferable warranty on qualifying work.
How the process works
- Obtain the inspection report and identify the crack details. Note the location (which wall, height from floor), orientation (vertical, diagonal, horizontal, step), approximate width, and any inspector comments about moisture, staining, or efflorescence.
- Schedule a specialist assessment. A foundation repair or waterproofing contractor visits the property to physically examine the crack, probe for moisture, assess the surrounding wall condition, and review drainage factors. This assessment should be completed before closing negotiations are finalized.
- Receive a written repair recommendation and scope. The contractor provides a written scope of work specifying the repair method, materials, and warranty terms. For cracks with structural characteristics, a referral to a licensed structural engineer may be part of this step.
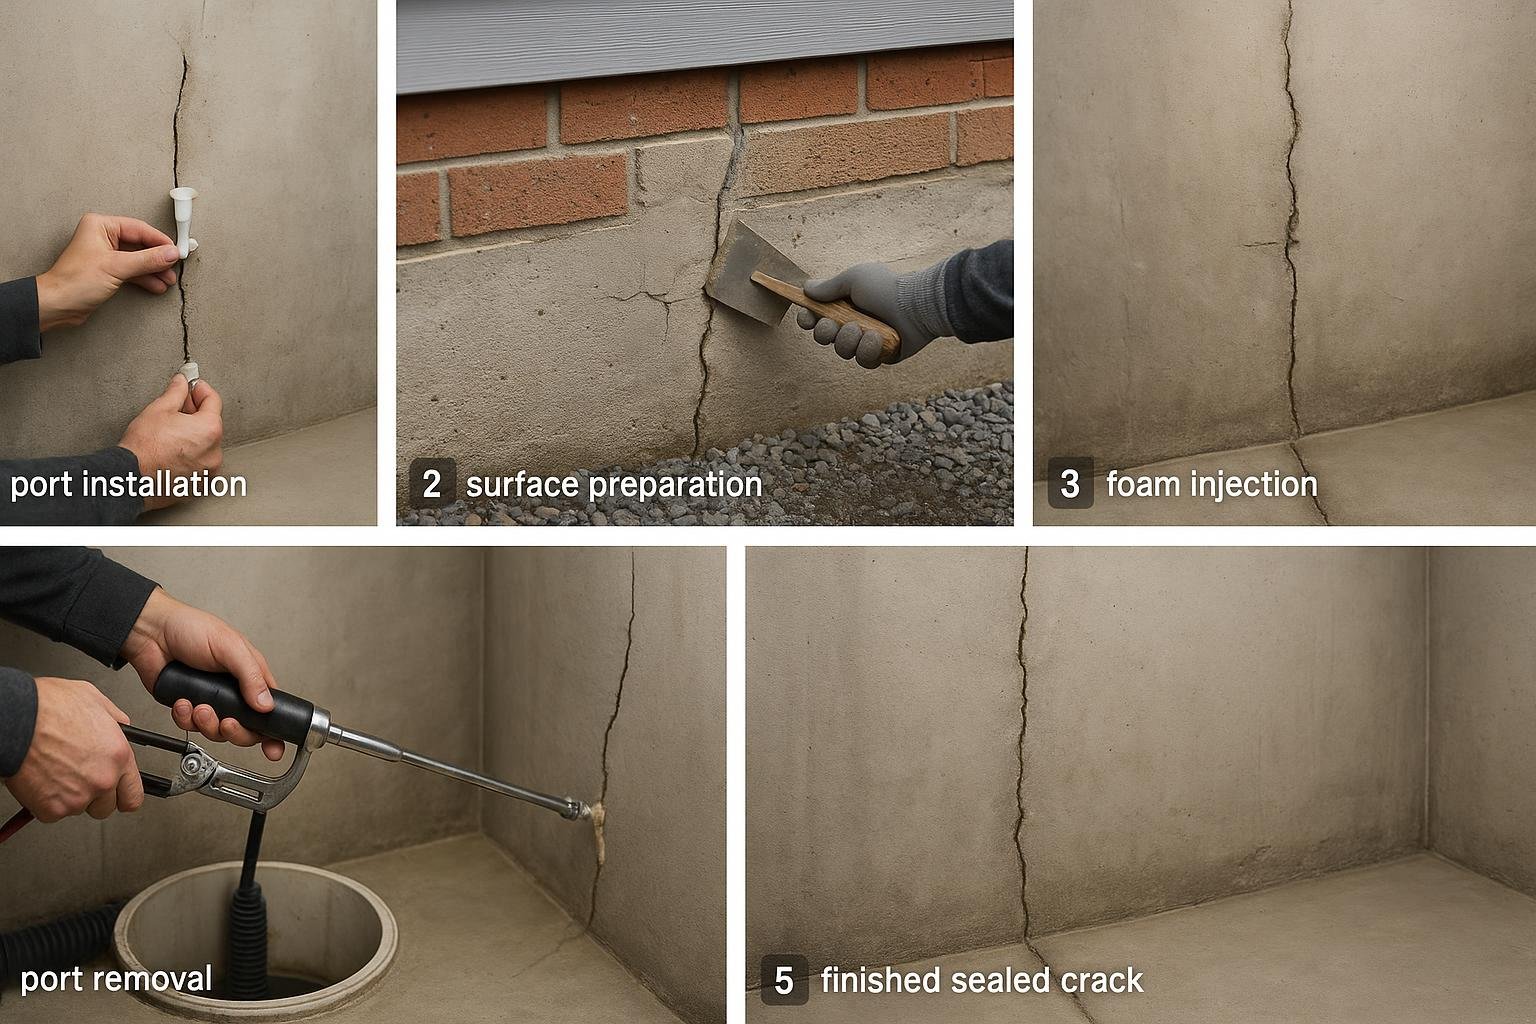
- Complete the repair. For polyurethane injection, ports are installed along the crack, the surface is prepared, and foam is injected under controlled pressure until it travels the full depth. The ports are removed and the surface is finished. For exterior work, excavation, membrane application, and drainage work follow a multi-step sequence.
- Obtain documentation. Request a written warranty, before-and-after photographs, and a description of the work completed. This documentation is provided to the buyer, real estate agent, and lender as required.
- Confirm post-repair monitoring if applicable. For cracks that were borderline candidates for monitoring, a follow-up inspection date should be agreed upon and documented.
- Integrate with broader waterproofing if needed. If the assessment reveals that the crack is part of a larger moisture management issue, the repair may be coordinated with sump pump installation, weeping tile work, or interior drainage, as described in the basement wet repair guide.
Frequently asked questions
Does a foundation crack automatically fail a home inspection?
No. Home inspectors in Ontario report observable conditions; they do not pass or fail a property. A crack is noted as a deficiency requiring further evaluation, not an automatic disqualifier. The significance of the crack depends on its type, size, location, and moisture history, all of which require a specialist follow-up to assess properly.
Who pays for foundation crack repair in a real estate transaction?
This is a negotiated matter between buyer and seller. Common arrangements include the seller completing the repair before closing, a price reduction reflecting the estimated repair cost, or a holdback from the purchase price pending completion of the repair. There is no legislated rule in Ontario specifying which party is responsible; it is governed by the terms of the Agreement of Purchase and Sale.
How long does polyurethane crack injection take?
For a single vertical crack in a poured concrete wall, the injection process typically takes a few hours including preparation, injection, and cleanup. The polyurethane foam begins to cure within minutes and reaches working strength within hours, though full cure time varies by product and temperature. The basement is generally accessible the same day.
Can a repaired crack re-open?
A crack repaired with polyurethane injection can theoretically re-activate if the underlying cause of movement continues. Shrinkage cracks that have stabilized are unlikely to re-open. Cracks caused by ongoing soil movement, settlement, or hydrostatic pressure may require additional work if the root cause is not addressed. This is why the drainage and grading assessment matters alongside the crack repair itself.
Is a foundation crack covered by home insurance?
Most standard home insurance policies in Ontario exclude gradual water infiltration and foundation cracking from coverage. Sudden and accidental water damage may be covered under some policies, but the crack itself and its repair are generally the homeowner’s responsibility. Policy terms vary, so reviewing your specific policy or speaking with your broker is advisable. The guide on home insurance and foundation cracks provides a more detailed breakdown.
What is the difference between a structural crack and a non-structural crack?
A non-structural crack, such as a vertical shrinkage crack in poured concrete, does not compromise the load-bearing capacity of the wall. A structural crack involves displacement, bowing, or cracking patterns that indicate the wall is under stress beyond normal shrinkage. Horizontal cracks in basement walls are more likely to be structural because they can indicate lateral soil pressure. The guide on how to tell if a foundation crack is structural covers the distinguishing signs in detail.
Should I repair the crack before listing my home for sale?
Repairing a known crack before listing removes a potential negotiating point for buyers and eliminates the risk of a deal falling through due to lender requirements. A documented repair with a transferable warranty can be a positive disclosure rather than a liability. Whether to repair before listing or negotiate a credit at offer is a decision best made with your real estate agent and a contractor’s written assessment in hand.
Can I repair a foundation crack myself?
DIY crack injection kits are available, but they typically use lower-pressure delivery systems and consumer-grade materials that may not achieve full-depth penetration of the crack. Surface patching with hydraulic cement or caulk is not considered a durable repair by waterproofing professionals. In a real estate context, a repair that cannot be documented with a professional warranty may not satisfy lender or buyer requirements. Professional injection provides documented, warranted results.
Does the type of foundation material affect the repair method?
Yes, significantly. Poured concrete walls are the most amenable to crack injection because the concrete is a continuous material and foam can travel the full depth of the crack. Concrete block walls have hollow cores and mortar joints that make injection less predictable; interior drainage systems are often more appropriate for block foundations. Stone foundations present additional complexity and are assessed case by case.
What should I bring to the specialist assessment appointment?
Bring a copy of the home inspection report with the crack noted, any photographs taken during the inspection, and information about the property’s age and any known history of basement moisture. If the property has had previous waterproofing work, documentation of that work is also useful. The more context the specialist has, the more accurate the assessment and repair recommendation will be.
If you have received an inspection report flagging a foundation crack and want a professional assessment before your closing date, DryShield serves Toronto, the GTA, and Ontario cottage country with over 25 years of experience in foundation crack repair and basement waterproofing. Contact DryShield to arrange an assessment, or use the basement leak diagnostic tool to describe your situation and get oriented on next steps.
For the wider picture, see our foundation crack repair overview.