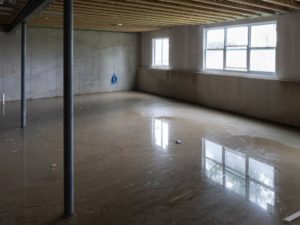
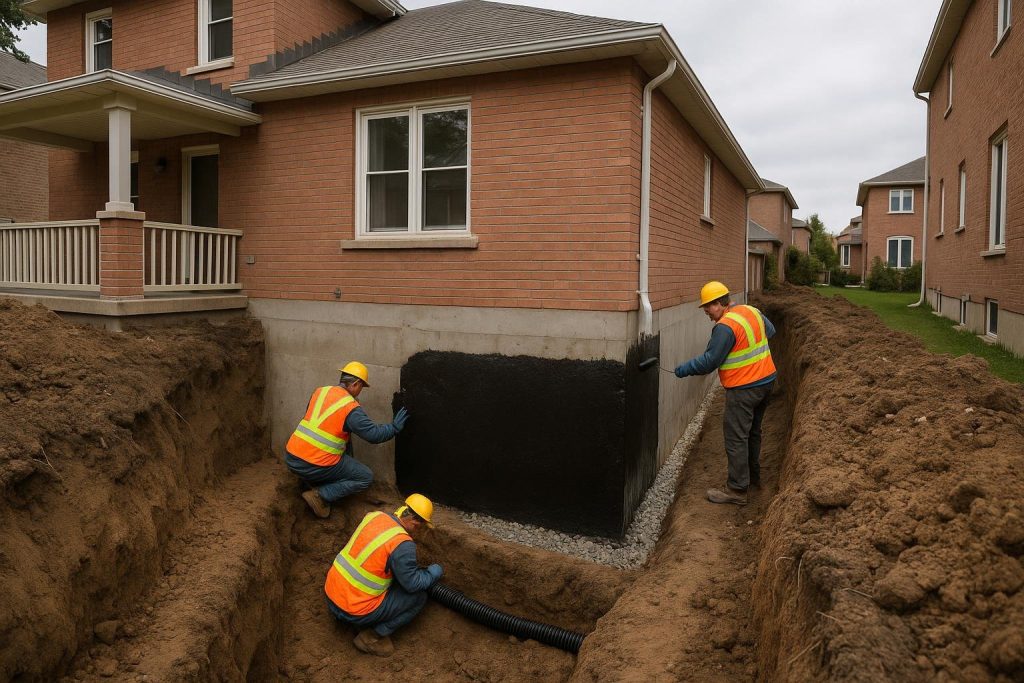
Foundation waterproofing is the set of materials and methods used to stop water from penetrating a home’s structural base, whether through cracks, porous concrete, or failed drainage. In Ontario, where heavy clay soil across the GTA holds groundwater against walls for weeks after a spring thaw or summer downpour, the right approach can mean the difference between a dry living space and ongoing structural damage. This guide covers every proven method, what drives cost, and how to choose the right fix for your home. For a full overview of all services under this topic, see the basement waterproofing services hub.
Key Takeaways
- Hydrostatic pressure from saturated clay soil is the leading cause of wet basements across Toronto and the GTA, not surface rain alone.
- Exterior foundation waterproofing stops water at the source; interior systems manage water that has already entered the wall assembly.
- A single injected crack typically costs $600 to $900; a full exterior foundation waterproofing system on a Toronto semi or detached home typically runs $6,000 to $9,000, depending on linear footage and excavation depth.
- Older Toronto homes commonly have fully silted-up original weeping tile that must be replaced, not just supplemented.
- Spring thaw and heavy summer rain are the two peak failure windows in Ontario. Acting before either season reduces both damage and repair cost.
Definitions and Scope
Foundation waterproofing covers any treatment applied to a foundation wall, footing, or floor slab to prevent water intrusion. The term includes exterior membrane systems, interior drainage channels, crack injection, and the weeping tile networks that carry groundwater away from the footing. It is distinct from damp-proofing, which is a thinner bituminous coating applied during original construction and is not rated to resist sustained hydrostatic pressure.
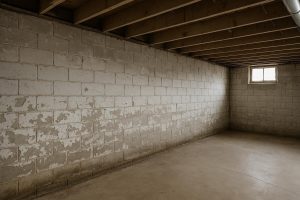
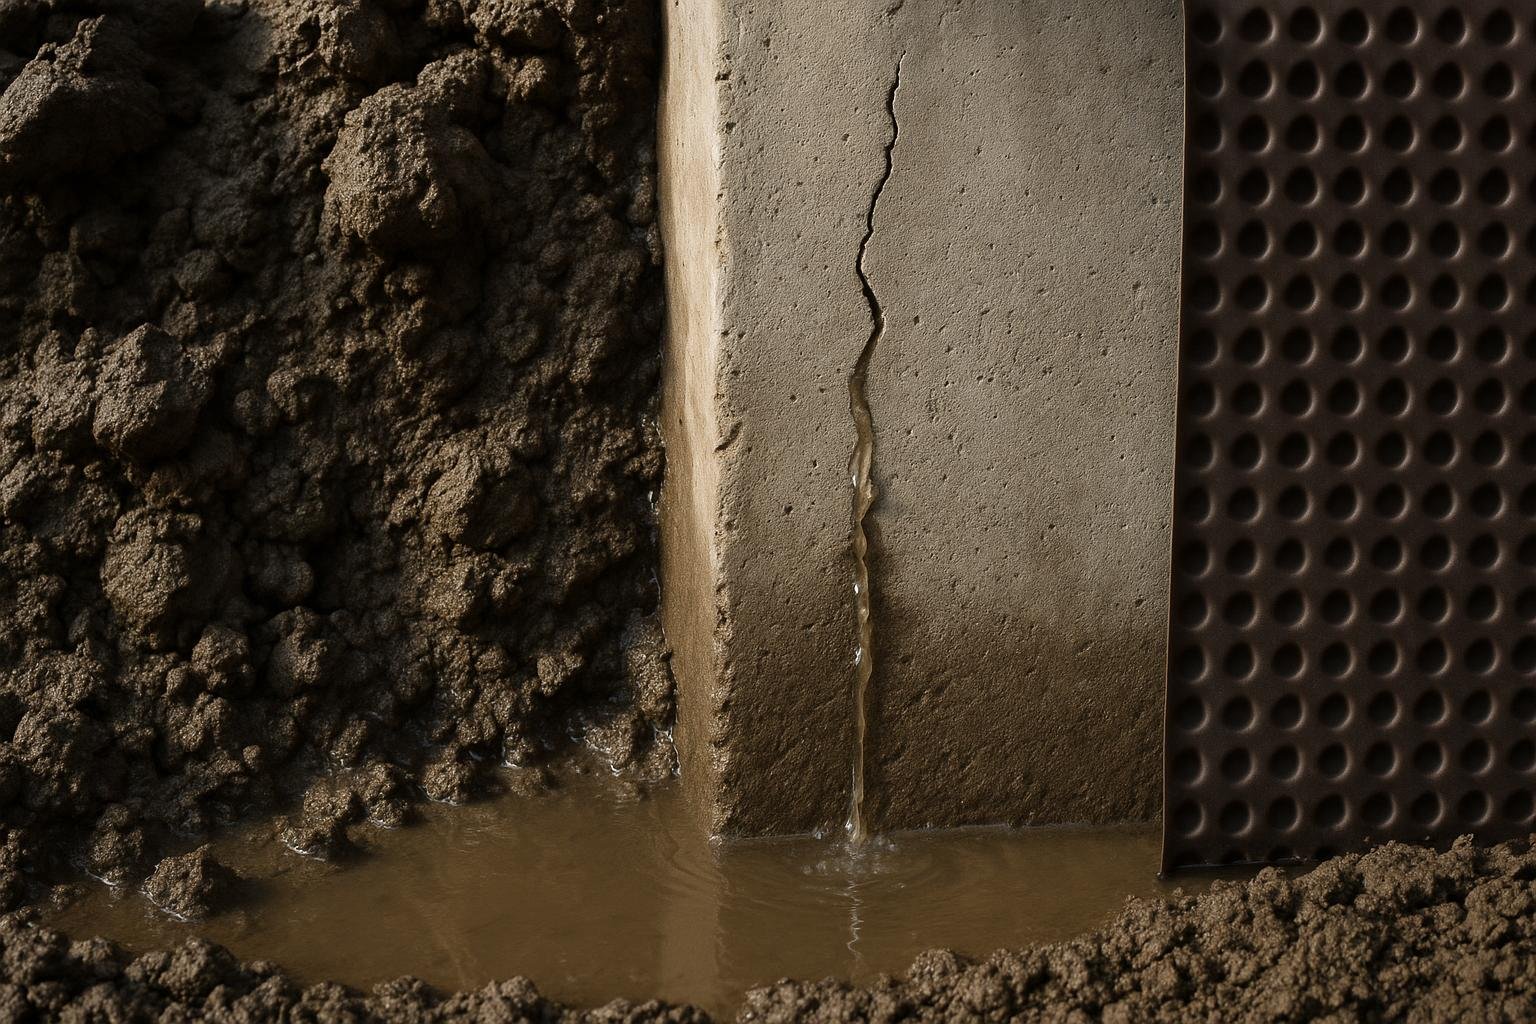
Hydrostatic pressure is the force that saturated soil exerts against a foundation wall. In GTA clay, that pressure can build to significant levels within 24 to 48 hours of a heavy rain event. Poured concrete walls resist it well when new, but shrinkage cracks, tie-rod holes, and cold joints create pathways that worsen over time. Block foundations are more porous by nature and often show seepage through the mortar joints before any visible crack appears.
The scope of a proper foundation waterproofing repair always starts with identifying the water source: surface water draining toward the house, a high seasonal water table, failed weeping tile, or a discrete crack. Treating the symptom without addressing the source is the most common reason a repair fails within a few years.
Why This Matters
Water in a foundation does not stay contained. Once moisture penetrates the wall assembly, it migrates into the slab, promotes mould growth on framing and insulation, and accelerates the carbonation of concrete that leads to spalling. In Ontario’s freeze-thaw climate, water that enters a crack in autumn expands when it freezes, widening the crack by spring. Left unaddressed for several seasons, a hairline shrinkage crack can become a structural concern.
The Canada Mortgage and Housing Corporation (CMHC) identifies foundation moisture as one of the primary contributors to indoor air quality problems in Canadian homes. You can review their guidance at cmhc-schl.gc.ca. The financial case is equally clear: water damage that reaches finished materials, electrical panels, or HVAC equipment multiplies the remediation cost many times over compared with addressing foundation waterproofing directly.
For Ontario homeowners specifically, two seasonal windows carry the highest risk. The spring thaw, typically March through April, saturates clay soil rapidly as snowmelt cannot drain fast enough. The second window is July and August, when intense convective storms deliver large volumes of water in short periods. Homes with failed or absent weeping tile have no buffer during either event.
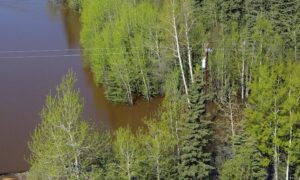
Heavy clay soil across much of the GTA can hold water against a foundation wall for two to three weeks after a single significant rain event. That sustained pressure, not the rain itself, is what forces water through cracks and porous concrete.
Your Options
Exterior Waterproofing with Membrane and Weeping Tile
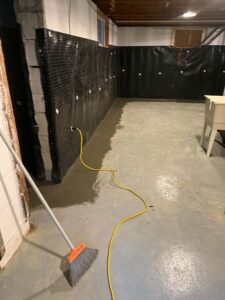
This is the most comprehensive approach to foundation waterproofing. The crew excavates to the footing, applies hydraulic cement parging to fill voids in the wall face, then installs a rubberised membrane over the entire below-grade surface. A dimpled drainage board goes over the membrane to protect it and create an air gap. New weeping tile, bedded in clear stone, is laid at the footing and tied to a discharge point or sump basin. The trench is then backfilled and the grade is corrected to direct surface water away from the house.
Best for: Homes with failed original weeping tile, significant hydrostatic pressure, or recurring seepage across multiple wall sections. It is the only method that stops water before it contacts the wall.
Limitations: Requires excavation, which means disruption to landscaping, decks, or driveways. Access constraints on semi-detached homes or properties with narrow side yards can increase cost.
Interior Weeping Tile System
The perimeter of the basement floor is jackhammered, a channel is cut to the footing, and new weeping tile is installed to route water to a sump basin. A vapour barrier is run up the wall and the concrete is re-poured. This system does not stop water from entering the wall, but it intercepts it before it reaches the floor and directs it safely away.
Best for: Homes where exterior excavation is not feasible, or where the goal is to manage a high water table rather than block surface infiltration. Generally less disruptive to the exterior and typically less expensive than a full exterior foundation waterproofing system.
Limitations: Water still contacts the wall, so any existing mould or efflorescence on the wall face must be addressed separately. Does not protect the exterior membrane or footing from long-term saturation.
Polyurethane Crack Injection
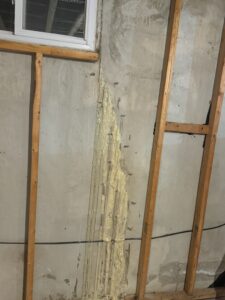
Low-pressure polyurethane foam is injected through ports drilled into the crack face from the interior. The foam expands to fill the full depth of the crack and cures flexible, so it can tolerate the minor seasonal movement that poured concrete foundations experience. This is the standard repair for non-structural shrinkage cracks and tie-rod holes. For cracks where the wall must be structurally re-bonded, rigid epoxy injection is used instead.
Best for: Discrete, non-structural cracks in poured concrete walls where the surrounding wall is otherwise sound. A single crack treated this way typically costs $600 to $900. Learn more about the polyurethane crack injection process and when it applies.
Limitations: Injection seals the crack but does not address the hydrostatic pressure or drainage conditions that caused it. If the root cause is a failed weeping tile system, additional cracks are likely to form.
Sump Pump Installation
A sump basin is excavated at the lowest point of the basement floor and a pump is installed to discharge groundwater before it can rise to floor level. A battery backup unit keeps the system running during power outages, which often coincide with the storms that cause flooding. Sump pumps are almost always part of an interior weeping tile system but can also be added as a standalone measure where the water table is the primary concern.
Best for: Homes with a seasonally high water table or those that have already had an interior drainage system installed. Also essential for cottages in Ontario’s Minden and Haliburton areas, where seasonal water-table behaviour differs significantly from GTA clay conditions. See the guide on sump pumps for seasonal and unoccupied cottages for cottage-specific considerations.
Limitations: Dependent on electricity. A pump without battery backup offers no protection during a storm-related outage, which is precisely when it is needed most.
Spray-Applied Waterproofing Membrane
A liquid rubberised compound is spray-applied to the exterior wall face, forming a seamless membrane that bridges minor surface irregularities. It is faster to apply than a sheet membrane and performs well on walls with complex geometry. It is typically used as part of a full exterior foundation waterproofing system rather than as a standalone treatment.
Best for: New construction or full excavation projects where speed of application is a factor, and on walls with irregular surfaces that make sheet membranes difficult to adhere uniformly.
Limitations: Requires a clean, prepared wall surface. Spray application in cold weather requires heated enclosures to cure properly, which adds cost in Ontario’s shoulder seasons.
Epoxy Crack Injection
Rigid epoxy resin is injected under low pressure to re-bond the two faces of a crack, restoring structural continuity to the wall. Unlike polyurethane, epoxy cures hard and is not flexible, so it is reserved for cracks where structural integrity is the concern rather than water sealing alone.
Best for: Structural cracks in poured concrete walls where an engineer has confirmed the wall needs re-bonding. Often used in combination with polyurethane in the same crack: epoxy for the structural zone, polyurethane for the water seal.
Limitations: Epoxy does not tolerate movement. If the crack is still active due to ongoing settlement or frost heave, epoxy will re-crack. A structural assessment should precede this repair.
Options Compared
The table below compares each foundation waterproofing method by best use case, expected lifespan, relative cost, and disruption level.
| Method | Best For | Typical Lifespan | Relative Cost | Disruption Level |
|---|---|---|---|---|
| Exterior membrane and weeping tile | Failed drainage, high hydrostatic pressure, recurring seepage | 25+ years with proper backfill and grade | Highest ($6,000 to $9,000 typical) | High: excavation required |
| Interior weeping tile and sump | High water table, limited exterior access | 20+ years | Moderate to high | Moderate: interior floor work only |
| Polyurethane crack injection | Discrete non-structural cracks | Permanent if wall is stable | Low ($600 to $900 per crack) | Minimal: interior access only |
| Sump pump (standalone) | High seasonal water table | 10 to 15 years (pump mechanism) | Low to moderate | Low: single basin excavation |
| Spray-applied membrane | New construction or full excavation projects | 20+ years | Moderate (part of exterior system) | High: requires excavation |
| Epoxy crack injection | Structural cracks requiring re-bonding | Permanent if crack is stable | Low to moderate | Minimal: interior access only |
Exterior systems deliver the longest protection and address the root cause, but they carry the highest cost and disruption. Interior systems and crack injection are appropriate where the problem is contained or where exterior access is not practical. No single foundation waterproofing method suits every home: a property with one leaking shrinkage crack needs a different response than one with a fully silted weeping tile system and seepage across three walls.
How to Choose
Choose exterior foundation waterproofing if your home has seepage across multiple wall sections, if the original weeping tile is silted or absent, or if you want the most durable long-term solution. Exterior work is also the right call when you are planning a significant renovation that will disturb the exterior grade anyway.
Choose an interior weeping tile system if exterior excavation is not feasible due to a shared wall, a narrow side yard, or a deck or addition that cannot be removed. Interior systems are also appropriate when the primary driver is a high seasonal water table rather than surface infiltration through the wall face.
Choose polyurethane crack injection if a site inspection confirms the leak is coming from one or two discrete cracks in an otherwise sound poured concrete wall, and the surrounding drainage is functioning. This is the fastest and least expensive repair when the diagnosis supports it. The guide on when crack injection works versus full waterproofing covers this decision in detail.
Choose a sump pump upgrade if you already have an interior system but lack battery backup, or if your cottage sits in an area with a high spring water table and the pump is the last line of defence against a flooded floor.
A free on-site inspection is the only reliable way to confirm which foundation waterproofing method applies to your home. Moisture can travel several feet from its entry point before it appears on the floor or wall, so visual inspection alone is not enough.
Costs and Timelines
| Cost Driver | Why It Affects Price | Approximate Impact |
|---|---|---|
| Linear footage of wall treated | More wall means more membrane, weeping tile, and labour | Primary variable in exterior pricing |
| Excavation depth | Deeper footings require more digging, shoring, and backfill | Significant: older Toronto homes often have 8 to 9 ft foundations |
| Site access | Narrow side yards, fences, or decks slow excavation and may require hand-digging | Can add 20% to 40% to exterior cost |
| Existing weeping tile condition | Full replacement costs more than supplementing a partially functional system | Moderate to significant |
| Number of cracks requiring injection | Each crack is priced individually at $600 to $900 | Low per crack, cumulative if multiple |
| Soil type and drainage conditions | Dense clay requires more clear stone for drainage board to function correctly | Moderate |
Full exterior foundation waterproofing on a typical Toronto semi-detached or detached home runs approximately $6,000 to $9,000. Interior weeping tile systems generally fall below that range. A single crack injection is typically $600 to $900. All figures depend on a site inspection: linear footage, excavation depth, and access conditions vary enough between properties that any quote without a site visit is unreliable. Timelines range from one day for crack injection to three to five days for a full exterior system on an average-sized home.
Risks and Common Mistakes
| Symptom | Likely Cause | Correct Fix |
|---|---|---|
| Seepage along the base of the wall after rain | Failed or silted weeping tile, hydrostatic pressure | Exterior waterproofing with new weeping tile |
| Water at a single vertical crack | Shrinkage crack in poured concrete | Polyurethane crack injection |
| White chalky deposits (efflorescence) on block walls | Mineral-laden water migrating through mortar joints | Interior drainage system; parging and membrane if exterior access is available |
| Water on the floor after heavy rain, no visible wall seepage | Floor crack or hydrostatic uplift through the slab | Floor crack injection and interior drainage to relieve pressure |
| Sump pump running constantly | High water table or failed weeping tile directing all water to the basin | Inspect weeping tile; add battery backup; assess exterior drainage |
The most common mistake homeowners make is applying a surface sealant to the interior wall face and expecting it to hold against hydrostatic pressure. Interior masonry sealants are not rated for sustained water pressure and typically fail within one to two seasons. The second most common error is injecting a crack without confirming it is non-structural. A crack that has displaced horizontally or shows stair-step patterns in block masonry needs an engineer’s assessment before any injection work begins. Skipping the site inspection and choosing a foundation waterproofing method based on cost alone is the third pattern that leads to repeat repairs.
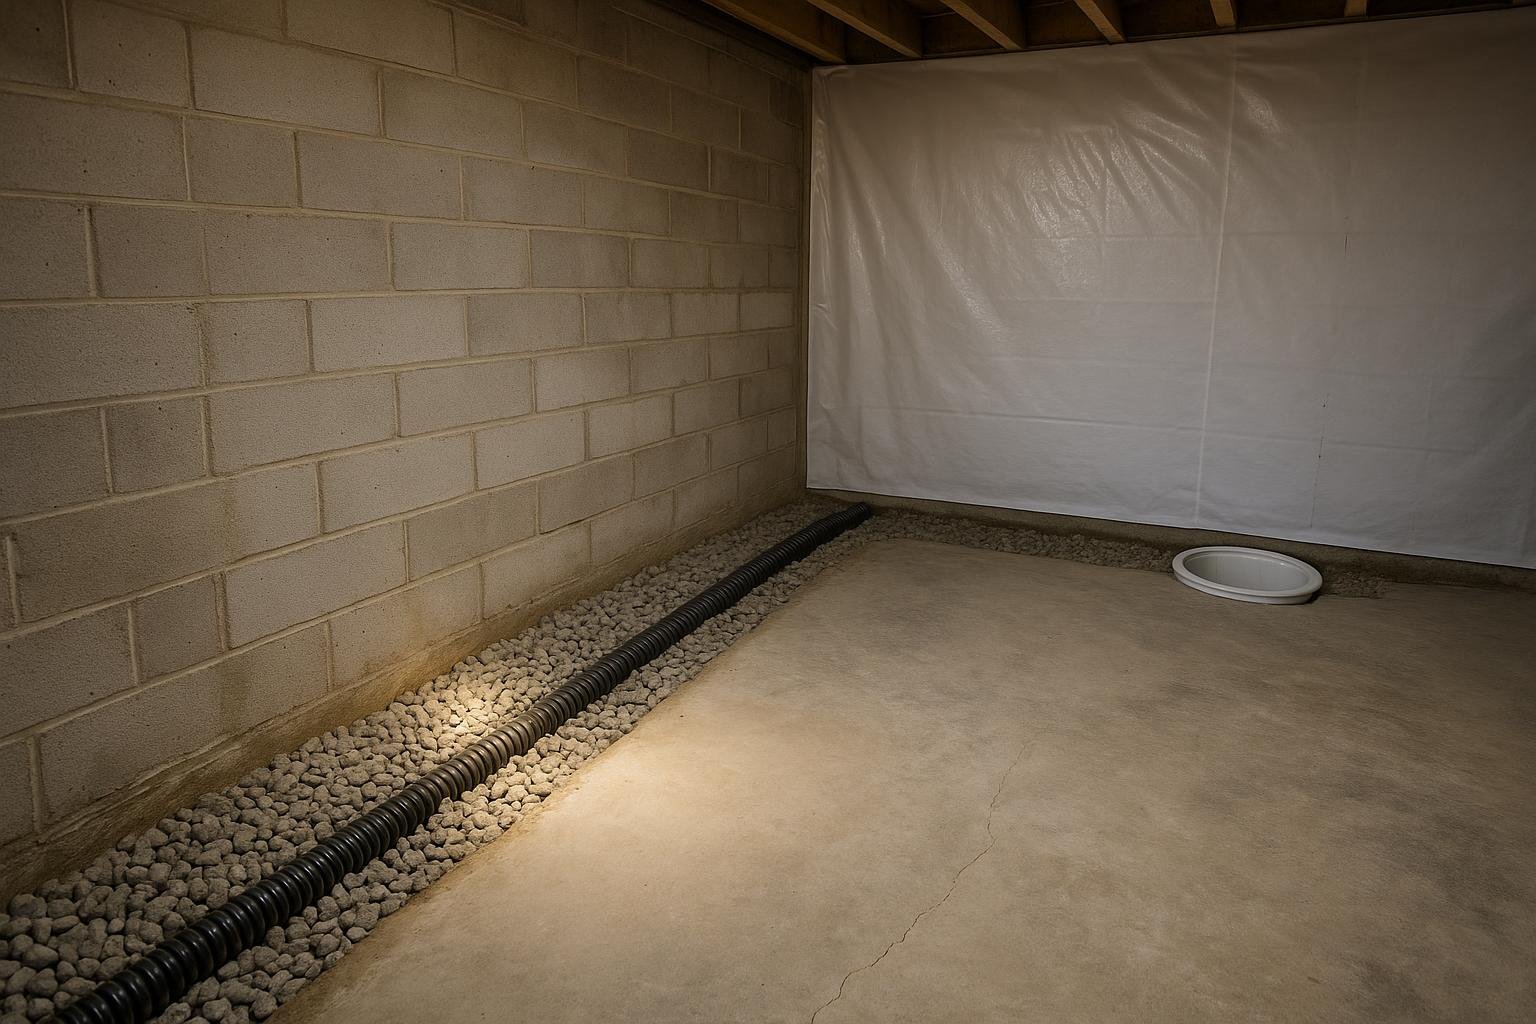
Applying a paint-on interior sealant over a crack that is under hydrostatic pressure is not a repair. The pressure that forced water through the concrete will eventually force it through the sealant as well. The fix must address the water source or provide a managed drainage path.
How the Process Works
The following steps describe how a professional foundation waterproofing project unfolds from inspection to final documentation.
- Free on-site inspection and moisture assessment. A technician examines the wall faces, floor slab, and exterior grade, identifies the water entry points, and assesses the condition of any existing weeping tile or sump system.
- Written scope with linear-foot pricing. You receive a written proposal that specifies the method, the linear footage or number of cracks to be treated, and the materials to be used. No work begins without your written approval.
- Excavation or interior preparation. For exterior work, the crew excavates to the footing. For interior work, the perimeter concrete is jackhammered to expose the footing drain channel. Crack injection requires only port drilling at the wall face.
- Wall preparation and membrane application. On exterior jobs, hydraulic cement parging fills voids and honeycombs in the wall face before the rubberised membrane is applied. The membrane covers the full below-grade wall height from footing to grade.
- Drainage board and weeping tile installation. A dimpled drainage board is placed over the membrane to protect it and channel water downward. New weeping tile, bedded in clear stone, is laid at the footing and tied to a sump basin or gravity discharge.
- Backfill and grade correction. The trench is backfilled in lifts and compacted. The final grade is set to slope away from the foundation at a minimum of 5% for the first 1.5 metres, consistent with Ontario Building Code requirements.
- Final inspection and documentation. The completed foundation waterproofing system is inspected, the warranty documentation is issued, and the homeowner receives a record of the work for insurance and resale purposes.
For a detailed look at what each stage involves on a real exterior job, the DryShield 7-layer exterior waterproofing system post walks through every layer from footing to grade.
Frequently Asked Questions
What is the difference between damp-proofing and foundation waterproofing?
Damp-proofing is a thin bituminous coating applied to new foundations during construction. It resists soil moisture vapour but is not rated to withstand sustained hydrostatic pressure. Foundation waterproofing uses a thicker rubberised membrane, drainage board, and weeping tile to actively manage water under pressure. Most homes built before the 1990s have only damp-proofing, which degrades over time.
How do I know if my weeping tile has failed?
Common signs include seepage along the base of the wall after rain, a sump pump that runs continuously during wet periods, and efflorescence or mineral staining at the wall-floor joint. A camera inspection of the existing tile can confirm whether it is silted, crushed, or disconnected. Many Toronto homes built before 1980 have clay or concrete weeping tile that is fully blocked after 40 or more years of service.
Can foundation waterproofing be done from the inside only?
Yes. An interior weeping tile system with a sump pump manages water that has already entered the wall assembly and prevents it from reaching the floor. It does not stop water from contacting the exterior wall face, but it is a proven long-term solution where exterior excavation is not practical.
How long does a foundation waterproofing system last?
A properly installed exterior membrane and weeping tile system, with correct backfill and grade, typically performs for 25 years or more. Interior drainage systems have similar longevity for the channel and basin components, though the sump pump mechanism itself usually needs replacement every 10 to 15 years. Crack injection repairs are permanent in a stable wall.
Does waterproofing affect my home’s resale value?
A documented, warranted foundation waterproofing system is a positive disclosure item in Ontario real estate transactions. Buyers and their inspectors treat a wet basement as a significant deficiency, and the cost of remediation is typically deducted from offers. A transferable warranty removes that uncertainty. The ROI guide for GTA homeowners covers the resale data in detail.
Is polyurethane injection a permanent fix for a leaking crack?
Polyurethane injection is a permanent repair for a stable, non-structural crack. The foam cures flexible and can accommodate the minor seasonal movement that poured concrete foundations experience. If the crack is still active due to ongoing settlement, or if the surrounding drainage has not been addressed, new cracks may form nearby. The injection itself does not re-open once cured.
What causes foundation cracks in Ontario homes?
The most common cause is concrete shrinkage during the curing process, which produces vertical cracks at mid-wall or at window corners. Hydrostatic pressure from saturated clay soil causes horizontal cracks in block foundations, which are a structural concern. Freeze-thaw cycling widens existing cracks each winter. Settlement and tree root intrusion are less common but do occur, particularly in older Toronto neighbourhoods with large mature trees.
Do I need a permit for foundation waterproofing in Ontario?
Interior drainage systems and crack injection typically do not require a building permit. Exterior excavation work may require a permit depending on the municipality and the depth of excavation. Your contractor should confirm permit requirements before work begins. The Ontario Building Code sets minimum standards for drainage slope and backfill compaction that apply regardless of permit status.
How do cottage-country foundations differ from GTA homes?
Cottages in the Minden and Haliburton area often sit on sandy or rocky soil rather than GTA clay, which means water drains faster but the water table can rise sharply during snowmelt. Seasonal occupancy means problems go undetected for months. Freeze-thaw cycling is more severe at higher elevations, and foundations that are unheated all winter are more vulnerable to crack propagation. The guide to freeze-thaw foundation cracks in cottage country covers these regional differences.
If you are seeing water in your basement, efflorescence on the walls, or cracks that were not there last season, a free on-site inspection is the right first step. DryShield Team serves Toronto, the GTA, and Ontario cottage country and can assess your foundation, confirm the source of the problem, and provide a written scope before any foundation waterproofing work begins. Contact us to book your inspection.