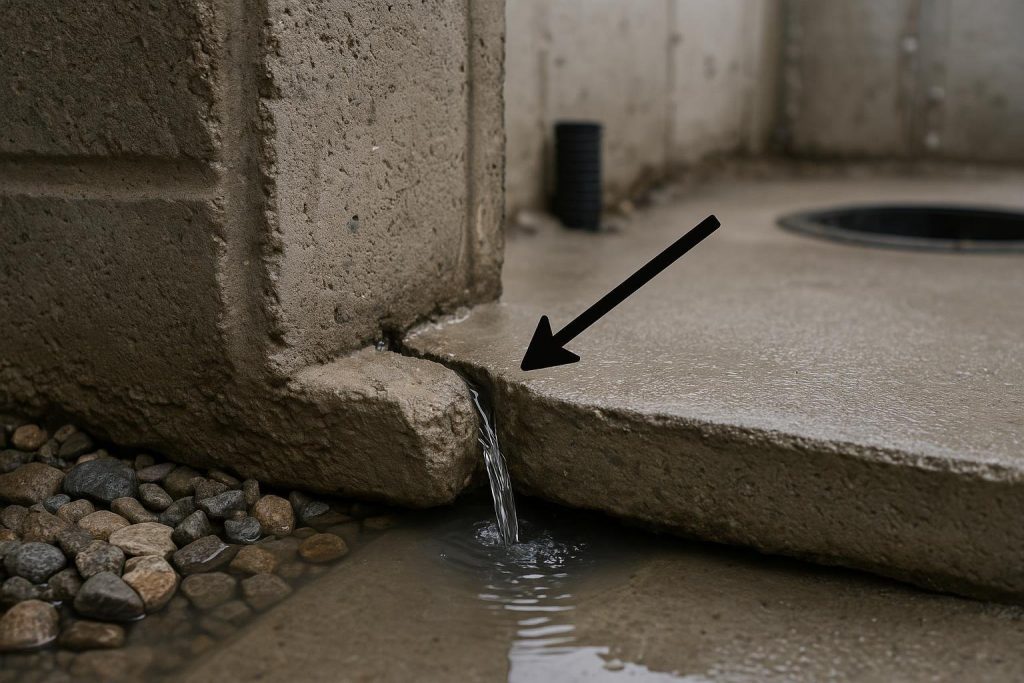
A cove joint leak occurs where your basement floor slab meets the foundation wall, a cold joint that was never bonded or sealed during construction. When hydrostatic pressure builds in saturated soil, water follows the path of least resistance and pushes up through that gap. Confirm the source first, then assess how much water is entering and how quickly, before deciding between a temporary measure and a permanent drainage solution.
- The cove joint is a structural cold joint, not a crack; it cannot be permanently sealed from the inside with caulk or hydraulic cement alone.
- The root cause is almost always hydrostatic pressure from saturated soil, not a plumbing leak or condensation.
- Interior drainage systems that relieve pressure at the footing are the most common long-term fix; exterior waterproofing addresses the source directly.
- Ignoring the problem accelerates floor slab deterioration, footing erosion and mould growth.
- A sump pump is typically required alongside any interior drainage repair to remove collected water.
Confirm it is actually this
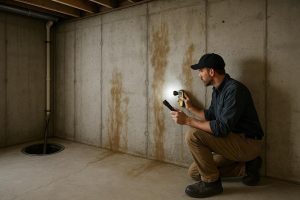
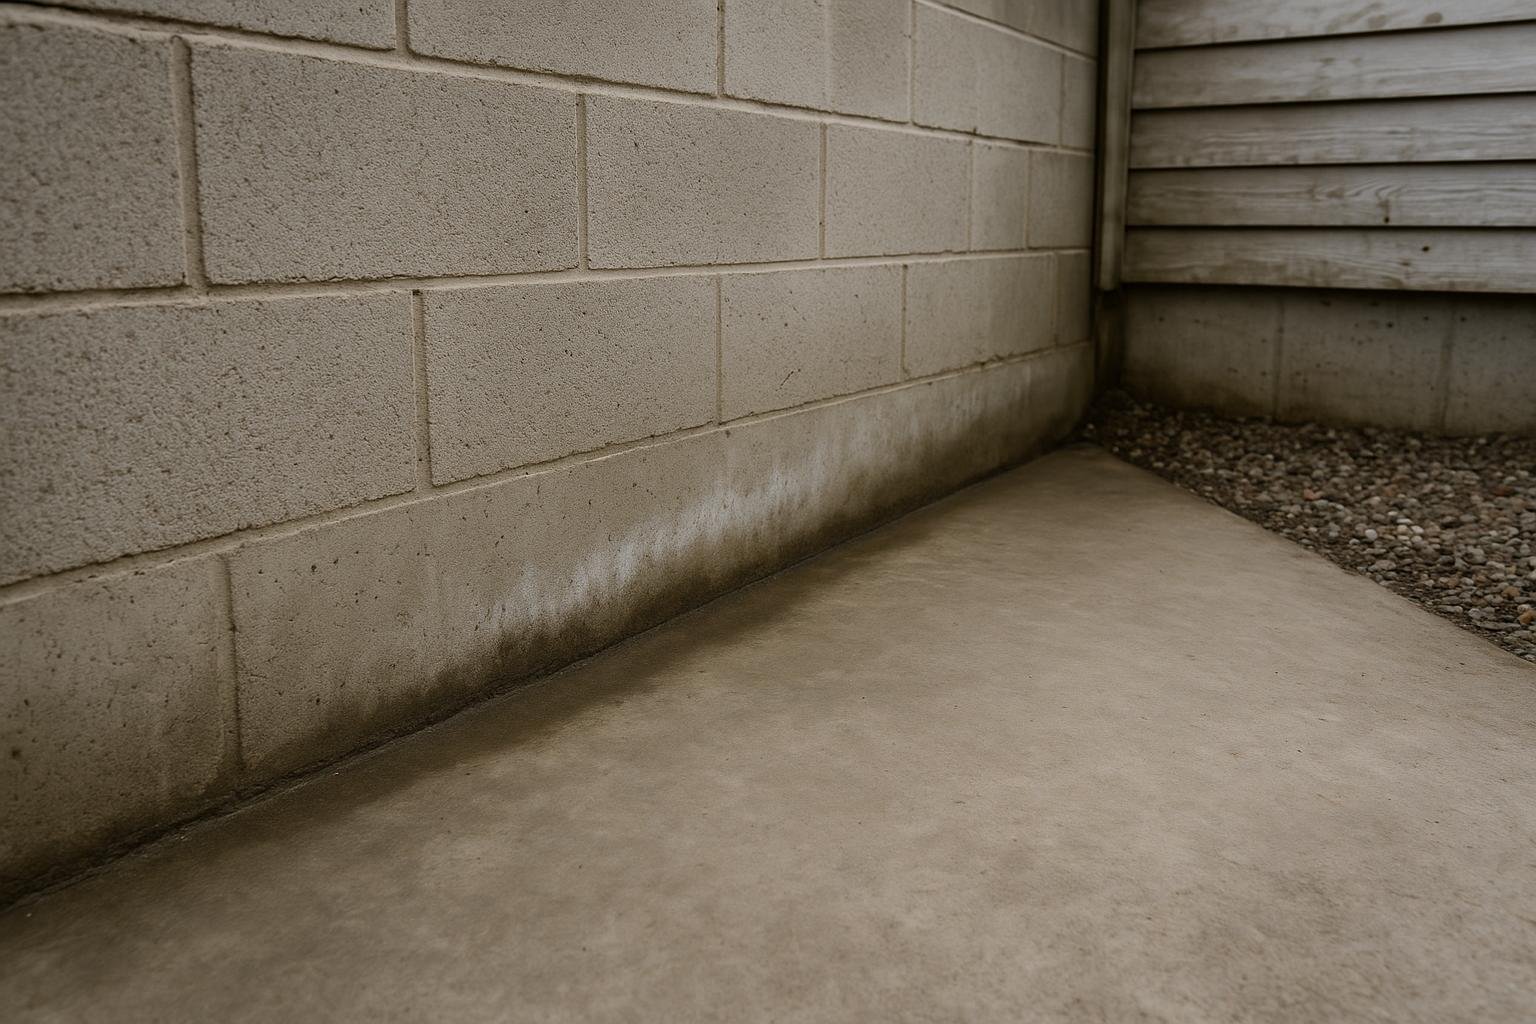
Stand in your basement during or just after a rain event and look at the very base of each wall where it meets the concrete floor. A cove joint leak appears as a thin line of moisture, a trickle, or a seeping wet zone running along that junction rather than down the face of the wall. The floor may be wet within 15 to 30 centimetres of the wall while the centre of the slab stays dry.
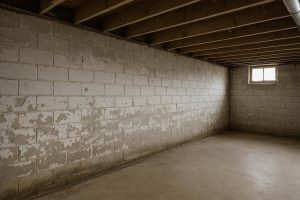
Run your hand along the joint when the basement is dry. You may feel a slight gap, a rough edge, or see a faint white mineral deposit (efflorescence) tracing the joint line. Unlike a wall crack, the wet zone follows the entire perimeter or a long section of it rather than a single vertical or diagonal line. Water may also appear to seep up through the floor immediately beside the wall when pressure is high enough to push water under the slab edge.
Photograph the wet area during an active event and compare it to the wall surface above. If the wall above the joint is dry and the moisture is confined to the floor-wall junction, this is the most likely diagnosis. See our guide on wet basement perimeter leaks for a broader look at perimeter water entry.
Problems it gets confused with
This symptom is frequently mistaken for condensation, especially in summer when humid air contacts a cool concrete floor. Condensation forms uniformly on the surface of the slab and walls; water at the floor-wall junction worsens with rainfall or snowmelt rather than with humidity alone.
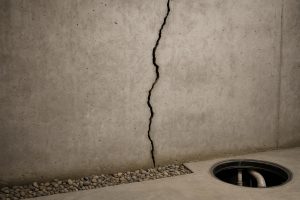
It is also confused with a floor crack seeping water, which produces moisture along a visible crack line running across the slab rather than along the perimeter. Wall cracks that weep near the base can look similar, but the moisture source is higher on the wall and tracks downward. Plumbing leaks from buried drain lines can wet the floor in a similar location but do not correlate with weather events. If you are unsure, use our basement leak diagnostic tool to narrow the source before calling a contractor.
Causes, ranked
1. Hydrostatic pressure from saturated soil
This is the primary cause in the vast majority of cases. When rain or snowmelt saturates the soil around and beneath your foundation, groundwater pressure builds against the footing and the underside of the slab. The floor-wall junction is the weakest point because the slab was poured separately from the wall and footing, leaving a cold joint with no structural bond. Water under pressure finds this gap and enters. The telltale sign is that leaking begins during or within hours of a rain event and slows as the soil drains. The National Research Council of Canada’s Guide to Foundation Drainage identifies this cold-joint gap as a primary infiltration path under hydrostatic loading.
2. Failed or absent weeping tile
Weeping tile installed at the footing level intercepts groundwater before it reaches the gap. When the tile is crushed, silted up, root-invaded or absent in older homes, water accumulates at the footing and pushes through the joint. The telltale sign is leaking even during moderate rain in a home with a history of perimeter moisture. Learn more about weeping tile problems and how they relate to basement water entry.
3. High seasonal water table
In low-lying areas, near creeks, or on clay-heavy soils, the water table can rise to or above the footing level during spring snowmelt or prolonged wet periods. When it sits above the base of the foundation, hydrostatic pressure is continuous rather than event-driven. The telltale sign is persistent seepage that does not fully stop between rain events and is worst from March through May.
4. Poor grading or surface drainage
If the ground around the foundation slopes toward the house, surface runoff concentrates at the base of the wall and saturates the soil at the footing rapidly. This amplifies pressure at the floor-wall junction even when the regional water table is not especially high. The telltale sign is leaking concentrated on one or two walls that face a downslope or a paved surface draining toward the house.
5. Sump pump failure or absence
If an interior drainage system exists but the sump pump has failed or the pit is overwhelmed, water that would normally be discharged backs up and exits through the joint. The telltale sign is sudden heavy leaking in a basement that was previously dry, often accompanied by a pump alarm or a full sump pit. See our page on sump pump not working for immediate checks.
6. Footing settlement or deterioration
Over decades, footings can settle unevenly or concrete at the base of the wall can spall and erode, widening the gap. This is less common than hydraulic causes but can make an existing leak significantly worse. The telltale sign is a visible gap wider than 3 mm at the joint, or crumbling concrete at the wall base.
Cause to solution table
| Cause | Telltale sign | Appropriate fix | Urgency |
|---|---|---|---|
| Hydrostatic pressure, saturated soil | Seeping starts during or just after rain; confined to floor-wall junction | Interior drainage channel at footing + sump pump; or exterior waterproofing with membrane and drain board | Act soon to Act now |
| Failed or absent weeping tile | Perimeter moisture even in moderate rain; older home with no prior drainage work | Weeping tile replacement (interior or exterior); sump pump | Act soon |
| High seasonal water table | Continuous seepage in spring; does not fully dry between events | Interior perimeter drain system + high-capacity sump pump; exterior membrane if accessible | Act now |
| Poor grading or surface drainage | Leaking on one or two walls facing downslope; improves in dry weather | Regrade soil away from foundation; extend downspouts; address drainage before or alongside interior work | Monitor to Act soon |
| Sump pump failure | Sudden heavy leak; full or overflowing sump pit; pump alarm | Replace or repair sump pump immediately; inspect drainage system | Act now |
| Footing settlement or deterioration | Visible gap wider than 3 mm; crumbling concrete at wall base | Professional assessment; may require exterior excavation and footing repair alongside waterproofing | Act soon to Act now |
Use this table as a starting framework, not a final diagnosis. More than one cause often operates simultaneously, particularly in older homes where weeping tile has failed and grading has settled. A professional inspection is the only reliable way to confirm which causes are active before committing to a repair method.
What you can safely check yourself
- Trace the wet zone precisely. During or just after a rain event, use a dry cloth to wipe the floor-wall junction and mark where moisture reappears. Note which walls are affected and whether the pattern is continuous or patchy.
- Check your sump pump. Pour water into the sump pit to confirm the float triggers the pump and water is discharged outside. See our guide on sump pump troubleshooting if the pump does not activate.
- Inspect downspouts and grading. Walk the perimeter after rain. Confirm downspouts extend at least 1.8 m from the foundation and that soil slopes away from the house. Pooling water against the wall is a red flag.
- Look for efflorescence. White chalky deposits along the joint indicate long-term water movement. Our page on efflorescence on basement walls explains what this mineral residue means.
- Record weather correlation. Note the date, rainfall amount and how quickly leaking starts and stops. This information is valuable for a contractor during diagnosis.
What NOT to do
Do not attempt to permanently seal the floor-wall junction with hydraulic cement, caulk, or epoxy applied from the inside. These materials cannot bond reliably to a cold joint under hydrostatic pressure and typically fail within one to two seasons. Forcing a sealant into the gap without relieving the pressure behind it can cause the material to blow out or redirect water to an adjacent weak point.
Do not ignore a slow seep. Continuous water movement at the footing erodes concrete, carries fine soil particles away (a process called piping), and creates conditions for mould growth. Do not finish or insulate basement walls and floor over an active leak; trapping moisture behind drywall or rigid foam accelerates mould and conceals ongoing damage.
How a professional diagnoses it
A waterproofing contractor will begin with a visual inspection of the entire basement perimeter, looking for moisture patterns, efflorescence, staining, and any visible gap at the joint. They will probe the concrete at the base of the wall to assess its condition and check whether the gap is tight or open.
The inspector will ask about the home’s age, construction type (poured concrete, block, or stone), drainage history, and when leaking occurs relative to weather. They will check the sump pit and pump, inspect any existing interior drainage, and review exterior grading and downspout routing.
A moisture meter on the floor slab near the joint can help distinguish surface condensation from water migrating through the concrete. If the cause is ambiguous, monitoring over one or two rain events may be recommended before finalizing a repair plan. For situations involving possible footing settlement, a structural engineer’s assessment may be warranted before waterproofing work begins. Our wet basement master diagnosis guide covers the full inspection process in detail.
Temporary vs permanent fixes
Temporary measures can reduce immediate damage while a permanent solution is planned: extending downspouts, improving grading, and running a dehumidifier near the affected area all reduce the volume of water reaching the joint. These steps do not address the underlying pressure and are not substitutes for a proper repair.
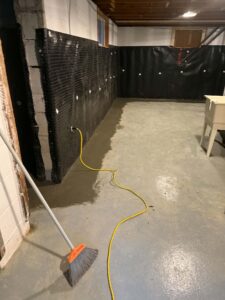
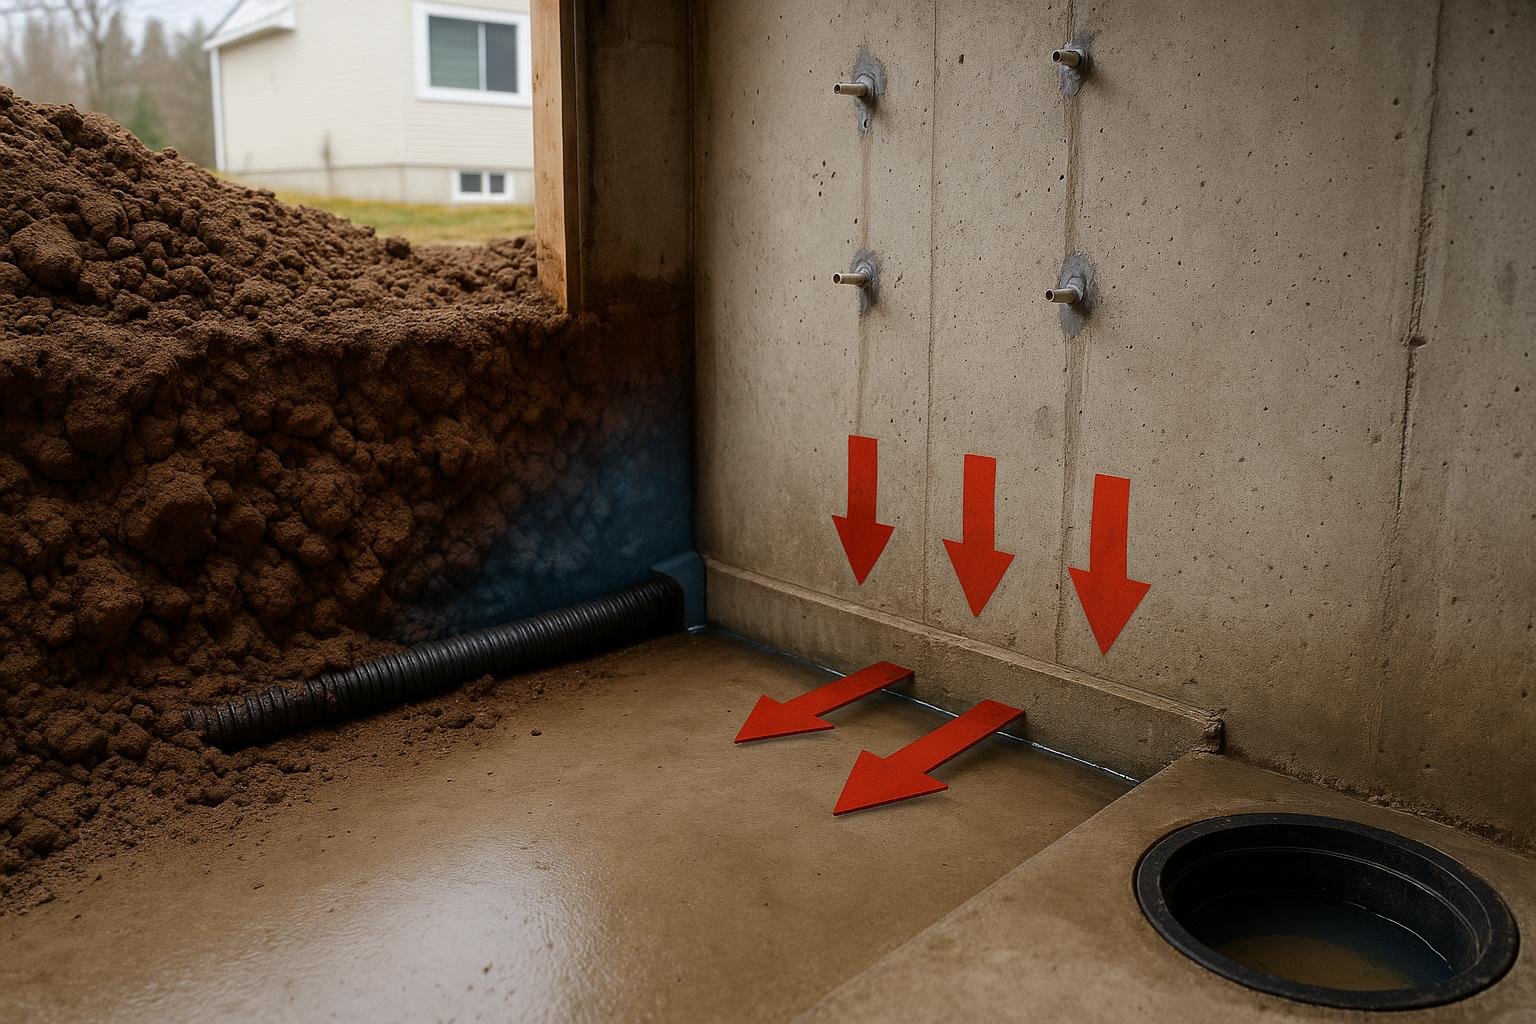
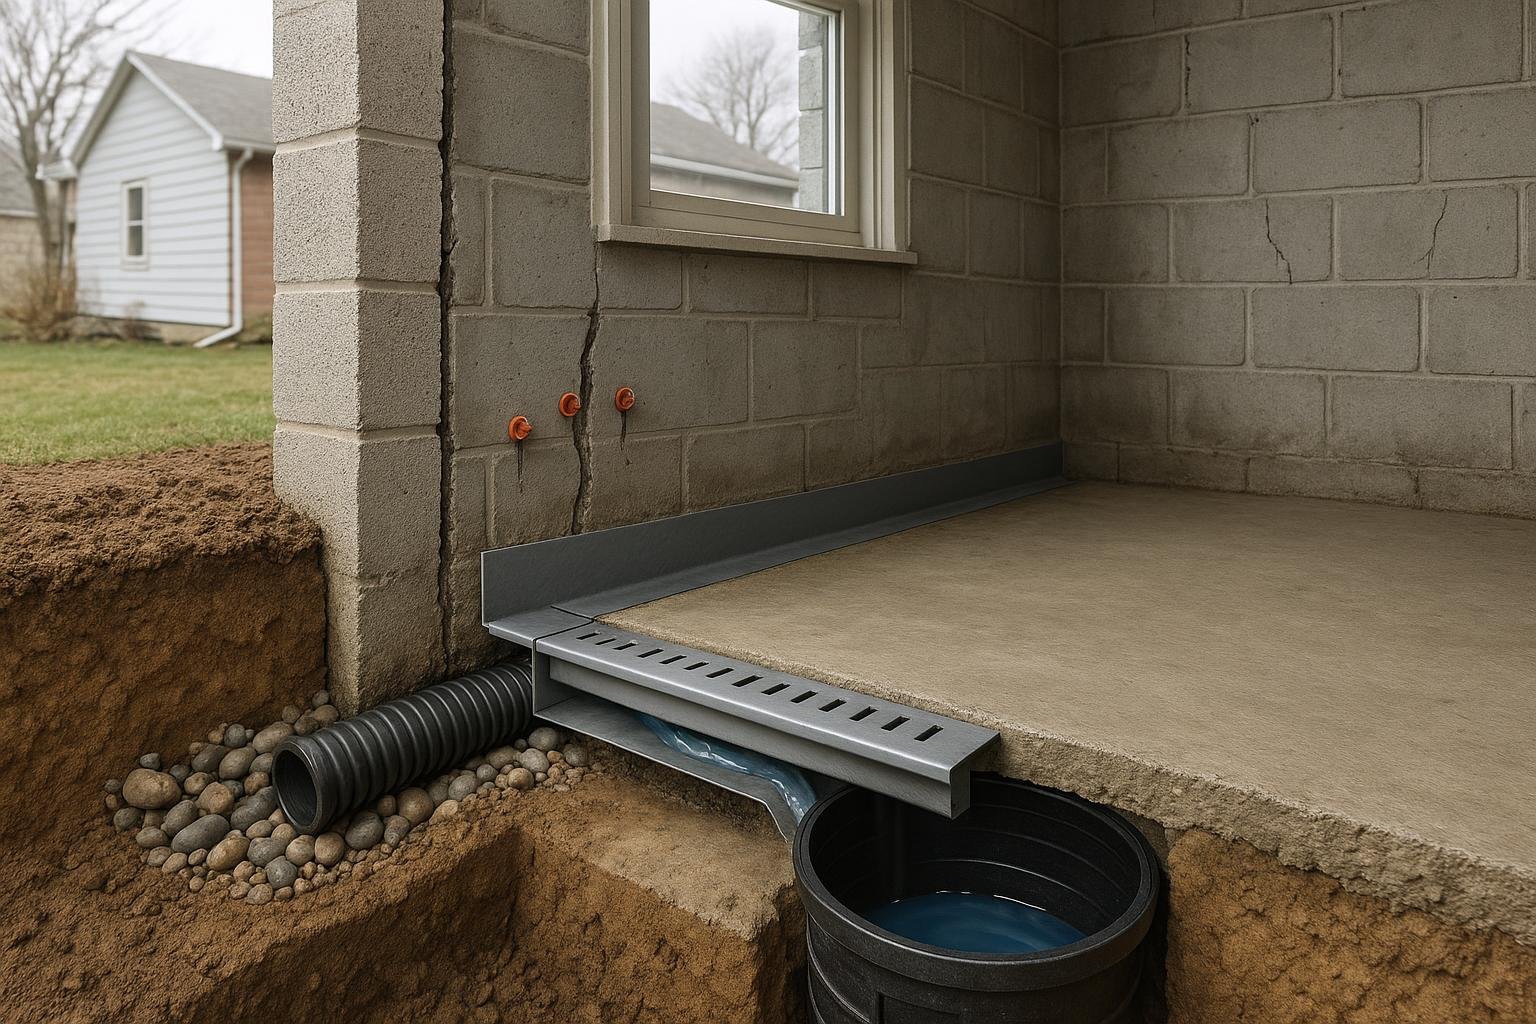
Permanent fixes fall into two categories. Interior perimeter drainage involves cutting a channel in the floor slab along the footing, installing a drainage pipe or channel that intercepts water at the junction, and directing it to a sump pit. Exterior waterproofing involves excavating to the footing, applying a waterproof membrane, installing new weeping tile, and backfilling with gravel. This addresses the source of pressure directly but requires significant excavation.
| Approach | What it does | Limitations | Typical longevity |
|---|---|---|---|
| Caulk or hydraulic cement (DIY) | Temporarily slows minor seepage | Fails under hydrostatic pressure; does not address cause | Months to 1-2 seasons |
| Improved grading and downspouts | Reduces surface water reaching footing | Does not address water table or failed weeping tile | Ongoing with maintenance |
| Interior perimeter drainage + sump pump | Intercepts and removes water at the junction | Water still enters the wall side; requires working sump pump | Long-term with maintenance |
| Exterior waterproofing + weeping tile | Prevents water from reaching the foundation wall and joint | Requires excavation; higher upfront disruption | Long-term |
Cost drivers for both approaches include the linear metres of perimeter affected, soil conditions, access constraints, and whether the sump pit and pump need to be installed or upgraded. No verified current price data has been supplied to this page; consult our basement waterproofing cost guide for a breakdown of cost factors, or use our online cost calculator for a preliminary estimate.
Frequently asked questions
What exactly is a cove joint?
The cove joint is the gap or cold joint between the base of your foundation wall and the basement floor slab. Because the wall (or footing) and the floor slab are poured at different times during construction, they never bond into a single monolithic unit. This junction is inherently the weakest point in the basement envelope for water entry under hydrostatic pressure.
Can I seal a cove joint leak myself with caulk or hydraulic cement?
These materials can slow a very minor seep temporarily but will not provide a lasting repair. Hydrostatic pressure from saturated soil will eventually push through or around any rigid sealant applied from the interior without pressure relief behind it. Interior drainage systems that manage water at the joint are a more reliable long-term approach than surface sealing alone.
How do I know if my cove joint leak is getting worse?
Track the size of the wet zone, how quickly it appears after rain, and whether it is present between rain events. A widening stain, water appearing in dry weather, or water spreading further from the wall are all signs of progression. Photograph the area monthly and note weather conditions. A growing efflorescence deposit also indicates increasing mineral-laden water movement over time.
Will a sump pump alone fix a cove joint leak?
A sump pump removes water that has already entered the basement but does not intercept water at the floor-wall junction itself. To be effective as part of a repair, the pump needs to be paired with an interior perimeter drainage channel that collects water at the joint and routes it to the pit. A pump alone, without that collection system, will not keep the floor dry.
Is a cove joint leak a structural problem?
In most cases, it is a waterproofing problem rather than a structural one. The joint itself is not load-bearing. However, long-term water movement at the footing can erode concrete and carry fine soil particles away from beneath the slab, which over many years can contribute to settlement. If you also notice bowing walls or widening cracks, a structural assessment is warranted alongside waterproofing.
Does exterior waterproofing fix a cove joint leak permanently?
Exterior waterproofing with a membrane applied to the foundation wall and new weeping tile at the footing addresses the source of hydrostatic pressure directly and is generally considered the most comprehensive solution. It prevents water from reaching the floor-wall junction rather than managing it after entry. However, it requires excavation around the foundation and is not always practical depending on access, landscaping, or proximity to neighbouring structures.
How long does an interior drainage system last?
Interior perimeter drainage systems, when properly installed and maintained, are designed for long-term performance. The drainage channel itself has no moving parts, but the sump pump requires periodic testing and eventual replacement. Regular inspection of the sump pit, pump float, and discharge line is the key maintenance task. No verified longevity data specific to any product or installation has been supplied to this page.
Will my home insurance cover a cove joint leak repair?
Standard Ontario home insurance policies generally do not cover gradual water seepage or maintenance-related water entry such as a cove joint leak. Coverage may apply if the water entry is caused by a sudden and accidental event. Policy terms vary significantly; review your specific policy and speak with your insurer. Our guide on home insurance and basement waterproofing in Ontario provides a detailed overview of what is typically covered.
If you are seeing moisture along the floor-wall junction, the most useful next step is a professional assessment to confirm the source and extent before choosing a repair method. DryShield offers a free basement assessment across Toronto, the GTA and Ontario cottage country. Book your free assessment and get a clear picture of what is happening at your foundation and what it will take to fix it properly.