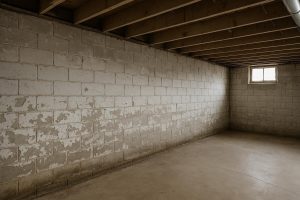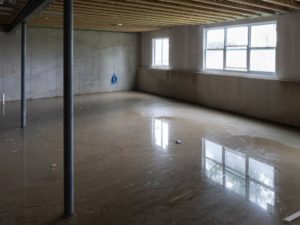
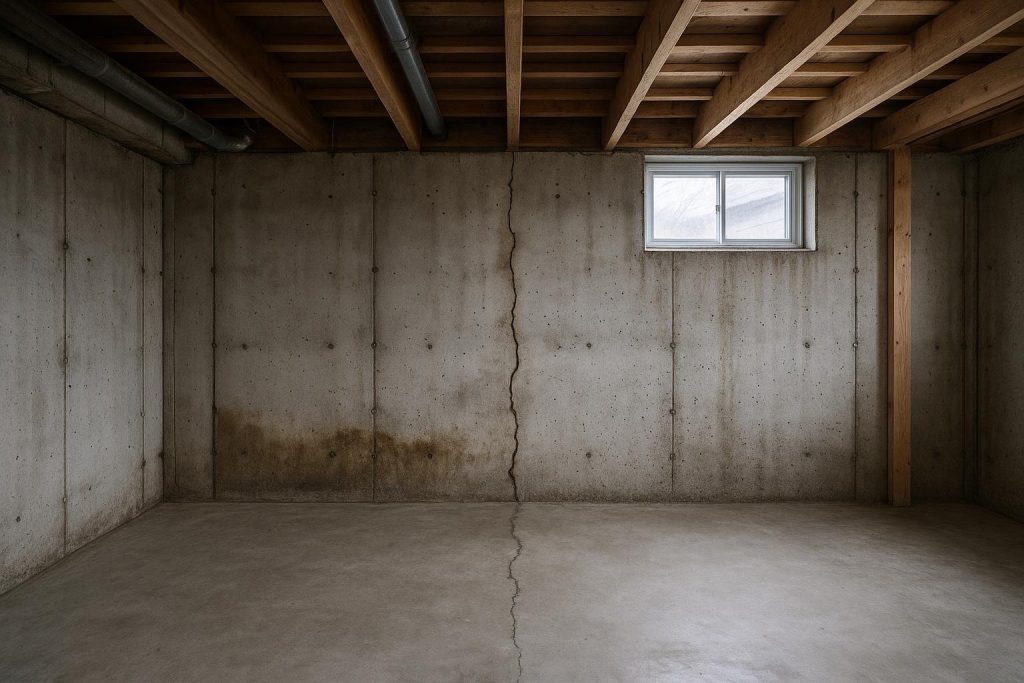
A leaky basement Tiny homeowners discover after spring thaw or a summer downpour is almost always caused by hydrostatic pressure building up in the surrounding soil, not just surface rain. Tiny Township sits on a mix of sandy loam near Georgian Bay and heavier clay pockets inland, and both soil types create distinct water-entry problems that require different repair strategies.
Key Takeaways
- Hydrostatic pressure from saturated soil is the primary driver of basement leaks in Tiny Township, not rainfall alone.
- Sandy soils near the bay drain quickly but allow water to reach the footing fast; clay soils hold water against the wall for days after a storm.
- A single foundation crack injected with polyurethane typically costs $600 to $900; a full interior weeping-tile system runs less than exterior excavation.
- Spring thaw and summer thunderstorms are the two peak failure windows for Tiny-area foundations.
- Older Tiny homes and seasonal cottages often have original weeping tile that is fully silted up and no longer functioning.
Definitions and Scope
A leaky basement is any situation where water enters the living or storage space below grade, whether through a visible crack in the poured-concrete or block wall, through the joint where the wall meets the footing, through the floor slab, or as vapour condensing on cold surfaces. The repair scope depends entirely on the entry point and the root cause.
Tiny Township covers a wide geographic area stretching from the Georgian Bay shoreline inland toward Penetanguishene and Midland. Foundations here range from poured concrete in newer builds to older block and rubble-stone construction in cottages that have been converted to year-round use. Each foundation type responds differently to water pressure, and the correct fix for a poured-concrete vertical crack is not the same as the correct fix for a failed perimeter drainage system.
This guide covers the full spectrum: crack injection, interior weeping-tile systems, exterior waterproofing, sump pump installation, and parging repair. It is written for both year-round Tiny residents and seasonal property owners who open a cottage in spring to find a leaky basement in Tiny waiting for them on the floor.
Why a Leaky Basement in Tiny Is a Specific Problem
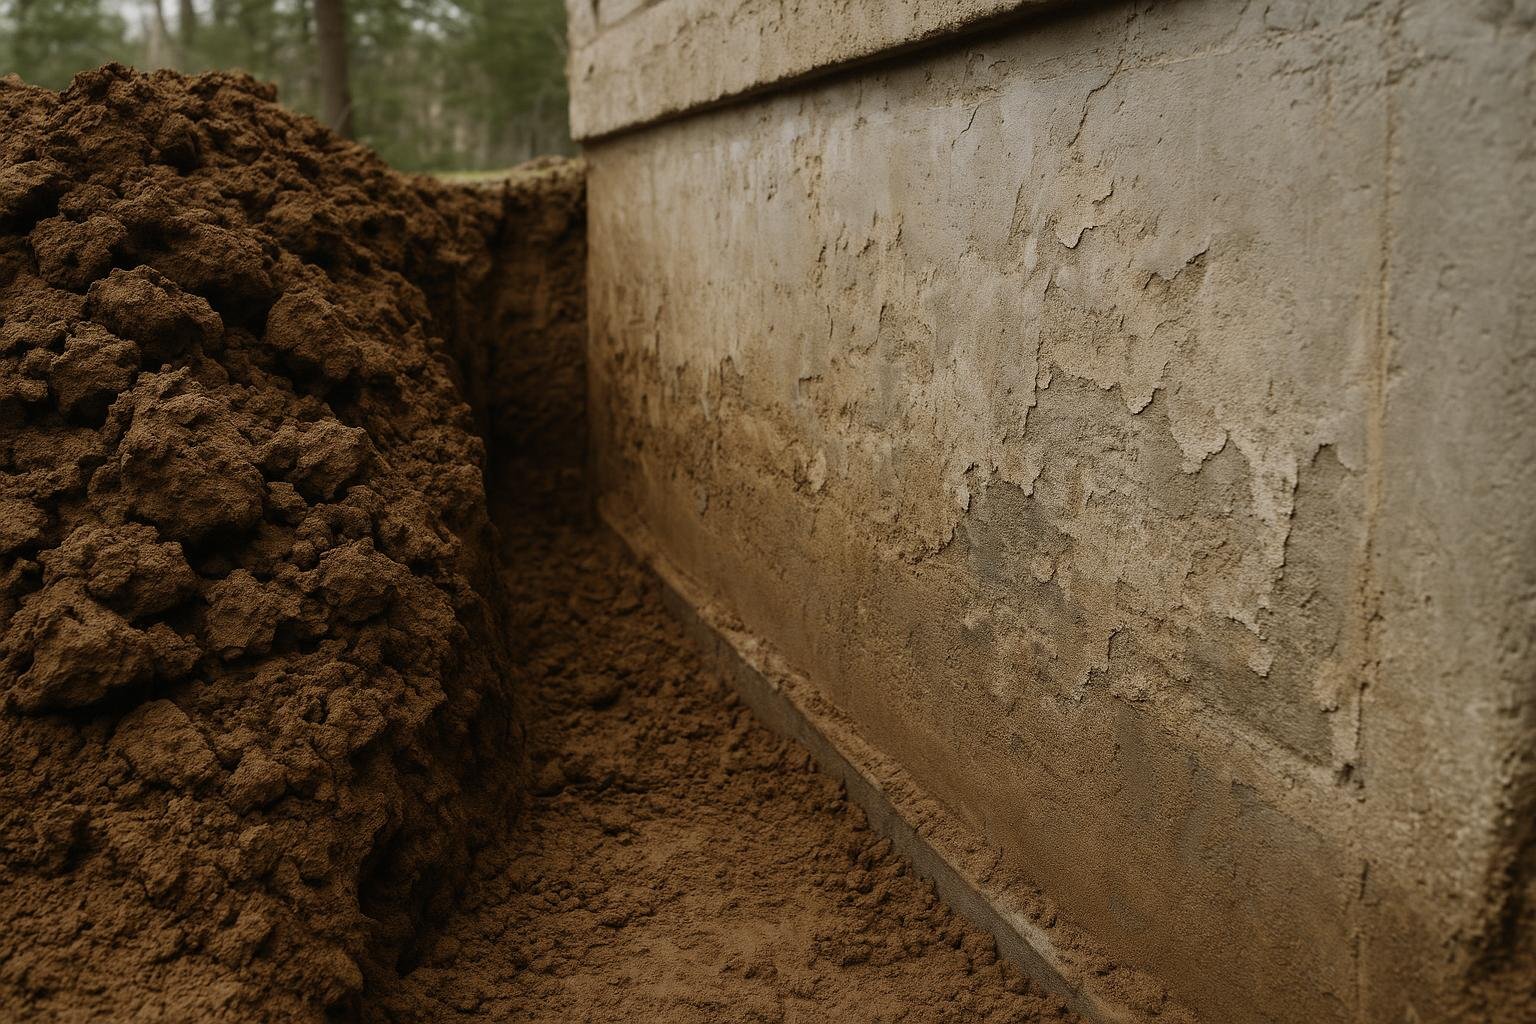
Tiny Township’s position on the southern shore of Georgian Bay means it receives significant snowfall and spring melt runoff. When the ground is still frozen below the surface but thawing at the top, meltwater has nowhere to go except sideways into the soil surrounding your foundation. That saturated soil exerts hydrostatic pressure against the wall, and any existing crack, cold joint, or deteriorated parging becomes a water entry point.
Inland areas of Tiny with heavier clay content hold that water against the foundation for days after a storm ends. The Canada Mortgage and Housing Corporation (CMHC) notes that clay soils are among the most problematic for residential foundations precisely because they retain moisture and expand when wet, adding lateral pressure to the wall. You can read more about moisture management in residential foundations at CMHC’s housing research library.
Seasonal cottages in Tiny face an additional risk: the property is unoccupied through the winter, so a leaky basement in Tiny that would be caught immediately in a year-round home can go unnoticed for months. By the time the owner arrives for the May long weekend, mould may already be established on framing and insulation. The complete Simcoe County waterproofing guide covers the broader regional context, including how Tiny compares to Barrie, Midland, and Wasaga Beach in terms of soil and drainage conditions.
Spring thaw and summer thunderstorms are the two windows when Tiny-area foundations are most vulnerable. Acting before either season arrives is always cheaper than repairing after water has entered.
Your Options for Fixing a Leaky Basement in Tiny
Polyurethane Crack Injection
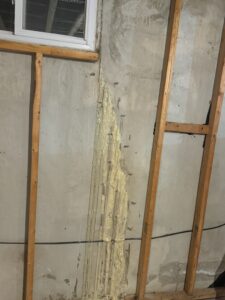
Low-pressure polyurethane injection is the correct first response to a single vertical or diagonal crack in a poured-concrete wall. The process uses a port-and-paste method: injection ports are bonded to the face of the crack at regular intervals, a surface paste seals the crack face, and then flexible polyurethane foam is injected under low pressure until it fills the crack from the inside face to the exterior soil side. The cured foam remains flexible, so it tolerates the seasonal foundation movement that is common in Tiny’s freeze-thaw climate without re-cracking.
Epoxy injection is reserved for structural cracks where the wall must be re-bonded and rigidity is required. For the vast majority of leaky basement Tiny cases involving shrinkage or settlement cracks rather than structural failures, polyurethane is the right material. A single crack typically costs $600 to $900 depending on length and depth.
Interior Weeping Tile System
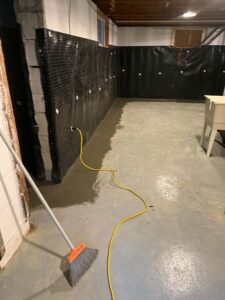
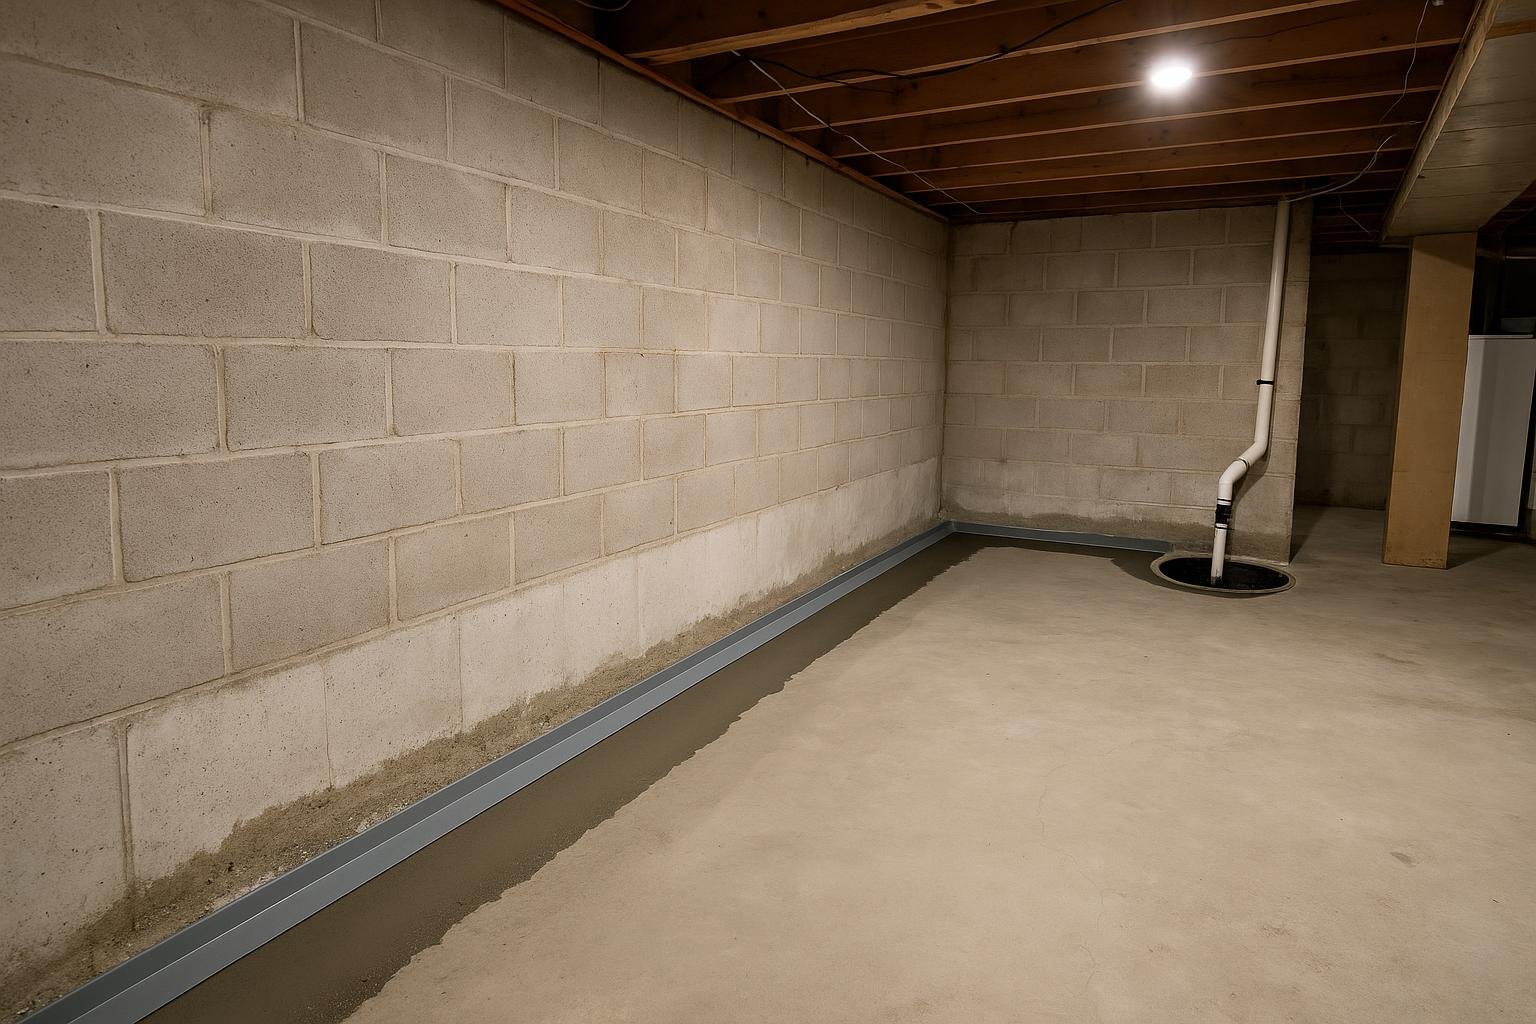
When water is entering along the footing-wall joint or through multiple low points in the floor, an interior weeping-tile system manages the water rather than blocking it at the wall. The perimeter concrete is jackhammered, a drainage channel is installed to a sump basin, a vapour barrier is run up the wall, and the concrete is re-poured. The sump pump then discharges collected water away from the foundation. This approach is less disruptive than exterior excavation and works well in Tiny properties where access around the foundation is limited by decks, landscaping, or proximity to the shoreline.
Exterior Waterproofing
Exterior waterproofing addresses the root cause by stopping water before it reaches the wall. The process involves excavating to the footing, applying hydraulic cement to any voids, installing a rubberised membrane over the wall face, placing a dimpled drainage board over the membrane, laying new weeping tile bedded in clear stone at the footing level, and then backfilling with corrected grade. For a typical leaky basement Tiny detached or semi-detached home, this runs roughly $6,000 to $9,000 depending on linear footage, excavation depth, and site access. It is the most durable long-term solution but also the most disruptive.
Sump Pump Installation or Replacement
A sump pump is often the final component of either an interior or exterior system, but it can also be installed as a standalone measure in a basement that collects groundwater through the floor. In Tiny, where the water table near Georgian Bay can rise significantly during spring thaw, a properly sized sump pump with a battery backup is essential. A failed or undersized pump is one of the most common reasons a previously dry basement suddenly floods. See the guide on sump pumps for seasonal and unoccupied cottages for specifics on battery backup and remote monitoring options suited to Tiny cottage owners.
Parging and Exterior Crack Repair
Parging is a mortar coating applied to the above-grade portion of the foundation wall. In older Tiny homes it is often the first line of defence against water entry, and when it cracks or spalls it allows water to penetrate directly to the block or concrete beneath. Repairing parging is a surface-level fix that addresses cosmetic deterioration, but it does not substitute for membrane waterproofing if the underlying wall is already saturated or cracked through its full depth.
Weeping Tile Replacement
Many Tiny homes built before the 1980s have original clay or perforated plastic weeping tile that has silted up completely. When the drainage system around the footing is blocked, every rainstorm raises the water table against the wall. Replacing the weeping tile, either from the exterior during a full waterproofing job or from the interior as part of a drainage channel installation, restores the system’s ability to relieve hydrostatic pressure. Learn more about weeping tile installation and replacement and how the process works in practice.
Options Compared
| Method | Best For | Typical Lifespan | Relative Cost | Disruption Level |
|---|---|---|---|---|
| Polyurethane crack injection | Single vertical or diagonal poured-concrete crack | Long-term if crack is non-structural | Lowest ($600-$900 per crack) | Minimal, interior work only |
| Interior weeping tile system | Footing-joint leaks, multiple entry points, limited exterior access | 25+ years with pump maintenance | Moderate | Moderate, jackhammer perimeter |
| Exterior waterproofing with membrane | Failed original waterproofing, severe hydrostatic pressure, new weeping tile needed | Lifetime with proper membrane | Highest ($6,000-$9,000 typical) | High, full excavation to footing |
| Sump pump installation | High water table, seasonal flooding, backup for existing system | 7-12 years per pump unit | Low to moderate | Low, pit excavation only |
| Parging repair | Above-grade spalling, cosmetic surface cracks | 5-15 years depending on exposure | Low | Minimal, exterior surface work |
| Weeping tile replacement | Silted or collapsed original drainage tile | 25+ years | Moderate to high (part of exterior scope) | High when done from exterior |
The table shows that crack injection is the right starting point for a leaky basement Tiny homeowners identify as having a single entry point in a poured-concrete wall. Interior weeping tile makes sense when access is restricted or when multiple low points are leaking. Exterior waterproofing is the most thorough solution but costs the most and requires excavation. In practice, many Tiny homes need a combination: crack injection for an active wall crack plus a sump pump to handle seasonal groundwater rise.
How to Choose the Right Fix
Choose polyurethane crack injection if you have one or two visible vertical cracks in a poured-concrete wall, the rest of the wall is dry, and the crack appeared after the house settled rather than from lateral soil pressure. This is the fastest and least expensive path to a dry wall.
Choose an interior weeping-tile system if water is entering along the base of the wall at the footing joint, if you have a block foundation with water seeping through the cores, or if exterior excavation is not practical because of a deck, driveway, or proximity to a shoreline setback. Interior systems manage water effectively without disturbing the exterior grade.
Choose exterior waterproofing if the original membrane has failed, if the existing weeping tile is silted up and the foundation has been wet for years, or if you are planning a significant renovation and want a permanent solution. The rubberised membrane and new drainage tile at the footing address the root cause rather than managing the symptom.
Choose sump pump installation or replacement if the basement collects water through the floor rather than the walls, if the existing pump is more than ten years old, or if you own a seasonal cottage in Tiny that sits empty through the winter. A battery-backup sump pump is non-negotiable for unoccupied properties near Georgian Bay where power outages during spring storms are common.
If you are unsure where the water is entering, use the basement leak diagnostic tool to narrow down the likely source before booking an inspection.
Costs and Timelines for a Leaky Basement in Tiny
| Cost Driver | Why It Affects Price | Approximate Impact |
|---|---|---|
| Linear footage of wall affected | Interior and exterior systems are priced per linear foot of perimeter treated | Primary variable in any system quote |
| Excavation depth | Deeper footings (older Tiny homes often have 8-9 ft walls) require more labour and shoring | Can add 20-35% to exterior scope |
| Site access | Decks, fences, shoreline setbacks, and landscaping restrict machine access and increase hand-dig labour | Significant on cottage lots |
| Foundation type | Block foundations require more prep work than poured concrete; rubble-stone needs hydraulic cement packing before membrane | Moderate to high premium |
| Number of cracks | Each crack injection is priced individually at $600-$900 per crack | Scales linearly with crack count |
| Sump pump type and backup | Battery-backup and WiFi-monitored units cost more than basic pedestal pumps | Moderate premium, high value for cottages |
All prices depend on a site inspection. The ranges above reflect DryShield’s completed work across Simcoe County and should be treated as planning guidance, not firm quotes. A full exterior waterproofing job on an average Tiny detached home runs roughly $6,000 to $9,000; interior systems typically fall below that figure. A single crack injection is $600 to $900. For a broader breakdown of what drives repair costs across Ontario, the basement leaking repair cost guide covers the full range of scenarios.
Every quote from DryShield starts with a free on-site inspection and moisture assessment. The written scope includes linear-foot pricing so you can see exactly what you are paying for before any work begins.
Risks and Common Mistakes
| Symptom | Likely Cause | Correct Fix |
|---|---|---|
| Water along base of wall after rain | Failed or silted weeping tile, hydrostatic pressure at footing | Interior drainage channel or exterior weeping tile replacement |
| Vertical crack with active seepage | Shrinkage or settlement crack in poured concrete | Low-pressure polyurethane injection |
| Horizontal crack in block wall | Lateral soil pressure, potential structural concern | Engineering assessment before any injection |
| White powder (efflorescence) on wall | Mineral deposits left by evaporating water, indicates chronic moisture | Identify and seal the water source, not just the surface |
| Musty smell, no visible water | Vapour transmission through wall or floor, possible hidden crack | Moisture assessment, vapour barrier, possible drainage upgrade |
| Pump runs constantly but basement stays wet | Undersized pump, failed check valve, or no drainage channel feeding the pit | Pump sizing review and drainage channel inspection |
The most common mistake Tiny homeowners make is applying hydraulic cement or waterproofing paint directly to a leaking crack and calling it fixed. These products can slow seepage temporarily but they do not address hydrostatic pressure, and the water will find another path within one or two seasons. The second most common mistake is ignoring a slow seep because it only appears in spring. Chronic moisture causes mould growth, degrades insulation, and eventually softens wood framing, turning a $700 crack injection into a $15,000 remediation project.
Seasonal cottage owners in Tiny face a specific risk: they sometimes defer repairs because the property is only used in summer. A leaky basement Tiny cottage owners ignore in autumn will be worse by the following May. Freeze-thaw cycling through the winter widens existing cracks, and water that enters and freezes inside the wall can spall the concrete face. The guide on freeze-thaw foundation cracks in cottage country explains exactly how this damage progresses and what to watch for when you open the property each spring.
Hydraulic cement and waterproofing paint are surface treatments, not waterproofing systems. They do not relieve hydrostatic pressure and will not provide a lasting repair in Tiny’s clay and sandy-loam soils.
How the Repair Process Works
- Free on-site inspection and moisture assessment. A technician visits the property, identifies all entry points, checks the condition of existing weeping tile and the sump pit, and assesses soil grading around the foundation.
- Written scope with linear-foot pricing. You receive a detailed written proposal before any work begins. The scope specifies which method is recommended and why, with pricing broken down by component.
- Preparation and access. For exterior work, landscaping and any structures near the foundation are protected or temporarily removed. For interior work, the basement is cleared along the perimeter and dust barriers are set up.
- Core repair work. Exterior: excavation to the footing, hydraulic cement parging of voids, rubberised membrane application, dimpled drainage board, new weeping tile in clear stone, backfill and grade correction. Interior: jackhammer perimeter, install drainage channel to sump basin, vapour barrier up the wall, re-pour concrete. Crack injection: port installation, surface paste, low-pressure polyurethane fill.
- Sump pump installation or inspection. Where a sump is part of the scope, the pump is sized to the drainage area, a check valve is installed, and the discharge line is routed to daylight away from the foundation.
- Final inspection and grade check. The finished work is inspected, the grade around the foundation is confirmed to slope away from the wall at the correct angle, and the homeowner is walked through what was done. For a leaky basement Tiny property owners have dealt with for more than one season, this step also confirms that all previously identified entry points are sealed.
- Warranty documentation. Completed work is covered by DryShield’s lifetime transferable warranty, which transfers to the next owner if the property is sold.
Frequently Asked Questions
What causes a leaky basement in Tiny Township specifically?
The most common cause is hydrostatic pressure from saturated soil pressing against the foundation wall. Tiny’s mix of sandy loam near Georgian Bay and clay inland both create this pressure, though in different ways. Sandy soil lets water reach the footing quickly after rain; clay holds it there for days. Spring snowmelt and summer thunderstorms are the two peak periods when pressure is highest and leaks are most likely to appear.
Is crack injection a permanent fix for a leaky basement?
Polyurethane injection is a long-term repair for non-structural cracks in poured concrete. The cured foam is flexible, so it moves with the foundation through freeze-thaw cycles without re-opening. It is not appropriate for horizontal cracks in block walls, which indicate lateral pressure and may require an engineering assessment. For a single vertical crack with no structural concern, injection is the correct and durable solution.
How much does it cost to fix a leaky basement in Tiny?
A single crack injection runs $600 to $900. An interior weeping-tile system with sump pump typically falls below the cost of a full exterior job. Exterior waterproofing of an average Tiny detached home runs roughly $6,000 to $9,000 depending on linear footage, excavation depth, and site access. Every job starts with a free inspection and a written quote, so the final figure is always confirmed before work begins.
Can I fix a leaky basement myself?
Surface-level parging repairs and grading corrections are reasonable DIY tasks that can reduce water entry. However, crack injection requires specialised low-pressure equipment and the correct polyurethane formulation to fill the crack through its full depth. Interior drainage systems and exterior waterproofing involve structural work that must comply with the Ontario Building Code. Improper repairs can trap moisture inside the wall and accelerate deterioration, so professional assessment is recommended before any significant intervention.
Does my home insurance cover a leaky basement in Tiny?
Most standard Ontario home insurance policies exclude gradual water infiltration through foundation cracks or failed weeping tile. Sudden and accidental flooding from a burst pipe may be covered, but chronic seepage from hydrostatic pressure is typically classified as a maintenance issue. Some policies offer sewer backup or overland water endorsements that provide partial coverage. Review your specific policy with your broker before assuming a claim will be accepted.
How long does exterior waterproofing take on a Tiny home?
A full exterior waterproofing job on a typical Tiny detached home takes two to four days depending on the linear footage being treated, the depth of excavation, and site access conditions. Interior weeping-tile installation is usually completed in one to two days. Crack injection is typically a half-day job per crack. Weather and soil conditions can affect scheduling, particularly in spring when the ground is saturated.
My Tiny cottage has been closed all winter and the basement is wet. What should I do first?
Remove standing water with a wet-dry vacuum or submersible pump, then ventilate the space to begin drying. Do not run a dehumidifier until standing water is gone. Once the space is dry enough to inspect safely, look for the entry point: a visible crack in the wall, water along the footing joint, or seepage through the floor. Document what you find with photos and book a professional inspection before the next rain event. Acting quickly limits mould growth, which can establish within 48 to 72 hours on wet framing.
Does waterproofing a basement in Tiny increase property value?
A documented waterproofing system with a transferable warranty is a positive disclosure item in a real estate transaction. Buyers and their inspectors look specifically for evidence of past or present water infiltration, and a professionally waterproofed basement with a warranty removes that concern. The value benefit is most pronounced in Tiny’s cottage market, where buyers are often purchasing a property sight-unseen in winter and rely heavily on inspection reports and disclosure documents.
If you have noticed water stains, efflorescence, a musty smell, or an active crack in your Tiny Township basement, the right next step is a free on-site inspection. DryShield has served Simcoe County and the broader Georgian Bay area for over 25 years. Contact the team at DryShield.ca to book your inspection and receive a written scope before any work begins.