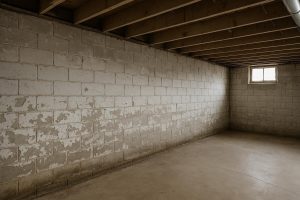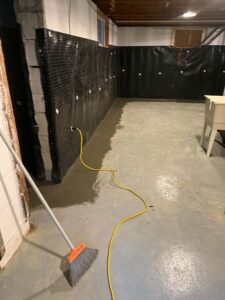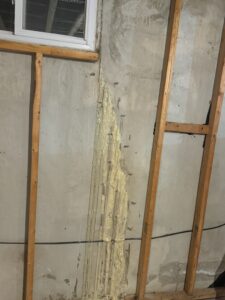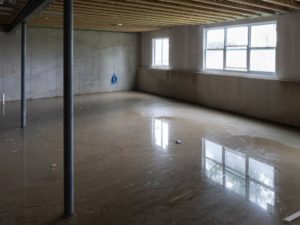
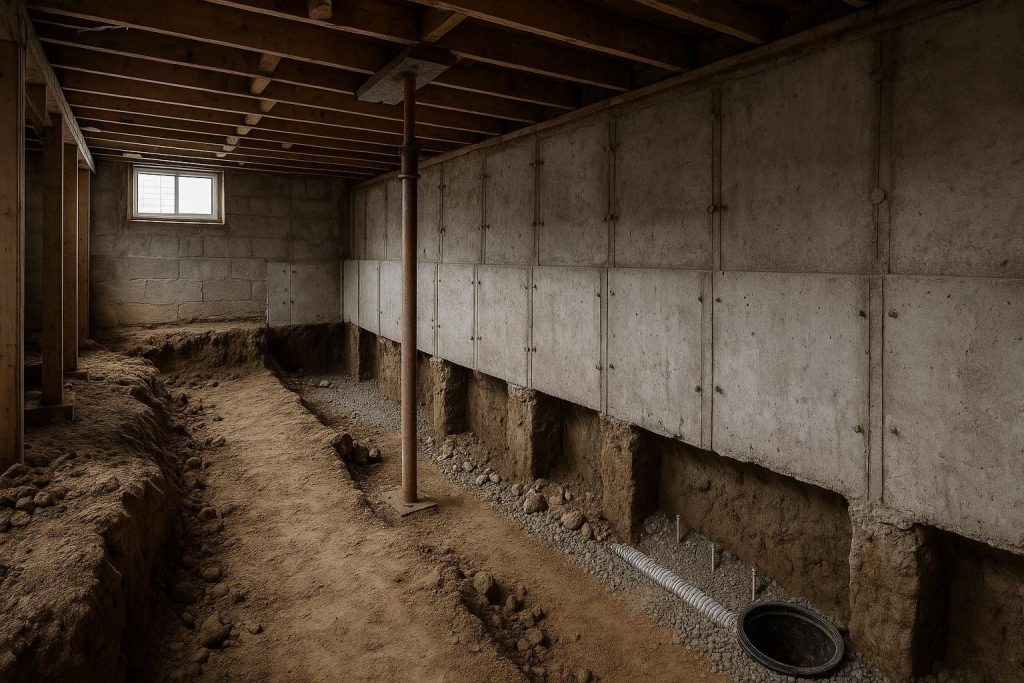
Basement underpinning in Toronto is the process of lowering an existing basement floor to increase ceiling height or to stabilize a foundation that has settled, shifted or been undermined. It is one of the most structurally significant renovations a Toronto homeowner can undertake, and it almost always intersects with waterproofing because excavating below the existing footing exposes the foundation to new water-management challenges. This guide explains every major method, the cost drivers, the risks and how to decide which approach fits your home.
Key takeaways
- Underpinning lowers or reinforces a foundation footing; it is a structural intervention that requires a building permit and engineered drawings under the Ontario Building Code.
- The three most common residential methods in Toronto are bench footing (mass concrete), mini-pile (helical or push pier) underpinning, and the combination of underpinning with a full interior waterproofing system.
- Toronto’s clay-heavy soils and aging housing stock (many homes built before 1960 have shallow footings) make underpinning more common here than in many other Canadian cities.
- Waterproofing must be addressed at the same time as underpinning; skipping it after excavation is a leading cause of post-project basement leaks.
- Cost drivers vary widely; no verified price range is supplied in this guide because quotes depend on soil conditions, depth of dig, access, structural complexity and current labour costs.
Definitions & scope
Underpinning refers to any method that extends or replaces the load-bearing footing of an existing foundation so that it sits on deeper, more stable soil or is reinforced against movement. In residential Toronto contexts the term is most often used to mean basement lowering: digging down inside the home to gain usable ceiling height. The two goals, structural stabilization and height gain, sometimes overlap but are not the same thing.
A standard Toronto semi-detached or detached home built before 1970 may have a basement ceiling height of only 1.8 m to 2.0 m (roughly 6 to 6.5 feet). Modern livable-space standards and building code requirements for finished basements typically call for a minimum clear height of 1.95 m under the Ontario Building Code (OBC), Section 9.7. Underpinning is the primary way to achieve that height without demolishing and rebuilding the structure above.
Scope matters: underpinning a full perimeter is a multi-week project involving sequential excavation, concrete pours, curing periods and inspections. Partial underpinning, for example under a load-bearing wall only, is smaller in scope but still requires engineering sign-off. This guide focuses on residential applications in Toronto and the GTA. For foundation crack repair that does not involve lowering the floor, see our Foundation Crack Repair Services page.
Why this matters
Toronto’s housing market and aging building stock create a specific set of pressures that make basement underpinning a frequently searched and frequently needed service.
Shallow original footings. Homes built in the 1920s through 1950s in neighbourhoods like The Annex, Leslieville, East York and Etobicoke were often constructed with footings only 0.6 m to 0.9 m below grade. That depth was adequate for the loads of the era but leaves little room for finished living space and can be vulnerable to frost heave in Ontario’s climate.
Clay soils and hydrostatic pressure. Much of Toronto sits on lacustrine clay deposited by glacial Lake Iroquois. Clay expands when wet and contracts when dry, creating cyclical lateral pressure on foundation walls. When you excavate below the existing footing, you temporarily remove lateral support and expose the wall to groundwater at a new depth, which is why waterproofing integration is not optional. Our Toronto neighbourhood soil and foundation analysis explains how soil type varies by area.
Densification and the secondary suite market. Toronto’s planning policies encourage secondary suites and garden suites. A basement that is too low to legally finish as a rental unit drives demand for underpinning as a value-creation strategy. The financial case is real, but so are the structural and waterproofing risks if the work is done without proper engineering.
Foundation settlement. Differential settlement, where one part of a foundation sinks more than another, can cause stair-step cracks in block foundations or diagonal cracks in poured concrete walls. When settlement is active, underpinning with piers or piles may be the only durable fix. See our guide on how to tell if a foundation crack is structural for warning signs.
Your options
Bench footing (mass concrete) underpinning
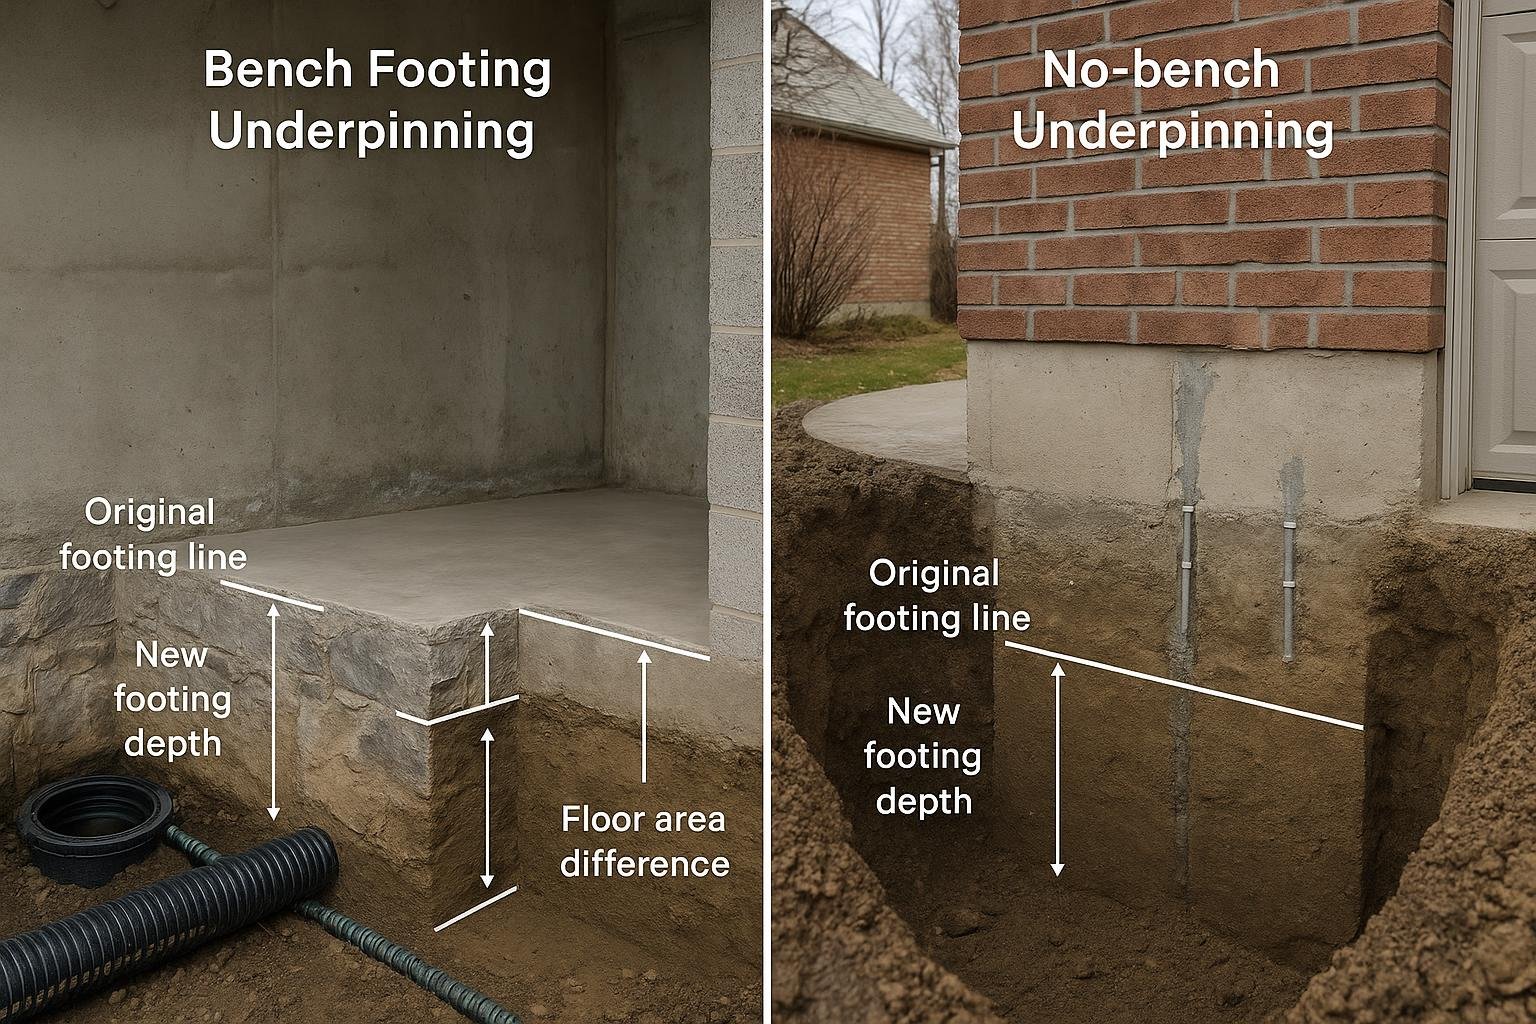
What it is. The most traditional method. Workers excavate in alternating sections (called pins or panels) along the inside perimeter of the foundation wall, pour a new concrete footing at the lower level, allow it to cure, then move to the next panel. The new footing is wider than the original, creating a visible ledge or “bench” along the wall perimeter.
How it works. Sequential excavation ensures that no more than one panel is unsupported at any time. Each panel is typically 1.0 m to 1.2 m wide. After all panels are poured and cured, the floor slab is removed and replaced at the new lower elevation.
Best for. Homes with stable, load-bearing soil at the new depth; projects where the primary goal is gaining ceiling height; situations where the existing foundation wall is in good structural condition.
Limitations. The bench reduces usable floor area along the walls. It requires significant interior disruption and is not suitable where soil is unstable, where there is a high water table at the new depth, or where adjacent structures (party walls in semis or row houses) complicate sequential excavation.
Underpinning with full perimeter excavation (no bench)
What it is. A variation of mass concrete underpinning where the new footing is poured at the same width as the original, eliminating the bench. This requires more precise engineering because the wall has less bearing area during the pour sequence.
How it works. Similar sequential panel approach, but the new footing is designed to carry the full wall load without a widened base. The floor slab is then poured flush to the new footing, maximizing usable floor area.
Best for. Homeowners who need maximum floor area and have an engineer who has designed the footing geometry to compensate for the reduced bearing width.
Limitations. More engineering complexity and potentially higher cost per linear foot than bench footing. Soil conditions must be well characterized before design.
Helical pier (screw pile) underpinning
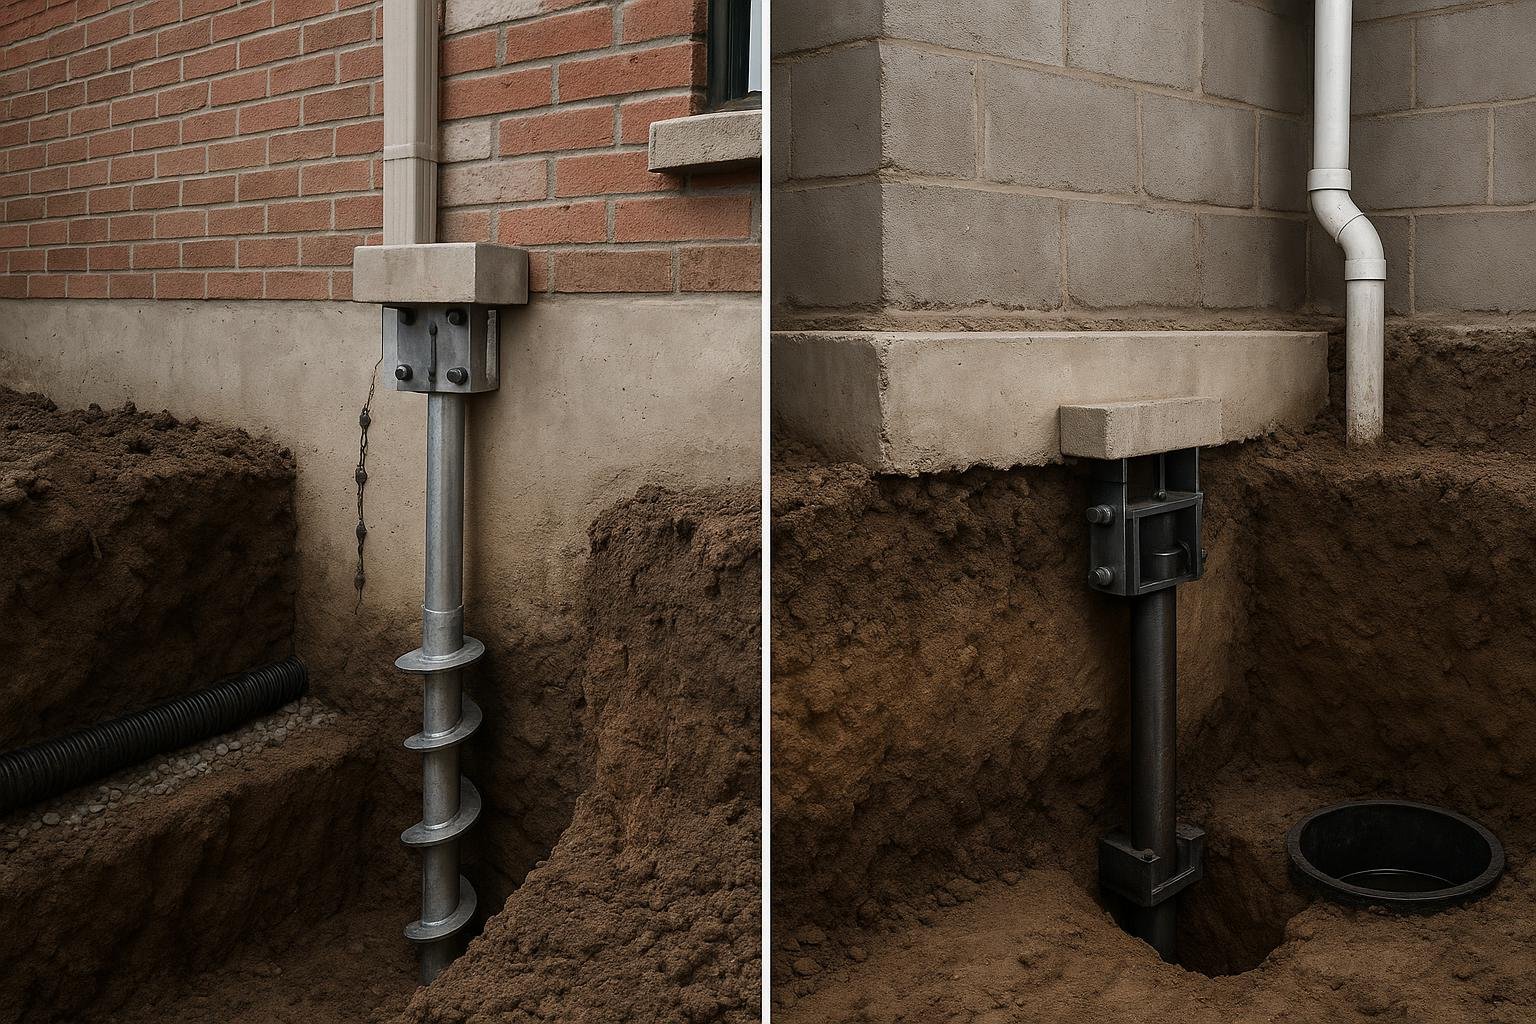
What it is. Steel helical piers are screwed into the ground below the existing footing using hydraulic torque equipment. A bracket transfers the foundation load from the existing footing onto the pier, which reaches competent bearing soil or bedrock.
How it works. Piers are installed at engineered spacing intervals. Once installed and load-tested, the foundation load is transferred. This method does not lower the floor by itself; it stabilizes a settling foundation at its current elevation.
Best for. Active foundation settlement where the goal is stabilization rather than height gain; situations where interior excavation is impractical; homes where soil at shallow depth is too weak to support a mass concrete footing.
Limitations. Does not increase ceiling height. Equipment access can be a constraint in tight basements. Cost is driven by the number of piers required and the depth to bearing stratum.
Push pier (hydraulic pier) underpinning
What it is. Steel pipe sections are hydraulically driven into the ground beneath the footing bracket until they reach refusal (a point of sufficient resistance). The foundation load is then transferred to the piers.
How it works. Similar in outcome to helical piers but uses the weight of the structure itself as the reaction force during installation. This can be an advantage in some soil profiles.
Best for. Stabilizing a settling foundation; situations where the depth to bearing soil is variable and the installer needs to drive to refusal rather than to a pre-calculated depth.
Limitations. Like helical piers, push piers do not lower the floor. They require access to the footing from inside or outside. Not suitable as a standalone solution when height gain is the primary goal.
Combined underpinning and interior waterproofing
What it is. Underpinning (typically bench or no-bench mass concrete) performed simultaneously with the installation of an interior drainage channel, sump pump and membrane system. Because the floor slab must be removed for underpinning anyway, the incremental cost of adding interior waterproofing at the same time is lower than doing it as a separate project.
How it works. After the new footings are poured and cured, a perimeter drainage channel is cut into or formed in the new floor slab. A waterproofing membrane is applied to the foundation wall below grade. A sump pit and pump are installed. The floor slab is then poured over the drainage system.
Best for. Any underpinning project where the existing basement has a history of water infiltration, or where the new excavation depth will intersect the seasonal water table. This is the most common combination DryShield encounters in Toronto’s clay-soil neighbourhoods.
Limitations. Adds project scope and cost. Requires coordination between the structural contractor and the waterproofing contractor. If not planned from the start, the waterproofing system may be compromised by the footing geometry.
Options compared
| Method | Primary goal | Increases ceiling height? | Key considerations | Durability / limitations |
|---|---|---|---|---|
| Bench footing (mass concrete) | Height gain | Yes | Reduces perimeter floor area; sequential pours; permit required | Long-lasting if soil is stable; bench can be a tripping hazard if not finished properly |
| No-bench mass concrete | Height gain, max floor area | Yes | More engineering complexity; higher precision required | Equivalent durability to bench footing when engineered correctly |
| Helical pier | Settlement stabilization | No (can sometimes lift slightly) | Equipment access; pier spacing per engineer; depth to bearing stratum | Durable; corrosion-resistant coatings extend service life; no height gain |
| Push pier | Settlement stabilization | No (can sometimes lift slightly) | Uses structure weight as reaction; variable depth to refusal | Durable when driven to refusal; no height gain |
| Combined underpinning + interior waterproofing | Height gain + moisture control | Yes | Requires coordination; best planned from project outset | Most comprehensive outcome; waterproofing system must be maintained (sump pump) |
The table highlights that no single method serves every situation. Height gain and structural stabilization are distinct goals that sometimes overlap. The combined approach is the most comprehensive but also the most complex to plan and execute. Homeowners whose primary concern is a settling foundation without a height-gain goal should focus on pier options; those who want a livable basement in an older Toronto home will almost always be looking at mass concrete underpinning, ideally paired with waterproofing.
How to choose
Use the following framework to narrow down the right approach before you speak with a contractor or structural engineer.
Choose bench footing or no-bench mass concrete if: your primary goal is gaining ceiling height; your existing foundation wall is structurally sound with no active settlement; your soil at the new depth is stable clay or till capable of bearing the new footing load; and you are prepared for two to six weeks of interior disruption depending on perimeter length.
Choose helical or push piers if: your foundation is actively settling and you have documented evidence such as widening cracks, sticking doors or sloping floors; height gain is not your goal; or your soil profile is too weak at shallow depth to support a mass concrete footing. An engineer’s assessment is mandatory before selecting pier type and spacing.
Choose combined underpinning and interior waterproofing if: you are already committing to mass concrete underpinning and your basement has any history of water infiltration, efflorescence, or damp walls; or the new excavation depth will be at or near the seasonal water table. Adding waterproofing at the same time as underpinning is almost always more cost-effective than returning to do it later. Our interior waterproofing solutions page describes the drainage and membrane systems that integrate with underpinning projects.
Always involve a licensed structural engineer. The Ontario Building Code requires engineered drawings for underpinning. No contractor should be offering to underpin your foundation without an engineer of record. If a quote does not include engineering, treat that as a red flag. Our guide on how to choose a reliable waterproofing contractor covers what to look for in a qualified firm.
Consider your neighbours. In semi-detached and row houses, the shared party wall means your underpinning affects your neighbour’s foundation. Toronto’s building department requires a party wall agreement and notification in most cases. Confirm this with your permit application.
Costs & timelines
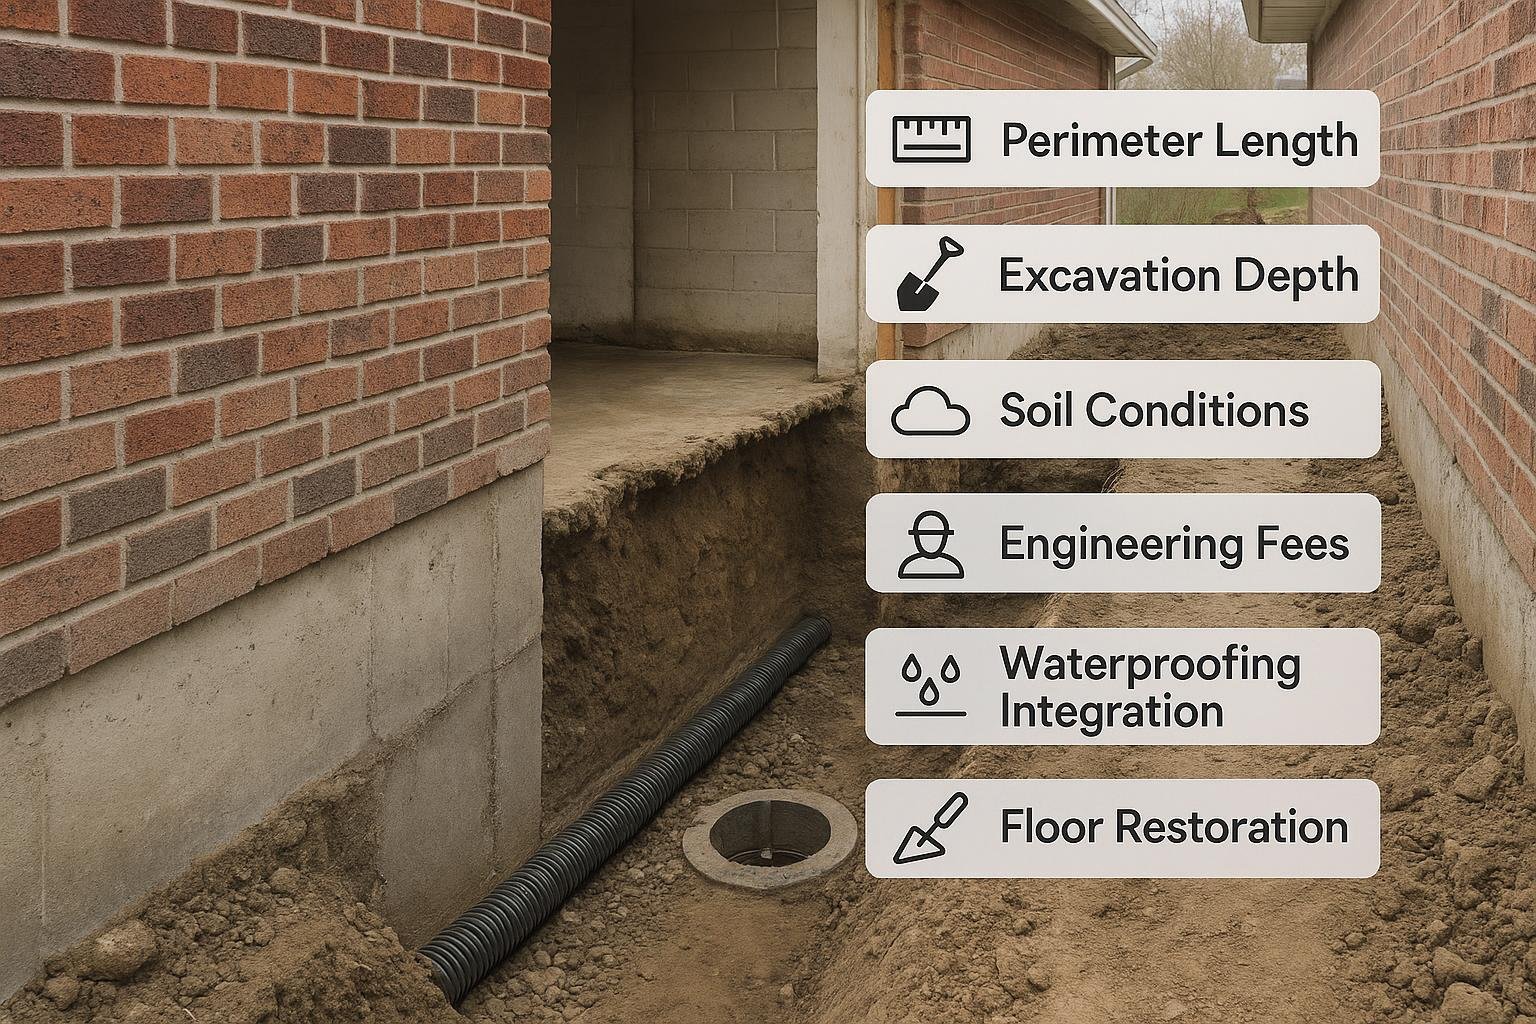
No verified, current price data has been supplied to this guide, and publishing an invented price range would be misleading. Instead, the following cost drivers are ranked by typical influence on the final quote. Use them to understand why two quotes for the same home can differ substantially.
| Cost driver | Why it matters | Relative influence |
|---|---|---|
| Perimeter length to be underpinned | More linear footage means more panels, more concrete, more labour | Very high |
| Depth of excavation | Each additional 30 cm of depth increases soil removal, shoring risk and concrete volume | Very high |
| Soil conditions | Unstable soil, high water table or encountering boulders increases labour and may require dewatering | High |
| Access constraints | Narrow side yards, finished interiors to protect, or no exterior access for soil removal increases cost | High |
| Engineering and permit fees | Mandatory; complexity of drawings varies with foundation type and adjacency to party walls | Moderate |
| Waterproofing integration | Adding drainage channel, membrane and sump pump adds scope but at lower incremental cost than a standalone project | Moderate |
| Concrete finishing and floor restoration | New floor slab, any interior finishing, and stair modification all add to the total | Moderate |
Timeline guidance. A typical full-perimeter bench underpinning of a Toronto semi-detached home takes four to eight weeks from permit issuance to final inspection, not including the permit application period. Partial underpinning of a single wall section can be shorter. Pier installation for stabilization is often faster, sometimes completable in one to three days of installation, though engineering and permitting still add lead time. Use our foundation repair cost guide for a broader view of cost drivers across foundation repair types.
Risks & common mistakes
Underpinning is one of the higher-risk residential construction activities because errors can compromise the structural integrity of the entire building. The following are the most consequential mistakes homeowners and contractors make.
Skipping or underspecifying engineering. Some contractors offer to underpin without a structural engineer of record or with drawings that do not reflect actual site conditions. This is a building code violation in Ontario and a serious safety risk. Insist on a stamped engineering drawing before any excavation begins.
Excavating too many panels simultaneously. The sequential panel method exists because removing support from too large a section at once can cause the foundation wall above to crack or shift. Rushing the sequence to save time is a documented cause of underpinning failures.
Ignoring the water table. Excavating below the seasonal water table without dewatering or a waterproofing plan invites immediate water infiltration into the new excavation. This can destabilize the soil and compromise the new footing. Always assess groundwater conditions before finalizing the design depth. See our foundation waterproofing guide for context on how water management integrates with structural work.
Failing to notify neighbours in semi-detached or row houses. Party wall disturbance during underpinning can crack plaster, shift door frames and damage finishes in the adjacent unit. Toronto’s building department has specific requirements; failing to follow them can result in stop-work orders and legal liability.
Treating underpinning as a DIY project. Unlike some waterproofing maintenance tasks, underpinning is not a homeowner DIY activity. It requires permits, engineering, specialized equipment and experienced crews. Attempting it without all of these creates structural and legal risk.
Not integrating waterproofing. The most common post-underpinning complaint is water infiltration at the new floor level or through the wall below the original footing line. This is almost always preventable by integrating a drainage system and membrane during the project rather than after. Our leaky basement repair guide for Toronto covers what happens when water management is deferred.
Underestimating disruption. Underpinning requires removing the basement floor slab, excavating by hand in confined sections, and managing significant amounts of soil removal through the interior of the home. Homeowners who have not planned for this level of disruption often experience project delays and cost overruns.
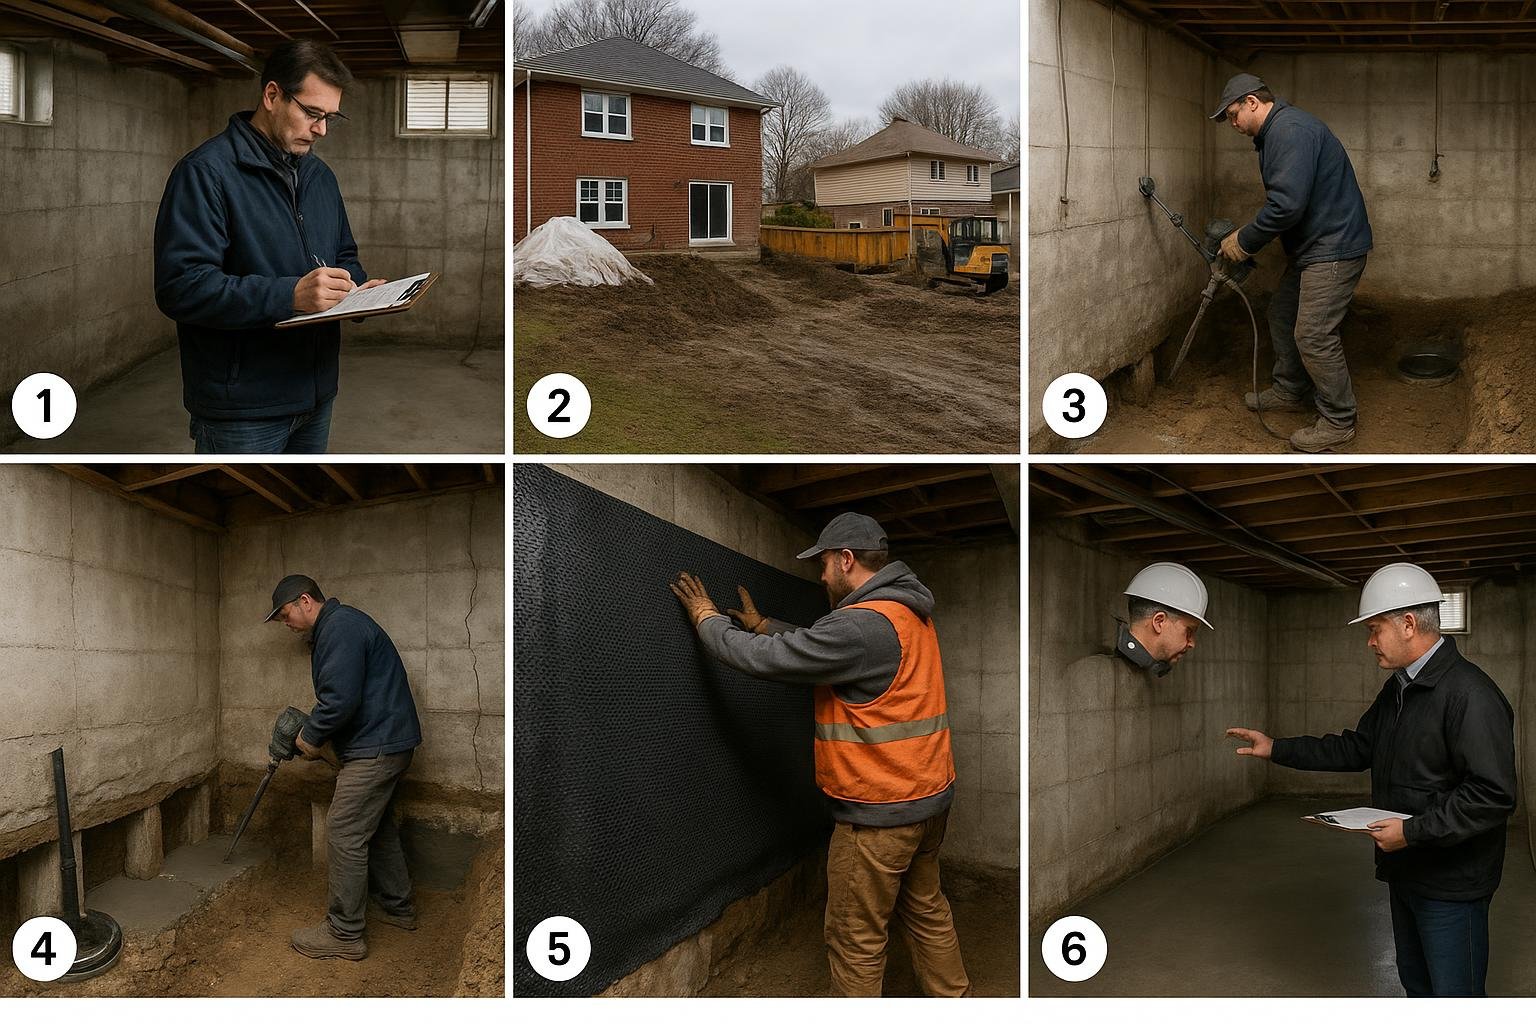
How the process works
- Assessment and engineering. A structural engineer assesses the existing foundation, soil conditions (often with a geotechnical report for complex projects), and the proposed new depth. Stamped drawings are prepared and submitted to the City of Toronto for a building permit.
- Permit issuance and site preparation. Once the permit is issued, the contractor protects the interior, establishes a soil removal path (typically through a window or door opening), and sets up shoring where required.
- Sequential panel excavation and pouring. Workers excavate one panel at a time, hand-digging below the existing footing to the new design depth. Each panel is formed, poured with concrete, and allowed to cure to the specified strength before the adjacent panel is started. This cycle repeats around the full perimeter.
- Waterproofing installation (if included). After all footings are poured and cured, the waterproofing membrane is applied to the wall face below grade, and the drainage channel is formed or cut at the perimeter of the new floor level. The sump pit is excavated and the pump installed.
- New floor slab. Granular base material is placed and compacted, a vapour barrier is installed, and the new concrete floor slab is poured at the lower elevation. Stairs are modified or rebuilt to suit the new floor height.
- Inspections and sign-off. The City of Toronto building inspector reviews the work at required inspection stages. The engineer of record may also conduct site reviews. Final sign-off closes the permit.
- Finishing and restoration. Interior finishing, including framing, insulation and any mechanical modifications, can proceed after the structural and waterproofing work is inspected and approved.
Frequently asked questions
Do I need a building permit for basement underpinning in Toronto?
Yes. Underpinning is classified as a structural alteration under the Ontario Building Code and requires a building permit from the City of Toronto. The application must include stamped drawings from a licensed structural engineer. Work that begins without a permit can result in stop-work orders, mandatory demolition of completed work, and fines. There are no exceptions for partial or minor underpinning in Toronto’s jurisdiction.
How long does basement underpinning take?
The construction phase for a full-perimeter underpinning of a typical Toronto semi-detached home generally takes four to eight weeks, depending on perimeter length, depth, soil conditions and the number of crew members. This does not include the permit application period, which can add several weeks or more depending on the City of Toronto’s current review queue. Partial underpinning of a single wall section is faster.
Can I live in my home during underpinning?
Many homeowners do remain in the home during underpinning, but it requires careful planning. The basement will be inaccessible for most of the project. Dust, noise and vibration are significant. If the basement contains the home’s mechanical systems (furnace, water heater), temporary arrangements may be needed. Discuss the specific disruption plan with your contractor before signing a contract.
What is the difference between underpinning and waterproofing?
Underpinning is a structural intervention that lowers or reinforces the foundation footing. Waterproofing manages water infiltration through the foundation wall and floor. They are separate scopes of work but are closely related: underpinning exposes the foundation to new water-management challenges, and the two are most cost-effectively done together. A waterproofing contractor is not a structural engineer, and a structural contractor is not automatically a waterproofing specialist. Confirm which scope each party is responsible for before work begins.
Will underpinning fix my foundation cracks?
It depends on the cause of the cracks. If cracks are caused by active settlement, underpinning with piers can stabilize the foundation and stop crack progression, though existing cracks will still need to be repaired separately. If cracks are caused by shrinkage, freeze-thaw cycling or hydrostatic pressure rather than settlement, underpinning will not address them. Our GTA foundation crack troubleshooting guide can help you identify the likely cause before committing to a repair strategy.
Does underpinning affect my home insurance?
It can. Some insurers require notification when structural work is performed, and coverage may be affected during the construction period. Underpinning that adds a finished basement suite may also affect your replacement cost valuation. Contact your insurer before work begins to understand your obligations. Our guide on home insurance and foundation work in Ontario provides broader context on this topic.
Is underpinning worth it for a Toronto home?
The financial case depends on the specific home, neighbourhood and intended use of the added space. Converting a low basement to a legal secondary suite or a finished living area can add measurable value in Toronto’s market, but the project cost is substantial and the disruption is significant. No verified return-on-investment data is available in this guide. Our GTA basement waterproofing ROI guide discusses value considerations for basement improvement projects more broadly.
What happens to my neighbour’s foundation when I underpin a semi-detached home?
In a semi-detached or row house, the party wall is shared. Excavating on your side of the wall temporarily reduces lateral support for your neighbour’s foundation. Toronto’s building department requires a party wall agreement and advance notice to the adjacent property owner. The engineer of record must account for the party wall in the design. Failure to follow this process can result in structural damage to the adjacent unit and significant legal liability.
Can underpinning be done in winter in Toronto?
Interior underpinning work can proceed in winter because the excavation and concrete pours happen inside the conditioned envelope of the home. Cold-weather concrete placement requires precautions including heating of the mix and protection of fresh pours from freezing, which adds cost and complexity. Exterior access for soil removal may be more difficult in winter. Discuss seasonal timing with your contractor and engineer.
How do I find a qualified underpinning contractor in Toronto?
Look for a contractor who works with a licensed structural engineer, pulls the required permits, carries adequate liability insurance and WSIB coverage, and can provide references from comparable underpinning projects. Be cautious of quotes that do not include engineering or that propose starting without a permit. Our contractor selection checklist covers the key questions to ask before signing any agreement.
If you are considering basement underpinning in Toronto or the GTA and want to understand how waterproofing integrates with the structural scope, DryShield’s team is available to assess your foundation and explain the water-management options that apply to your specific project. Contact DryShield to arrange an assessment, or use our basement leak diagnostic tool if water infiltration is your starting concern.