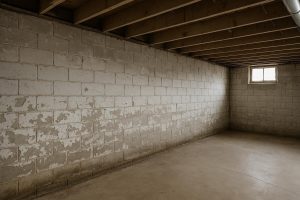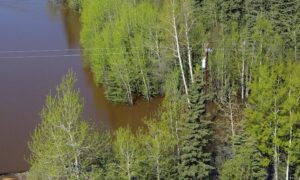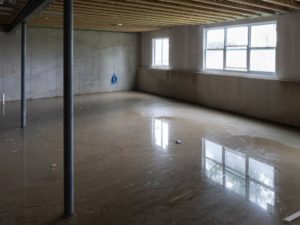
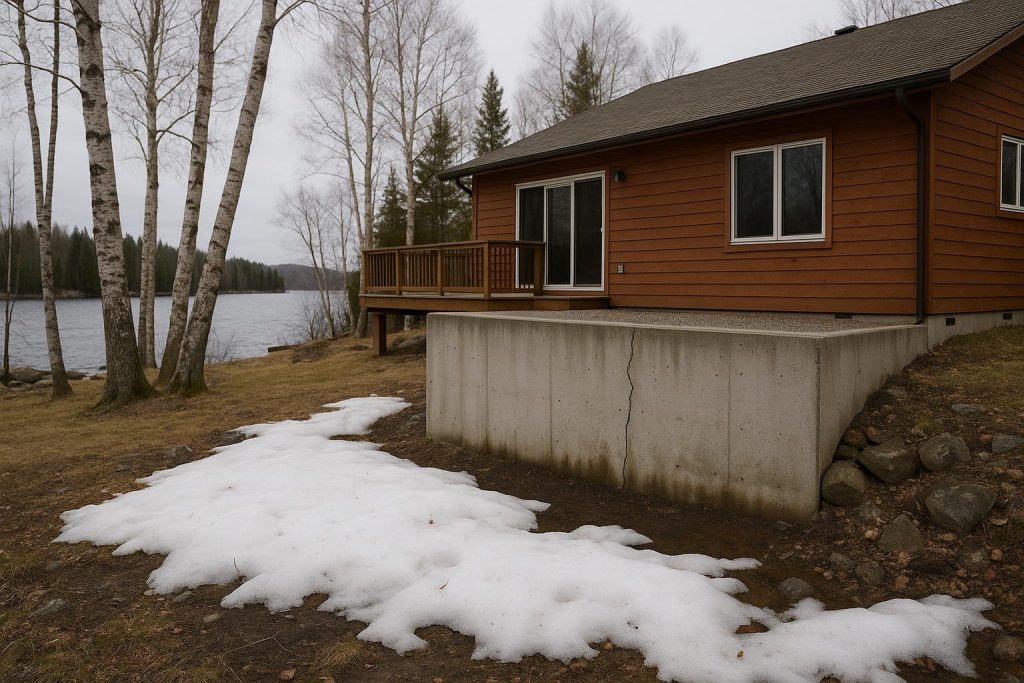
Seasonal cottage basement waterproofing North Bay property owners rely on is different from standard city-home work, because a cottage foundation sits unheated and unmonitored for months at a time while freeze-thaw cycles, snowmelt and a rising spring water table work against it. The combination of Nipissing-area granite and sand soils, heavy snowpack and prolonged shoulder-season temperature swings creates moisture stress that most urban waterproofing guides simply do not address.
Key Takeaways
- North Bay cottage foundations face two peak failure windows: spring snowmelt (April to May) and the first hard freeze of autumn, when saturated soil locks against the wall.
- Unoccupied periods mean leaks go undetected for weeks, turning a small crack into a flooded basement by opening day.
- Interior weeping tile with a battery-backup sump pump is the most practical solution for cottages that cannot be monitored daily.
- A single foundation crack injected with low-pressure polyurethane typically costs $600 to $900; a full interior perimeter system runs higher and depends on linear footage.
- Proper seasonal closing and opening procedures reduce waterproofing failures significantly, even before any structural work is done.
Definitions and Scope
A seasonal cottage basement is any below-grade space in a property that is occupied intermittently, typically from late spring through early autumn, and left unheated or minimally heated through winter. In the North Bay region this includes properties on Lake Nipissing, Trout Lake, Callander Bay and the dozens of smaller lakes within Nipissing District.
Waterproofing for these structures covers three distinct goals: keeping groundwater out of the foundation wall, managing hydrostatic pressure that builds against the footing during snowmelt, and protecting the structure during the months when nobody is present to catch a new leak early. The methods used, including interior weeping tile, exterior membrane systems and polyurethane crack injection, are the same as those used on year-round homes, but the sequencing, materials and monitoring requirements differ because of the seasonal-use pattern.
This guide covers poured-concrete and concrete-block foundations. Older rubble-stone foundations common on pre-1960 North Bay-area cottages have their own considerations and generally require an interior drainage approach rather than exterior excavation.
Why This Matters for North Bay Cottage Owners
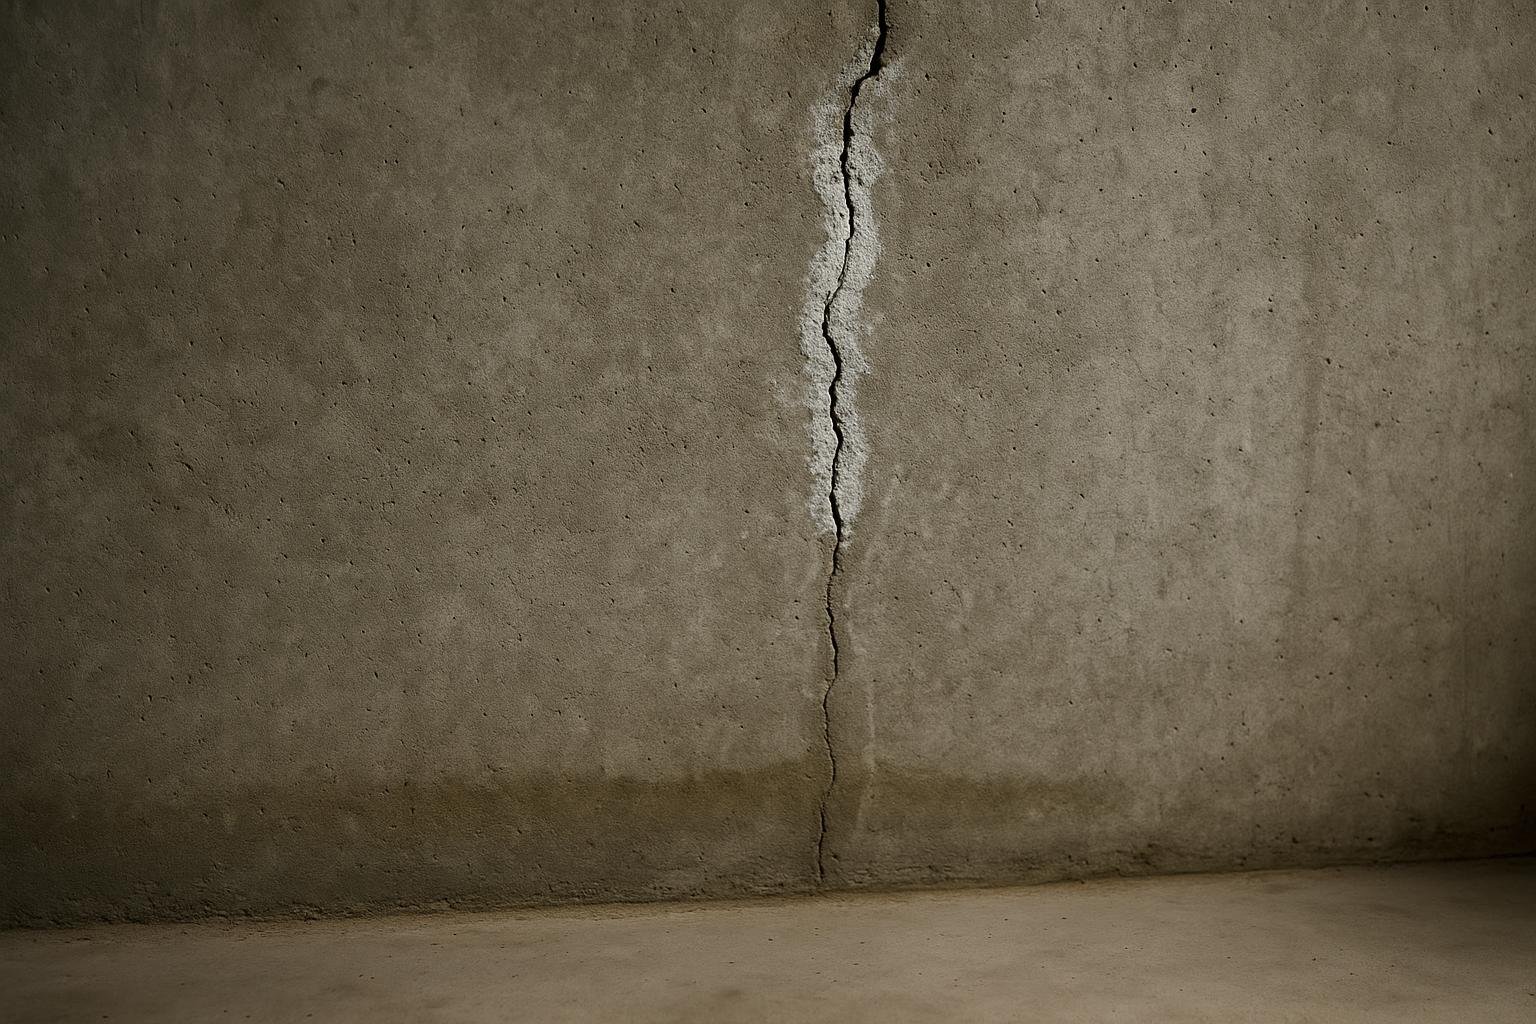
North Bay sits at the southern edge of the Canadian Shield, where thin sandy soils overlie fractured bedrock. Unlike the dense clay belt across much of the GTA, Nipissing-area soils drain relatively quickly, but that speed works against foundations in two ways. First, snowmelt and heavy rain move rapidly toward the lowest point, which is often the footing. Second, frost penetrates deeply, regularly reaching 1.2 to 1.5 metres in a cold winter, and the freeze-thaw cycle cracks parging and widens existing hairline fractures in poured walls.
A cottage that closes in October and opens in May has spent seven months exposed to these forces with no one inside to notice a new wet patch on the wall. By the time the owner arrives for the Victoria Day weekend, what started as a slow seep through a shrinkage crack may have deposited a centimetre of silt on the floor and left efflorescence across an entire wall section.
The Canadian Mortgage and Housing Corporation (CMHC) notes at cmhc-schl.gc.ca that moisture is the single largest cause of premature deterioration in Canadian residential foundations, and that seasonal or intermittent occupancy significantly increases the risk because early warning signs go unobserved. That observation is especially relevant for North Bay cottage country, where the combination of deep frost, rapid snowmelt and unmonitored periods creates conditions that accelerate foundation damage.
For a broader look at what arriving to a flooded cottage actually involves, the guide on what to do when you arrive at the cottage to a flooded basement covers the immediate steps before any repair work begins.
Your Options for seasonal cottage basement waterproofing North Bay
Option 1: Low-Pressure Polyurethane Crack Injection
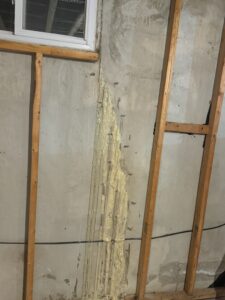
Polyurethane injection is the right starting point when the source of water entry is a discrete crack in a poured-concrete wall. A technician installs injection ports along the crack at regular intervals, seals the surface with paste, then pumps low-pressure polyurethane foam into the crack from the lowest port upward. The foam expands to fill the full depth of the crack, cures flexible, and tolerates the seasonal movement that North Bay foundations experience as the ground freezes and thaws.
Epoxy injection is reserved for structural cracks where the wall itself needs to be re-bonded and rigidity is required. For the typical shrinkage or settlement crack in a cottage wall, polyurethane is the correct choice because a rigid epoxy repair can re-crack at the edges when the foundation moves in winter.
Best for: single or small numbers of non-structural cracks in a poured-concrete wall. Limitations: does not address perimeter drainage or hydrostatic pressure; if the crack is caused by ongoing soil movement, injection alone may not be a permanent fix without addressing the drainage condition.
Option 2: Interior Weeping Tile System with Sump Pump
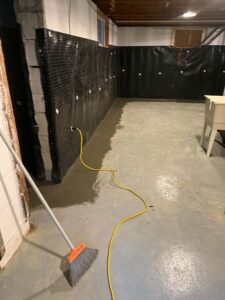
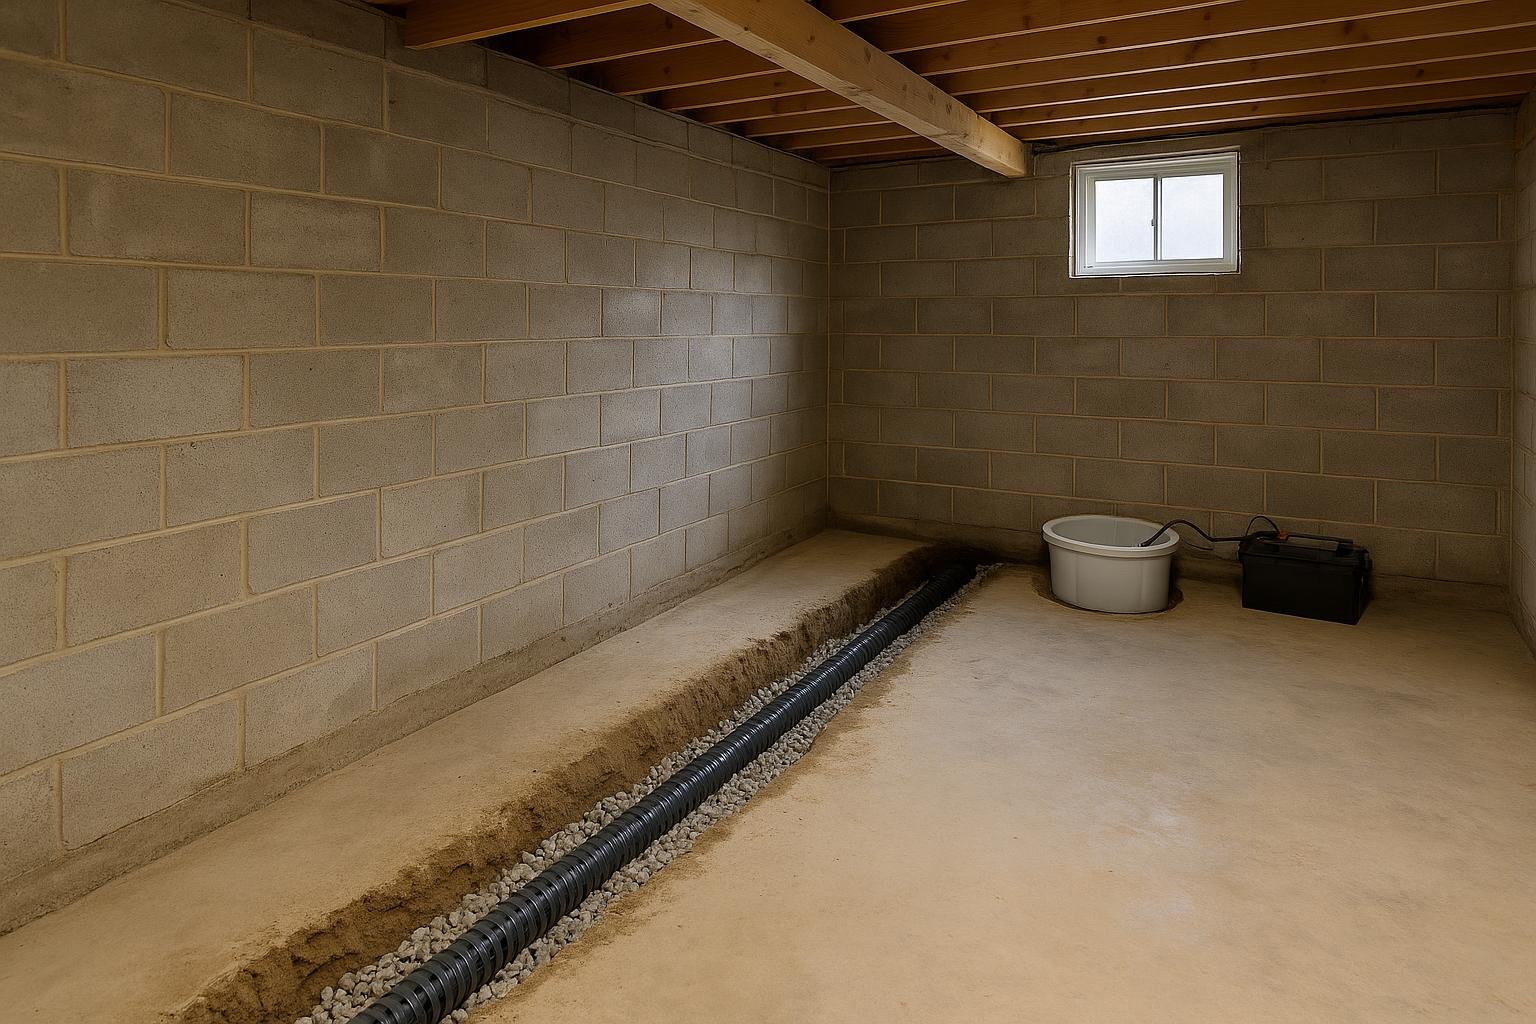
An interior weeping tile system is the most practical full-perimeter solution for seasonal cottage basement waterproofing North Bay properties face. The process involves breaking the concrete floor along the perimeter, installing a perforated drain pipe bedded in clear stone at the footing level, directing that pipe to a sump basin, and re-pouring the concrete. A sump pump then discharges collected water away from the foundation. A vapour barrier is run up the interior wall face to direct any wall seepage into the drain rather than across the floor.
For a cottage, the sump pump must have a battery backup and ideally a cellular or Wi-Fi alarm, because a power outage during a spring storm while the property is unoccupied will defeat a pump with no backup. The guide on sump pumps for seasonal and unoccupied cottages covers battery backup sizing and alarm options in detail.
Best for: cottages with perimeter seepage, failed original weeping tile, or high seasonal water tables. Limitations: does not stop water from entering the wall itself, only manages it once it reaches the footing; exterior conditions remain unchanged.
Option 3: Exterior Waterproofing with Membrane and New Weeping Tile
Exterior waterproofing is the most comprehensive approach. The process requires excavating to the footing around the affected walls, applying hydraulic cement to any voids or honeycombing in the concrete, coating the wall with a rubberised waterproofing membrane, installing a dimpled drainage board to protect the membrane and create a drainage plane, laying new weeping tile bedded in clear stone at the footing, and backfilling with corrected grade to direct surface water away from the structure.
On a North Bay cottage lot, excavation access can be a real constraint. Many lakefront properties have minimal clearance between the foundation and a retaining wall, a deck or the shoreline setback. Excavation on a sloped lot also requires shoring. These site conditions affect both the feasibility and the cost of exterior work.
Best for: cottages with failed exterior membrane, persistent wall saturation, or where the owner wants to stop water at the source rather than manage it inside. Limitations: higher cost, significant disruption to landscaping, and access constraints on many cottage lots.
Option 4: Parging and Surface Sealing
Parging is the application of a cementitious coating to the exterior face of the foundation wall above grade. It fills surface voids, covers minor surface cracks and improves the wall’s resistance to frost spalling. Surface sealers applied to the interior wall face can slow vapour transmission through the concrete.
Best for: above-grade surface protection and cosmetic repair of spalled concrete. Limitations: parging and interior sealers are not waterproofing systems. They do not address hydrostatic pressure, failed weeping tile or cracks that penetrate the full wall thickness. Relying on parging alone when the real problem is a drainage failure is one of the most common mistakes on cottage foundations.
Option 5: Grade Correction and Surface Drainage
Correcting the slope of the ground around the foundation so that surface water runs away from the wall rather than toward it is inexpensive and often overlooked. On a cottage lot where the grade has settled or where a previous owner added fill that now slopes inward, re-grading can meaningfully reduce the volume of water reaching the footing.
Best for: cottages where surface drainage is the primary contributor to basement moisture. Limitations: grade correction alone will not fix a failed weeping tile system, a cracked wall or a high seasonal water table fed by groundwater rather than surface runoff.
Option 6: Freeze-Thaw Crack Monitoring and Scheduled Injection
For cottages with hairline cracks that are not yet actively leaking, a monitoring program, marking crack ends with pencil and date, checking at each seasonal opening, and injecting when movement is confirmed, can defer full repair while keeping the owner informed. This is not a fix; it is a managed deferral appropriate only for stable, non-structural cracks. The guide on freeze-thaw foundation cracks in cottage country explains how to distinguish a stable crack from one that is actively growing.
Options Compared
| Method | Best For | Typical Lifespan | Relative Cost | Site Disruption |
|---|---|---|---|---|
| Polyurethane crack injection | Single non-structural cracks, poured concrete | Long-term if crack is stable; may need re-injection if movement continues | Lowest ($600 to $900 per crack, approximate) | Minimal, interior work only, one day |
| Interior weeping tile and sump pump | Perimeter seepage, failed original tile, high water table | 20 to 30 years with pump maintenance | Moderate to high depending on linear footage | Interior floor jackhammered, 2 to 4 days |
| Exterior waterproofing with membrane | Persistent wall saturation, failed exterior membrane | 25 to 40 years for quality membrane | Highest ($6,000 to $9,000+ for average perimeter, approximate) | Full excavation, landscaping disturbed, 3 to 7 days |
| Parging and surface sealing | Above-grade surface protection only | 5 to 10 years before recoating needed | Low | Minimal |
| Grade correction | Surface drainage contributor | Ongoing, may need periodic correction | Low to moderate | Exterior landscaping only |
| Crack monitoring program | Stable hairline cracks not yet leaking | Deferral only, not a permanent fix | Lowest (inspection cost only) | None |
The table above shows that no single method fits every cottage situation. Crack injection is the right first step when the problem is localised and the wall is otherwise sound. Interior weeping tile makes the most sense for cottages with perimeter moisture and limited exterior access. Exterior waterproofing is the most thorough option but requires both budget and site access that many lakefront lots cannot easily provide. Grade correction and parging are supporting measures, not standalone solutions.
How to Choose
Choose polyurethane crack injection if you have one or two identifiable cracks in a poured-concrete wall, the rest of the wall is dry, and a site inspection confirms the crack does not show signs of structural displacement or ongoing movement beyond normal seasonal range.
Choose an interior weeping tile system if moisture appears along the base of multiple walls, the original weeping tile is silted up or absent, or the cottage sits in a low-lying area where the spring water table rises close to the footing. This is also the right choice when exterior excavation is not feasible because of deck footings, retaining walls or shoreline proximity. For many properties where seasonal cottage basement waterproofing North Bay conditions demand a practical solution, interior drainage is the most accessible route.
Choose exterior waterproofing if the wall itself is saturated through its full thickness, if previous interior repairs have not held, or if you are doing significant renovation work that already involves disturbing the exterior grade. Combining a new exterior membrane with new weeping tile at the footing is the most complete solution available.
Choose grade correction as a first step, or as a complement to any of the above, when the lot clearly slopes toward the foundation. It costs relatively little and reduces the hydraulic load on whatever waterproofing system you install.
If you are unsure which category your cottage falls into, the wet basement repair service for North Bay properties includes a free on-site inspection that will identify the source before any work is scoped. You can also visit the North Bay waterproofing service page for a full overview of coverage and services in the area.
Costs and Timelines
All price ranges below are approximate and based on typical completed jobs. The final figure for any cottage depends on a site inspection, linear footage, excavation depth, access constraints and the condition of existing drainage. Request a written scope before committing to any work.
| Cost Driver | Why It Affects Price | Approximate Impact |
|---|---|---|
| Linear footage of affected perimeter | Interior and exterior systems are priced per linear foot of wall treated | Primary driver; more wall equals more material and labour |
| Excavation depth and access | Deeper footings and tight access (decks, retaining walls, slopes) increase machine time and hand-digging | Can add 20 to 40% to exterior job cost |
| Number and type of cracks | Each crack injection is a discrete scope item; structural cracks requiring epoxy cost more than polyurethane | $600 to $900 per crack (polyurethane, approximate) |
| Sump pump specification | Battery backup units, high-capacity pumps and cellular alarm systems add to the base pump cost | Moderate add-on; essential for unmonitored cottages |
| Condition of existing weeping tile | Fully silted or collapsed tile requires complete removal before new tile can be installed | Adds labour and disposal cost |
| Travel and mobilisation | Cottage-country jobs outside the immediate North Bay area involve longer crew travel | Factored into quote; ask specifically about mobilisation |
As a general orientation: a single crack injection runs approximately $600 to $900. A full exterior waterproofing job on an average cottage perimeter is in the $6,000 to $9,000 range, and can go higher on difficult sites. Interior weeping tile systems typically fall below the exterior cost for the same linear footage, though the final number depends on the scope confirmed at inspection. These are ranges drawn from completed jobs, not guarantees. For a detailed breakdown of what drives foundation waterproofing costs across Ontario, the foundation waterproofing cost guide provides additional context.
Risks and Common Mistakes
The most expensive mistake on a seasonal cottage is treating a drainage failure with a surface sealer and discovering the following spring that water has been migrating behind the coating all winter.
| Symptom at Opening | Likely Cause | Correct Fix |
|---|---|---|
| Water on floor along wall base, no visible crack | Failed or silted weeping tile, hydrostatic pressure at footing | Interior weeping tile system with sump pump |
| Wet patch centred on a vertical crack | Shrinkage or settlement crack allowing direct water entry | Low-pressure polyurethane injection |
| White powder (efflorescence) across large wall area | Chronic moisture migrating through the full wall thickness | Exterior membrane or interior drainage; surface cleaning alone will not stop recurrence |
| Horizontal crack mid-wall | Lateral soil pressure, potentially structural | Structural assessment before any waterproofing; may require wall reinforcement |
| Musty smell, no visible water | Vapour transmission through wall or floor, possible hidden seep | Moisture assessment; vapour barrier and drainage may be needed |
Beyond misdiagnosis, the other common mistakes on North Bay cottage foundations include: closing the cottage without checking the sump pump battery backup, which leaves the basin unprotected through the entire winter melt; applying hydraulic cement to an active crack without injecting the full depth, which stops surface flow but leaves the interior of the crack open to water; and skipping grade correction when re-landscaping, so that new topsoil settles back toward the wall within two seasons.
Seasonal closing and opening procedures matter as much as the waterproofing system itself. The guide on protecting the cottage basement and foundation through the seasons covers the specific steps for autumn closing and spring opening that reduce the risk of arriving to a wet basement.
How the Process Works
- Free on-site inspection and moisture assessment. A technician visits the cottage, checks all below-grade walls, tests for active moisture with a moisture meter, photographs cracks and drainage conditions, and identifies the source of any existing water entry.
- Written scope with linear-foot pricing. The inspection produces a written proposal that specifies exactly which walls are treated, which method is used, and how the price is calculated. No verbal estimates.
- Crack injection (where applicable). Ports are installed along each crack, paste is applied to the surface, and low-pressure polyurethane is pumped from the bottom port upward until the foam appears at the next port. Ports are removed and the surface is finished.
- Interior or exterior drainage installation. For interior work: the perimeter floor is jackhammered, weeping tile is laid in clear stone at the footing, the pipe runs to a new or existing sump basin, a vapour barrier is run up the wall, and concrete is re-poured. For exterior work: excavation to the footing, hydraulic cement parging of voids, rubberised membrane application, dimpled drainage board, new weeping tile in clear stone, backfill and grade correction.
- Sump pump installation and testing. The pump is installed in the basin, the battery backup is connected and tested, and the discharge line is directed to a point well clear of the foundation.
- Site cleanup and documentation. The work area is cleaned, the scope is reviewed with the owner, and warranty documentation is provided.
- Seasonal guidance. The technician walks through the recommended closing and opening checklist specific to the cottage’s drainage configuration.
For North Bay cottage-country jobs, mobilisation is scheduled to align with the shoulder seasons when the ground is accessible but before the peak failure windows of April-May snowmelt and October freeze-up. Book inspections in late summer or early autumn to secure a pre-winter slot.
Frequently Asked Questions
What makes waterproofing a seasonal cottage different from waterproofing a year-round home?
The core methods are the same, but a seasonal cottage is unmonitored for months, so any system must be self-managing. That means a battery-backup sump pump with an alarm is not optional, it is essential. The freeze-thaw cycle also acts on the foundation for the entire winter without any interior heat to moderate temperature swings at the wall surface, which accelerates crack growth compared to a heated home.
How do I know if my North Bay cottage needs waterproofing before I open it in spring?
Signs visible at spring opening include water on the floor along the wall base, new or widened cracks since the previous autumn, efflorescence on the wall surface, a strong musty smell, or visible mould on stored items. Any one of these warrants a professional moisture assessment before the season begins. Waiting until the problem worsens typically increases the scope and cost of repair.
Can crack injection be done on a cottage foundation in autumn before closing?
Yes, and autumn is often the ideal time. Injecting a crack before the ground freezes seals the wall before winter moisture can exploit it further. Polyurethane cures within hours and the cottage can be closed the same day. The cured foam remains flexible through freeze-thaw cycles, which is why polyurethane is preferred over rigid epoxy for seasonal foundations.
Is exterior waterproofing practical on a lakefront cottage lot?
It depends on site access. Many North Bay-area lakefront lots have decks, retaining walls or steep grades that limit excavation equipment access. Where full machine excavation is not possible, hand-digging sections is an option but increases labour cost. A site inspection is the only way to determine feasibility. Interior weeping tile is often the more practical route on constrained lots.
How long does an interior weeping tile installation take at a cottage?
A typical interior perimeter system on a cottage basement takes two to four days from jackhammering to re-poured concrete, depending on the linear footage and whether an existing sump basin can be used or a new one must be cut. The cottage is accessible again once the concrete has cured, usually 24 to 48 hours after the pour.
What happens to the sump pump when the cottage is closed for winter?
The pump itself should remain in the basin and plugged in if the cottage has power through winter, because snowmelt can begin in March even before the owner returns. The battery backup must be tested at closing and the battery replaced if it is more than two to three years old. A cellular alarm that sends a text message when the basin reaches a high-water level is strongly recommended for unmonitored properties.
Does the North Bay area have specific soil conditions that affect waterproofing choices?
Yes. Unlike the dense clay soils across much of the GTA that hold water against the wall for extended periods, Nipissing-area soils are typically sandy or gravelly over Shield bedrock. Water moves through these soils quickly, which means hydrostatic pressure spikes rapidly during snowmelt and heavy rain rather than building slowly. This makes weeping tile drainage at the footing especially important, because the pressure events are intense and short rather than prolonged.
How much does foundation crack repair cost for a North Bay cottage?
A single crack injected with low-pressure polyurethane typically costs approximately $600 to $900, depending on crack length and accessibility. Multiple cracks are each scoped individually. A full interior weeping tile system or exterior waterproofing job is priced per linear foot of wall treated and depends on the specific site conditions confirmed at inspection. The foundation crack repair guide for North Bay covers the cost factors in more detail.
Can I do any waterproofing work myself before calling a contractor?
Grade correction, clearing downspout extensions and removing debris from window wells are legitimate DIY steps that reduce water loading on the foundation. Applying hydraulic cement to a surface crack can slow an active drip temporarily. However, crack injection, weeping tile installation and membrane application require equipment and materials that are not available to homeowners, and an incorrect repair can make a subsequent professional repair more difficult. Use DIY measures as temporary management, not as a substitute for a proper assessment.
Does DryShield service cottages outside the immediate North Bay area?
The service area covers North Bay and the surrounding Nipissing District, including cottage properties on Lake Nipissing, Trout Lake and nearby lakes. Work is also carried out across Ontario cottage country including the Minden and Haliburton areas. Contact the team to confirm coverage for a specific property address.
If your North Bay cottage showed any signs of moisture this past spring, or if you want a professional assessment before closing for the season, contact the DryShield Team to arrange a free on-site inspection. Seasonal cottage basement waterproofing North Bay properties require is best addressed before the autumn freeze, so a written scope with no-obligation pricing is provided after every visit, and all waterproofing work is backed by a lifetime transferable warranty.